After a couple of years absence from here (work, life etc.) I found this thread whilst looking for other peoples impressions of CCR's semi-pro rig a couple of weeks back before I purchased one. I just want to give my feedback on the purchase, the product and the service from CCR. A little bit of my history first...
I work as a full time automotive photographer. Mostly editorial, but branching into commercial and PR work this year. About four / five years ago I built my own custom 5m aluminium rig with two Hague mounts and a magic arm. I think I used it at most five times over the years. It was difficult to assemble, it was heavy and it suffered awful bounce. Because of the weight, I needed to keep the suction cups as far apart as possible, which reduced the amount of rig extending off the car. More often than not, I would end up doing tracking or panning shots instead. Essentially, I had no faith in it.
I had looked at other options over the years and even tried to improve my own design but eventually wrote it off. I had spent a lot of money in materials, parts and fabrication. I still wanted rig shots though. The crux of this though was that I wanted rig shots that didn't look like rig shots. This meant I needed to go long. I ended up ordering CCR's 6M semi-pro setup as it had everything I needed, plus I could supplement some of my old rig parts to the new setup (super clamps, extra mounts, magic arm etc.) The reason I didn't go for the pro version was that I didn't want to invest too much money and then not end up using it. I ordered on a Tuesday, it arrived the following Tuesday (shipped to Ireland). I've only had it a week or so now, but it's already made a huge difference to my shoots.
First of all, it's easy to transport. The poles come with their own bag and I put the rest of the gear into an old camera bag. Everything fits into the back of my car with no issues. Secondly, it's simple to put together. The suction mounts grip like no other mounts I've ever used, the swivel adaptors and clamps are strong and of great quality. The poles simply slot together, and you can use the optional velcro to stop them from turning. No tools required to put everything together. Here's the rig being deployed for the first time...
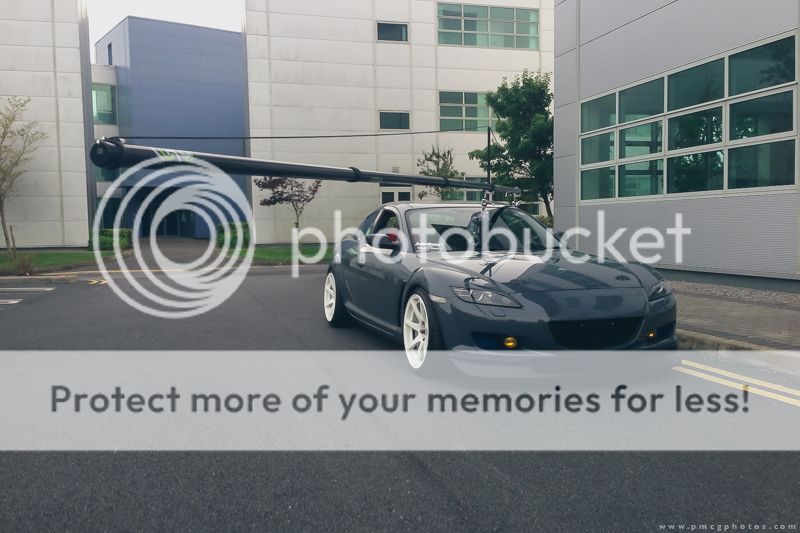
This is a pretty basic setup which contradicts my above statement of creating rig shots that don't look like rig shots. I just wanted to get comfortable with the rig and learn its nuances. Once it's setup correctly, you quickly realise just how capable this semi-pro setup is. Previously, my rig shot exposures ranged from 0.3s to 2s maximum. Below, my first attempt with CCR's rig was a 5s exposure. This would be the fastest exposure I've used so far...

The front of the car is tack sharp, whilst the rear was soft. Justin's words were ringing in my ears that the longer the exposure, the sharper the shot. It sounds pretty counter-intuitive to a photographer, but when you think about it, it makes far more sense. The longer exposure allows you move slower whilst also allowing the car to burn itself into your sensor for longer. Second attempt below...
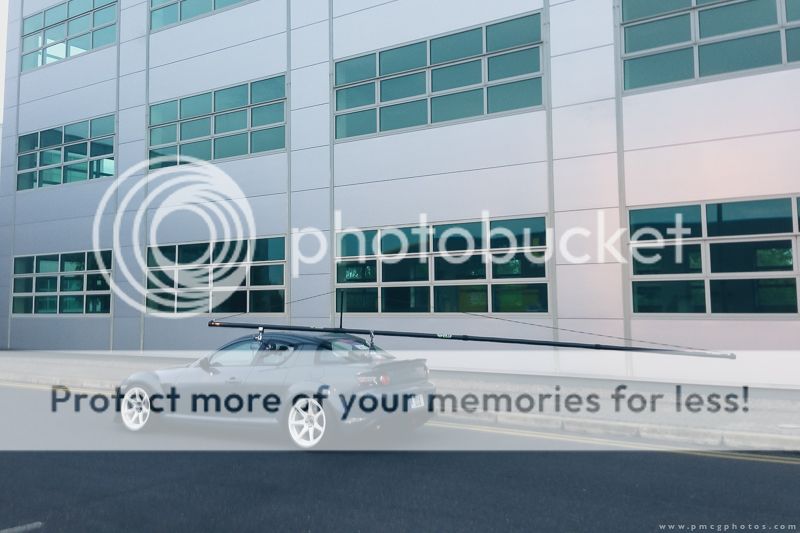

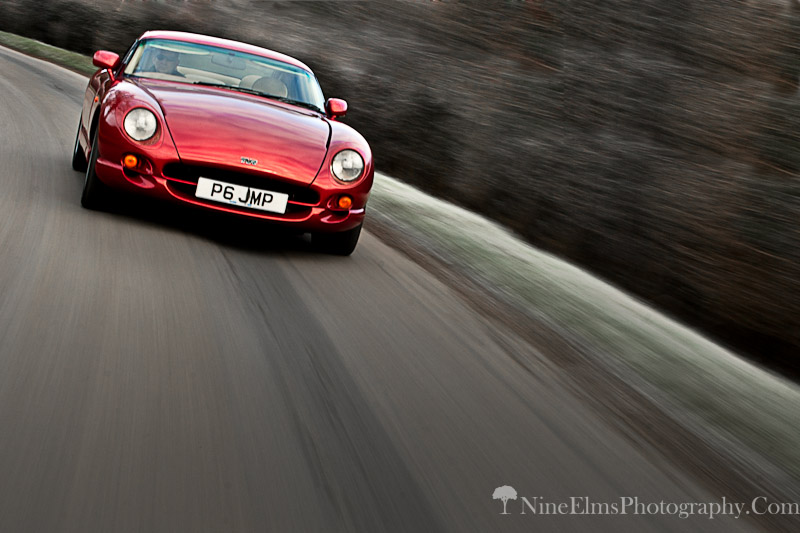
This was a 30s exposure. I went a little bit OTT with the editing but the car is sharp from front to back. Although it's probably not wise, the camera is left free during these shots. With my previous setup, there absolutely had to be a person holding the camera at all times as the weight of the setup was putting massive pressure on both the old mounts and the panels of the car. No such issues with the CCR setup. Once it's on, it's on. It's so lightweight that even with a magic arm attached, it's under no pressure in comparison.
I've only had the CCR for a week, but I already know it's going to become an important part of my setup now. It's ease of use and reliability has exceeded my expectations. Couple this with Justin's exceptional customer service and you're onto a winner. If you're sitting on the fence with regards this, just do it. You won't ever build one yourself for as little as this and to think so is absurd. I know this because I've tried.


![140689537.jpg]](/proxy.php?image=http%3A%2F%2Fwww.pbase.com%2Fbyker28i%2Fimage%2F140689537.jpg%5D&hash=b7d7ebc94ef9226bd4c569c567f9015b)
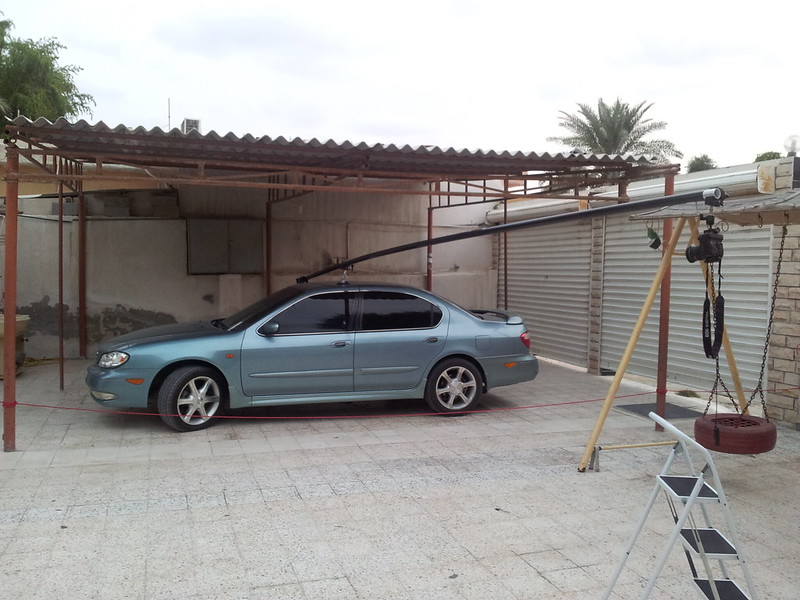
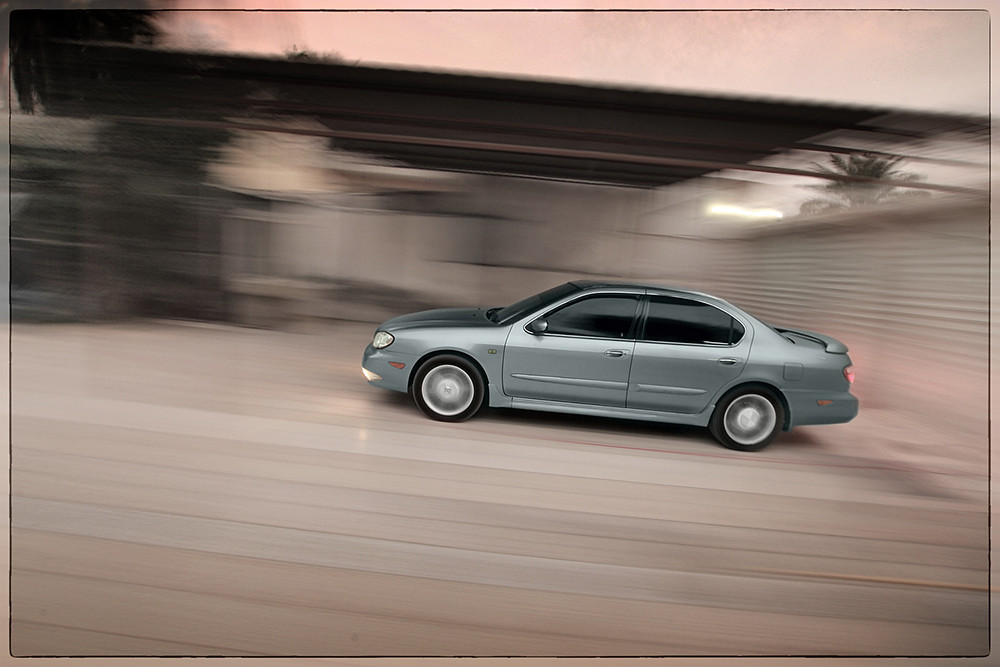
") also a slight clockwise rotation might be good so it doesn't look like its driving uphill
also a slight clockwise rotation might be good so it doesn't look like its driving uphill 


