

- Messages
- 733
- Name
- John
- Edit My Images
- No
After attending Garry Edwards generous offer of a free day at the Lencarta warehouse for a Product Photography Workshop i am keen to have a go so here is tonight's attempt and i also took a shot of the setup in case anyone is interested.
I set up the lighting for the bike and then placed the car in the same spot, it looked ok on the back of the camera but on the laptop i can see its not, ill have another go with the car tomorrow on a white background and change some of the lights around..
The Harley has had very minimal editing, whereas the Rolls has been more heavily edited, ill get it right next time.
 Harley Model. by J.Garton, on Flickr
 Rolls Royce Model. by J.Garton, on Flickr
10deg Gridded studio light camera left, small softbox with speedlight above and slightly right and another speedlight to the far right with a flashbender copy rolled up to act as a snoot.
 Models Shot Setup. by J.Garton, on Flickr
I set up the lighting for the bike and then placed the car in the same spot, it looked ok on the back of the camera but on the laptop i can see its not, ill have another go with the car tomorrow on a white background and change some of the lights around..
The Harley has had very minimal editing, whereas the Rolls has been more heavily edited, ill get it right next time.
Harley Model. by J.Garton, on FlickrRolls Royce Model. by J.Garton, on Flickr10deg Gridded studio light camera left, small softbox with speedlight above and slightly right and another speedlight to the far right with a flashbender copy rolled up to act as a snoot.
Models Shot Setup. by J.Garton, on Flickr") but difficult to get them looking really good. And the rough casting marks always make the fine detail look something other than fine, especially when hard lighting is used to create interest.
but difficult to get them looking really good. And the rough casting marks always make the fine detail look something other than fine, especially when hard lighting is used to create interest. 20140821-DSC_0940
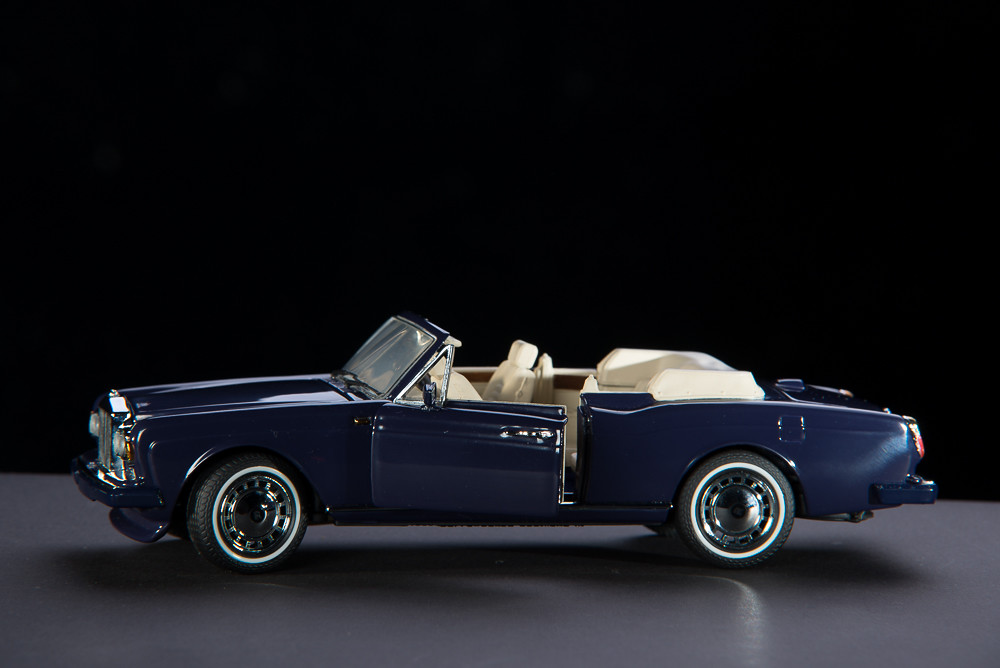 20140821-DSC_0939
 20140821-DSC_0930
 20140821-DSC_0916
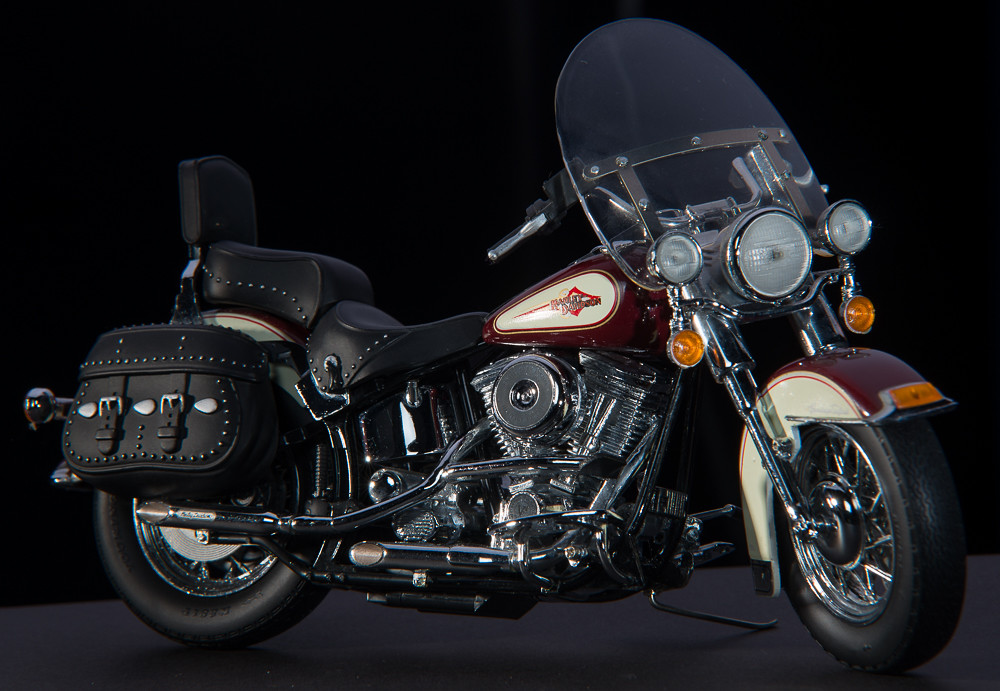 20140821-DSC_0897
 20140821-DSC_0970
 (bought for backgrounds and gels).

 20140824-Studio Session-084
 20140824-Studio Session-084-2
 20140824-Studio Session-139
 20140824-Studio Session-055
 20140824-Studio Session-032