First go at birds

Messages
487
Name
Andy
Edit My Images
Yes
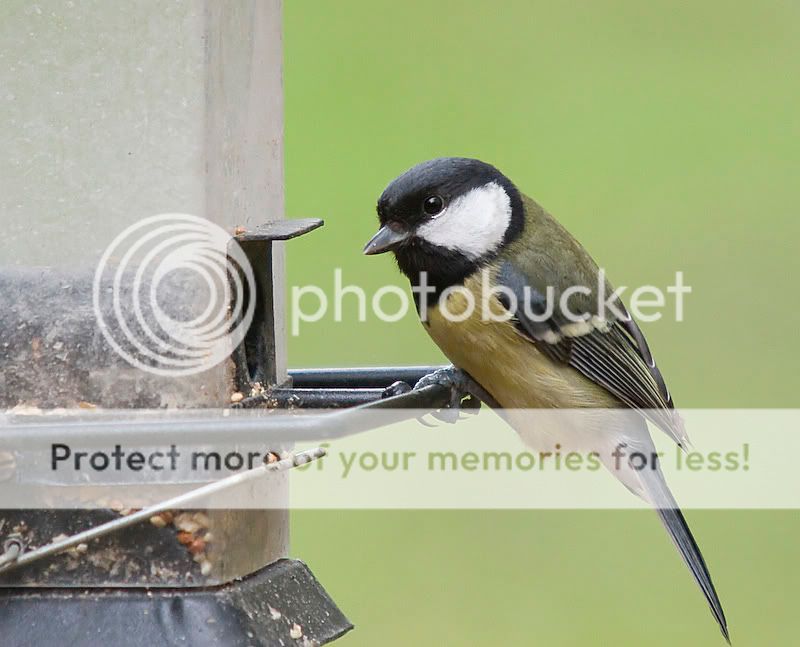
Found a hide at the Wildlife Centre, Woods Mill yesterday so I thought I would go back today a try my hand at a bit of bird togging.

Light was quite poor today so the ISO was right up and hence noise :crying: Ended up using 800-1600 to get some speed as these little birdies move so fast. Even when they are purched they are still moving heads quickly and hence a lot of blurred pictures.

I also tried out a new 1.4 Extender I bought today on my 35-350L. AF still worked but was a little shakey fully extended so I turned it off and went full manual. Also bought a remote release today as moving my hand to the shutter was disturbing the subjects and giving me arm ache :LOL:

Anyway on with the results. Not too bad for a first go I thought but a long way off some of the stuff I see on here. How do you guys get so much detail and sharpness? Long fast glass I assume??

IMG_1263.jpg


IMG_1331.jpg


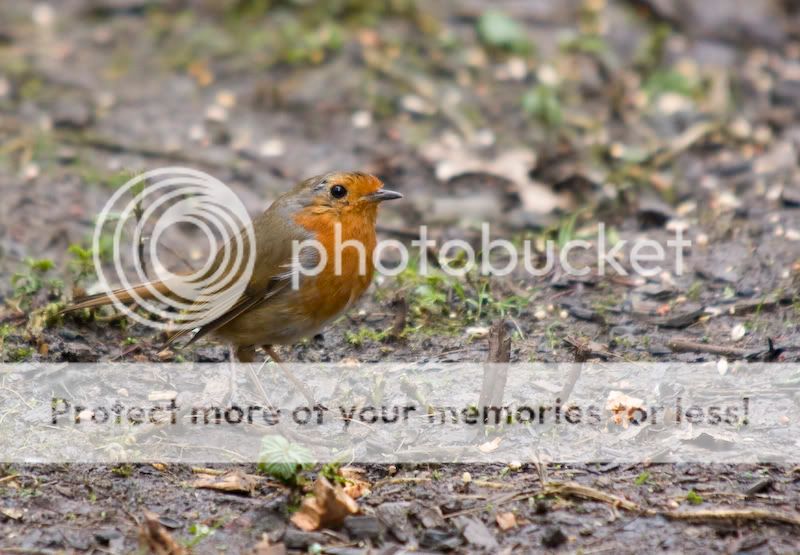
Got to have a Robin shot :)
IMG_1386.jpg


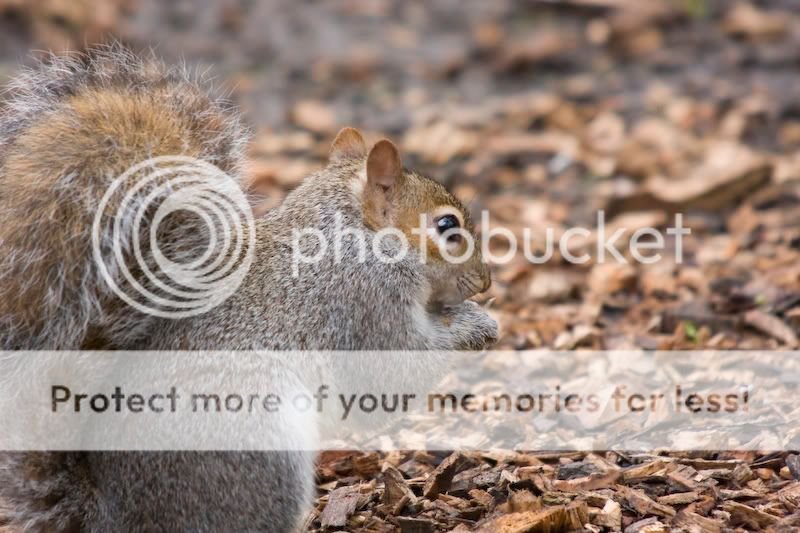
Not a birdie but fun to watch
IMG_1365.jpg


C&C please
 
Very nice photos, Andy. The EXIF on all four says you used 350mm, so there aren't any in this line-up you did with the extender, are there? Also, all 4 consistently have too much red or magenta in the WB, imo. And the focus is a bit softish, but can be improved with an USM.
 
Thanks for the comments :)

Only the first was not taken with the Extender. I don't think the EXIF is able to show the addional focal length of using an Extender and just reports on the original lens data.

I did add a little saturation on these shots so not sure if that is producing the red or magenta? I left the wb alone and normally shot on daylight setting to leave it neutral.

The softness is the problem I can't understand how to overcome. I use both AF and manual but AF is a pain when composing the shot off centre. I was using the Liveview function to zoom in 10x and setting the manual focus at a given point. Once subject appeared I was then checking on playback. These were as good as I could get :crying:

I figure the low light was probably a factor and that my lens is fairly slow. Would love a go on a 300L 2.8 :LOL:
 
If you used the extender on them then that may explain both the focal softness, and the magenta tingeing, imo. Chromatic abberation. Extenders are known for both.
 
Fabulous for a first go! Really well done for those birdies, and as for the SQUIGE, adorable! :love:
 
Them birdies look good to me (y)
Brilliant first go..... much better than my first & second go so well done :clap:
 
Cheers :) It really helped having a pre set-up hide with feeders the birds were very comfortable with. None of this waiting for days to see one bird :LOL: This was the result of a couple of hours and loads of activity so I just had to set-up the shots (y)
 
Well done Andy, it's not as easy as some think, especially in poor light, as you had.

You'll be surprised how much more 'detail' you would see if you went back and took similar pic's in good sunlight.
 
Nothing much wrong there Andy-just needs a bit of processing.

Sharpened, altered wb, and run NR on bg.

edit_-_gt.jpg
 
Nothing much wrong there Andy-just needs a bit of processing.

Sharpened, altered wb, and run NR on bg.

Nice job there CT.

You sort of take it for granted that everything has been sharpened as much as possible, or I do....

Maybe Andy did'nt sharpened it at all.
 
Wow, that's amazing CT. I can't believe that's a picture I took :eek:

I did my processing with Lightroom and applied a fair bit of sharpening but it was creating more noise so also applied some NR.

Am I missing some processing tecniques here? Are you using layers to apply NR just to the background or another program? Again with the sharpening, are you using CS3 on the entire image?

Soory for the questions but that is such a difference compaired to my effort with LR :thinking:

Thanks once again CT :clap:
 
I do my processing in Lightroom for the RAW file, but do very little to them at that stage, usually just any highlight recovery and sometimes white balance. I output the Tiffs to Paint Shop Pro where I do any levels and tweaks which need doing including noise reduction and sharpening.

Sharpening is generally accepted to be the very last thing you should do to an image before you save it. Also if you reduce an image in size for web viewing, all that careful sharpening you did in the larger image is gone- the image loses a lot of sharpness in the process - you can actually see it. ;)

So when you reduce an image, you need to sharpen it. Also you shouldn't really reduce and sharpen an image which has already been sharpened before if you want optimum results. This why it's so important to keep your RAW files - you can output an image from the RAW at any size you want and deal with the sharpening for the image at that particular size.

I use the lasso tool to get a tight mask around the bird and then just apply NR to the background. Using NR on the bird itself just kills too much fine feather detail. I just use the NR filters in Paint Shop Pro.

Hope that helps? :)
 
Andy, hope you don't mind but I've sharpened your Robin a bit...and removed the colour cast.

Might of overdone it mind.:|

IMG_1386.jpg
 
Thanks CT, that helps a lot (y)

Since I saw this I have just started playing around with CS3 and the effects of sharpening are far better then LR. Even with the slider pusher right up in LR it still doesn't bring out the detail the same as running the Sharpen fliter in CS3.

Interesting regarding the compression and resizing, I'll remember that one (y)

I'll give the lasso and NR trick a go now and see what I can do.

There was me thinking that it was just my lens letting me down :LOL: You may of just saved and nasty credit card bill :bonk:
 
I never sharpen the RAW file - always deal with it either at the tiff or jpeg stage.

I keep meaning to do a full 'how to' on using the magic wand tool, but there never seem to be enough hours in the day. Basically, if you hold down the Control key on your keyboard and keep it depressed, you can keep clicking on the image and incrementally increasing the size of the mask, adjusting the tolerance level as necessary for tricky areas.

For really difficult areas, such as very complicated backgrounds, you can swap to the freehand mask tool and just chop out whole areas of the background to add to the mask ( as long as you keep Control depressed ) and swap back to the magic wand as you need to until you've selected the whole area.

Sorry mate, I said lasso tool in the previous post when I meant magic wand.:)
 
Ok, had another quick go myself by using CS3 on the resized .jpg

IMG_1331copy.jpg


Haven't touched NR or WB on this one yet but does look sharper.

Hi Mick, no probs with you having a go at all (y) I agree though, you may have overdone it a little :nuts:
 
Not bad first attempts you have here. You won't go far wrong listening to the advice of people like CT on here.
 
Many thanks for the comments. Will try and get back out there next week for another go :)
 
Back
Top