I'm continually on the lookout for means of improvement. I suppose that is what this thread is about really. Of course a lot if it has been to do with technique, settings and (to a great extent) post processing rather than equipment. But equipment does make a difference too, or can do. The trouble is, for me at least, that the only way to really find out if something else will work better is to try it, and depending on the options being considered that can be rather expensive. That is ok if it works, but if it doesn't .... not so good, especially if it were the most expensive option I had ever tried (which for flowers, it would be, by a long way).
Well, that was last August. Things have moved on since then, at least for botanical subjects.
In October my wife and I had one of our very occasional visits to the mall. My presence was not required while she was shopping (actually it would be more accurate to say that my absence was required) so, as one does, I wandered into Jessops. They had a Sony A7ii on display, and there was a £300 cashback on it. And they had a Sigma MC-11 converter, also on offer if bought with the A7ii. The MC-11 lets you use Canon EF mount lenses on the A7ii, including autofocus with a lot of lenses.
After a quick discussion with my wife, who knew I had been wanting to try a full frame camera for flowers for some time, I bought an A7ii and MC-11. I planned to use it with my EF mount Sigma 105 macro, for which I also had extension tubes and 1.4X and 2X teleconverters which I could use to give me some extra magnification and/or, with the teleconverters, extra working distance. Even without the extension tubes or teleconverters the 105 macro would probably provide enough magnification for botanical close-ups of the type I like to do. With them I should have enough magnification for the size of flies, wasps, spiders etc that I mostly photograph.
In order to do comparisons with close-up lenses I also bought a relatively inexpensive Sigma 70-300 which has a peculiar second focus ring that lets you extend the lens an extra amount to get you to 1:2. I planned to test my normal array of close-up lenses on the 70-300.
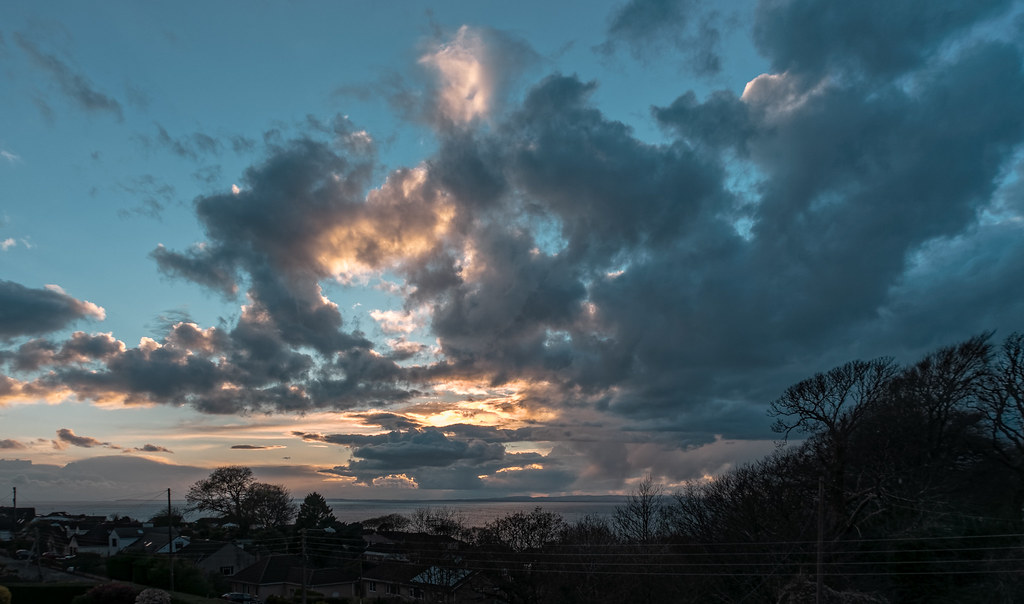
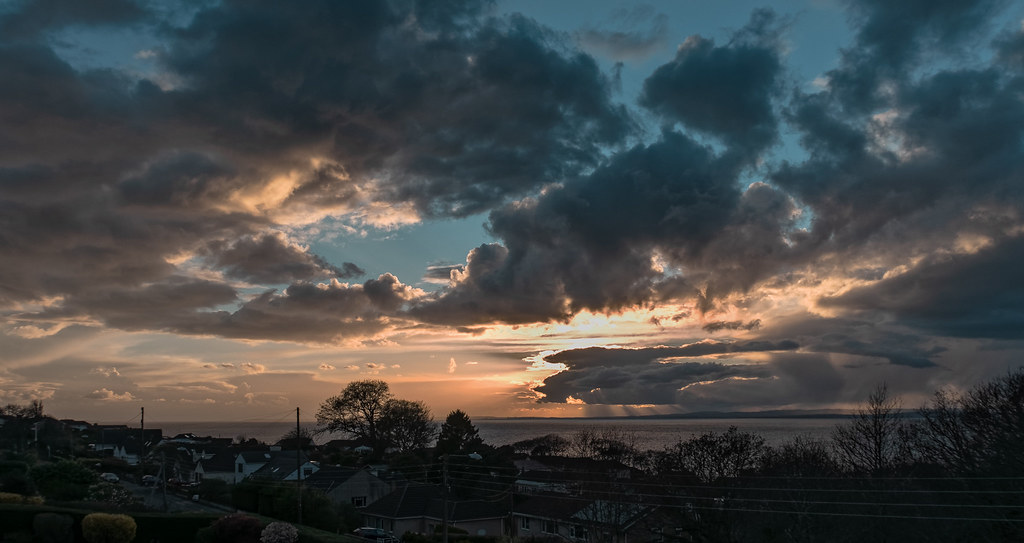
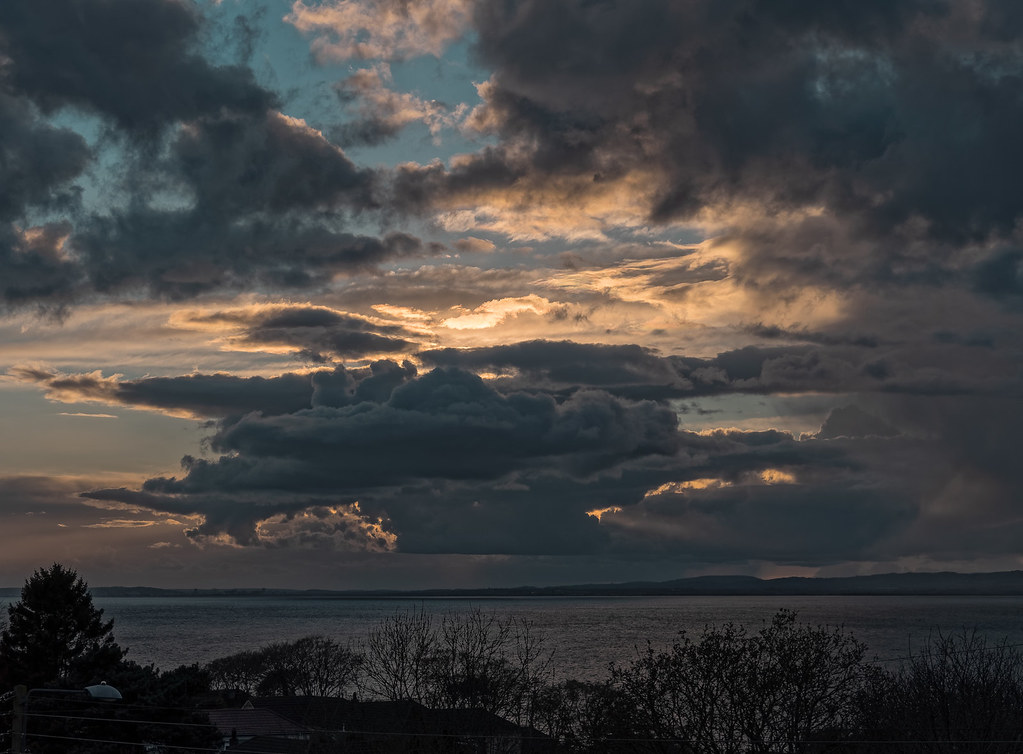
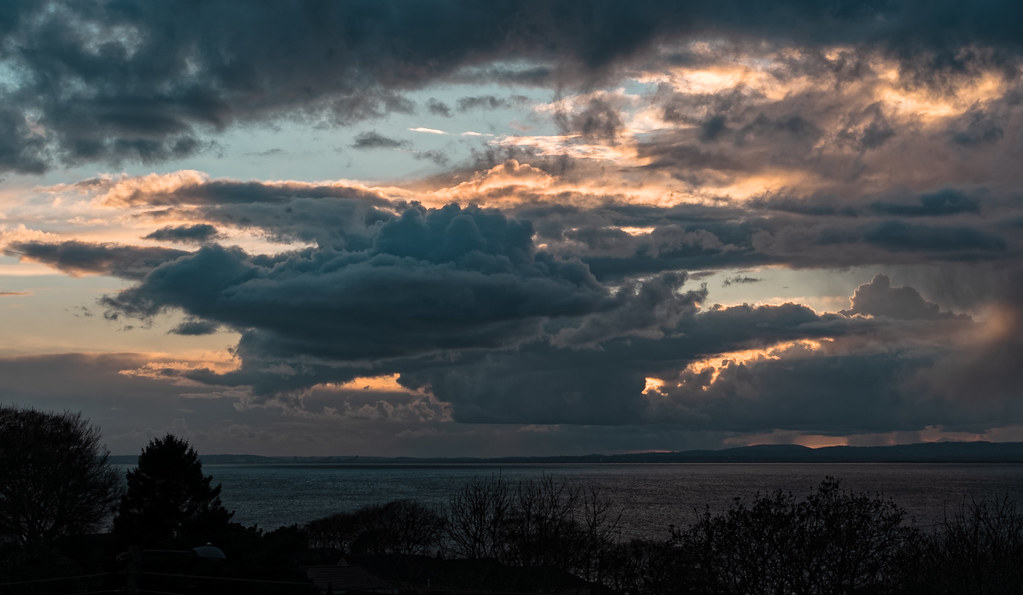
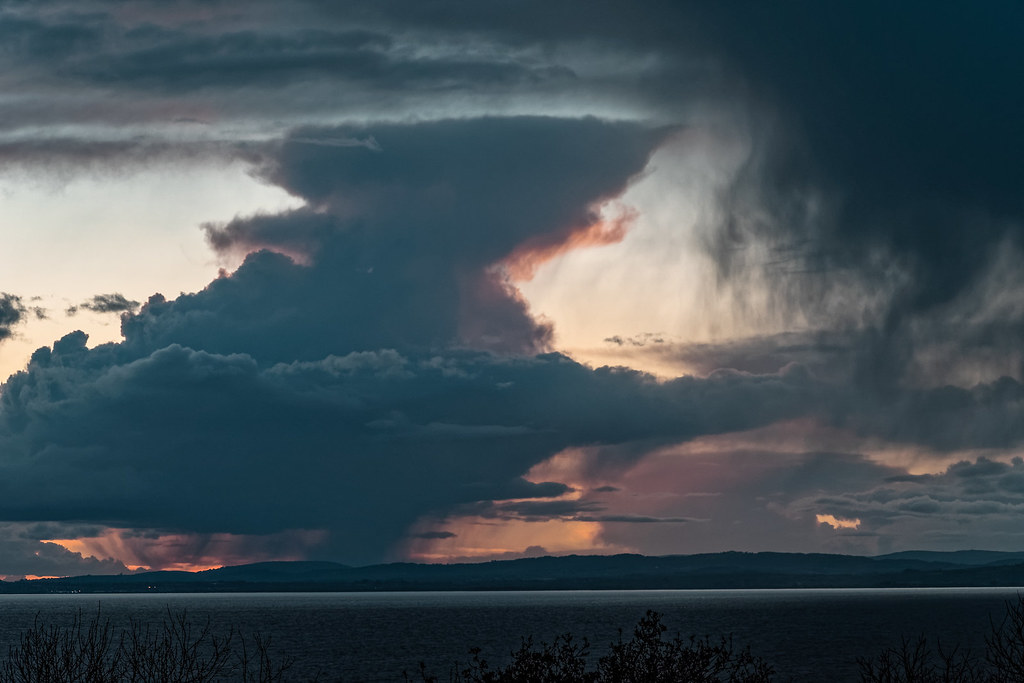
Another thing I had in mind as a possibility for full frame was sunsets and daytime cloudscapes over the nearby Severn Estuary. I had a Sigma 10-20 I could use to test that. If it worked out well I would need a wider range of focal lengths, but the 10-20 would do for initial testing.
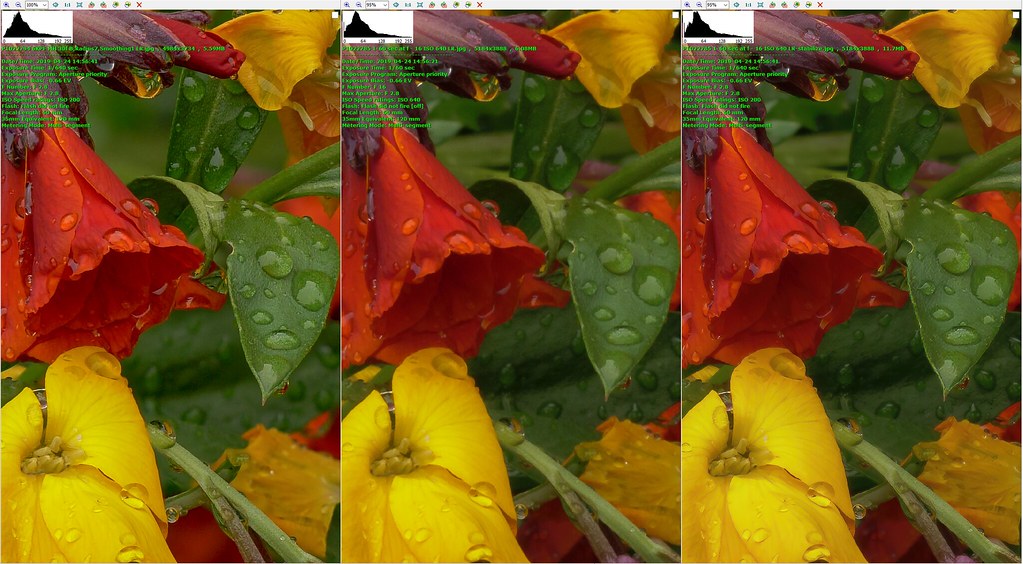
For botanical subjects I did some fairly careful (quite extensive, and very tedious) like for like comparisons between the Sony A7ii with Sigma 105 macro and a Panasonic G80 with Olympus 60mm macro, which at that time was my preferred kit for flowers, buds, seed pods etc. These comparisons are written up in two long posts at dpreview,
one in October and
one in November. I posted these at dpreview to try to tap the extensive knowledge of some of the folk there, and that proved successful; I got some extremely helpful feedback.
The outcome was surprising, and disappointing. It turned out that for what I wanted to do there was little or no benefit in using the A7ii for botanical subjects, and some distinct disadvantages. I had gone into this hoping for one or more of the following benefits: better, more subtle rendition of colours and textures, cleaner/less noisy images, better clarity, larger dynamic range.
In the like for like comparisons I didn't see better, more subtle renditions of colours or textures, or better clarity. Larger dynamic range turned out to be insignificant for the comparisons I did; it might be more relevant for some types of higher dynamic range scenes such as contre-jour that I do sometimes, but I wasn't able to test that. Besides which, I have even got strongly backlit results that I like using a low dynamic range bridge camera, so it was questionable in my mind how much of a benefit I would see for the minority of shots for which this would be relevant.
Noise turned out to be a bit complicated. It seems that if you need to use a particular aperture to get the DOF you want, and/or you need a certain minimum shutter speed when working hand-held and/or in a breeze, and /or the light level is not very good, then equivalence kicks in and there is no noise benefit for full frame. For example, if I was at 1/60 sec at f/8 ISO 800 with the G80, I would need to be at f/16 with the A7ii to get the same DOF, and in order to get the same shutter speed I would need to be at ISO 3200 with the A7ii. I am operating within this sort of envelope quite a lot of the time. The only time I would get less noisy images with the A7ii would be in light that was good enough to let me use base ISO and still get a fast enough shutter speed. However, in light that strong noise isn't too much of an issue anyway, especially given that I shoot raw and use DXO PhotoLab's extremely good PRIME noise reduction.
On the other hand although the A7ii itself is quite small and light, its lenses are not; I found the A7ii setup heavy enough to cause my wrists to ache quite quickly, especially when using it one-handed as I need to do some of the time to get the line I want on a subject. Getting those awkward lines was also more difficult by virtue of the A7ii not having a fully articulated screen, which also made it more difficult to use portrait aspect ratio, something I use a lot for flowers.
I had been prepared to put up with less convenient handling in the interests of better image quality, but I was not seeing better image quality. And that was for single image captures. At that time I was getting increasingly into stacking for flowers etc, although I was still undecided as between single image captures and stacks. I had reservations about the difficulties I encountered with processing stacks - sometimes I got results that I really liked, but it seemed like hard, time-consuming work and failed completely often enough to incline me towards single image captures. On the other hand stacking was giving me results that would be impossible to get with single images, no matter what camera I used. And I really liked some of these stacked images.
The A7ii didn't do focus bracketing or, what I generally used with my G80, post focus videos that I could use for stacking. Since it also seemed not to give me the radically better results for single image captures that I had hoped for I decided to take a different approach for botanical subjects. I decided to get the best kit I could in the format that was working quite well for me, micro four thirds, and put more effort into the processing side of it to try to get a better handle on the stacking issues.
I bought a Panasonic G9, their top line stills camera. This had several advantages over the G80 that I had been using previously. My preferred method for capturing images for stacking was post focus, which is a video-based technique. With the G80 I had been using 4K video, which produces 8 megapixel images from its 16 megapixel sensor. With the G9 I could use 6K video for post focus, which produces 18 megapixel images from its 20 megapixel sensor.
A disadvantage of post focus is that you are using video and from that you can only get JPEGs. However, the G9 lets you use a camera profile with a very flat profile, Cinelike D, and coupled with turning the noise reduction and sharpening right down this gave me sufficient processing flexibility for my needs. In fact, using this configuration the G9 produces JPEGs that I find appealing without needing too much done to them, especially as I got into the habit of setting the camera white balance for each scene individually. The G9 has really good configurability and conveniently placed buttons (two on the front of the camera in particular) which make this white balance setting really easy to do (I use the 18% grey panel on a ColorChecker Passport).
I continued to use Helicon Focus, which is one of the few products that can handle the H.265 format that the G9 uses for 6K video. A new PC, with a very powerful graphics card, made loading videos, extracting the JPEGs and aligning them, and the stacking too, fast enough not to be tedious.
I used the G9 with the Olympus 60mm macro that I had previously used on the G80. I quickly became very comfortable indeed with the G9, customising it to make it very quick and easy to switch back and forth between post focus and aperture bracketing, the other technique that I had been using a lot with the G80.
One of the things that matters most to me about my botanical images is the balance between on the one hand the extent to which the DOF covers the subject and on the other hand the way the background looks. Both of these depend on the aperture, with background rendition generally favouring larger apertures and DOF coverage generally favouring smaller apertures. I can't decide on a suitable aperture by simply looking at a scene; it is therefore a matter of trial and error. Doing this out in the field, trying different apertures and trying to decide what has worked best by looking at the little LCD screen is at best time-consuming, and risks being not very effective.
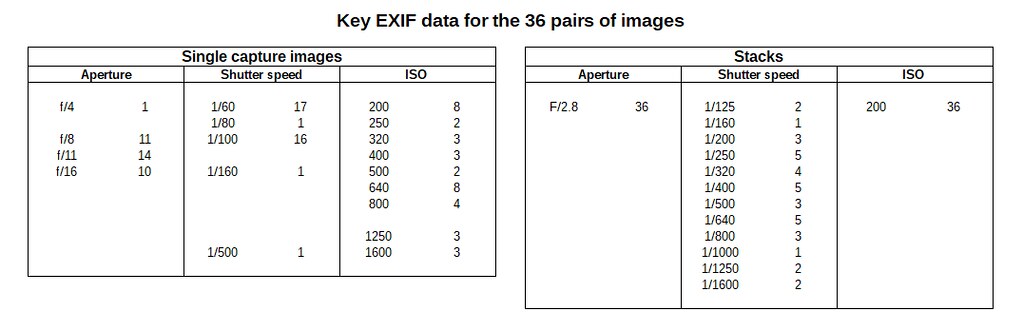
Aperture bracketing lets me take a sequence of captures with a single press of the shutter button, from f/2.8 to f/22. I can then decide which ones to use at leisure on the PC when I can get a decent look at them. This makes sessions in the field flow much better without the starting and stopping of review and retry. A downside of aperture bracketing is that the shutter speed can get very slow with the smallest apertures. It then becomes a judgement call as to what ISO to use so that the images captured with the smallest aperture I am likely to want to use had a fast enough shutter speed to avoid motion blur from hand-shake or subject movement. This results in typically using ISOs that are higher than one would need to use if optimising the exposure for individual captures. However, that was a compromise that worked well for me, especially given the noise control software I was using.
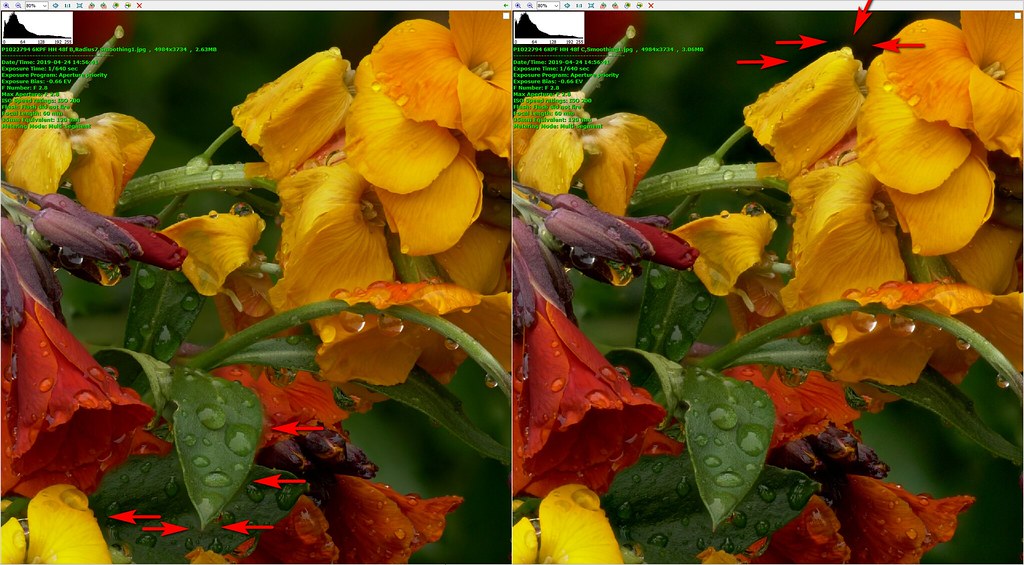
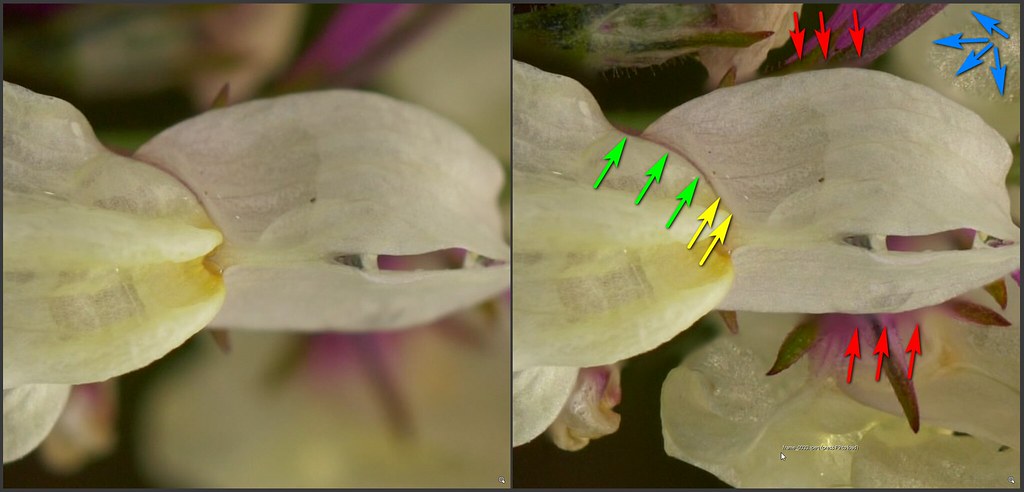
As the winter progressed I continued to find enough botanical subjects to practice on and slowly developed my post processing techniques to better handle the problems with stacking. One of those developments was to start using Photoshop again. I have an Adobe Photography subscription so I have Photoshop as well as Lightroom. Some years ago I used Photoshop but once I started using Lightroom I almost never used Photoshop. Now I am using it for example to deal with halos where cloning is needed, for which I find Photoshop a better tool than Helicon Focus or Lightroom.
I concentrated almost exclusively on stacking for a couple of months, which may well have been necessary to get to grips with the issues, but I realised that I was missing opportunities which single image captures could offer, possible examples being subjects that are too difficult for me to want to handle with stacking because of complicated haloing problems, scenes where subject movement was too great for stacking to work, and scenes where I would prefer more going on in the backgrounds than I typically get with my approach to stacking. I am now using an approach with three stages for each scene.
First, I set the white balance.
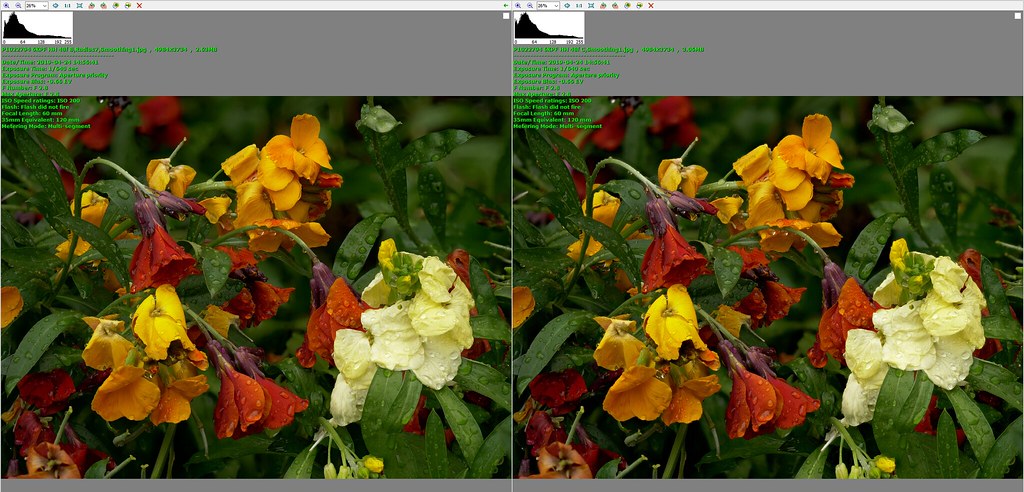
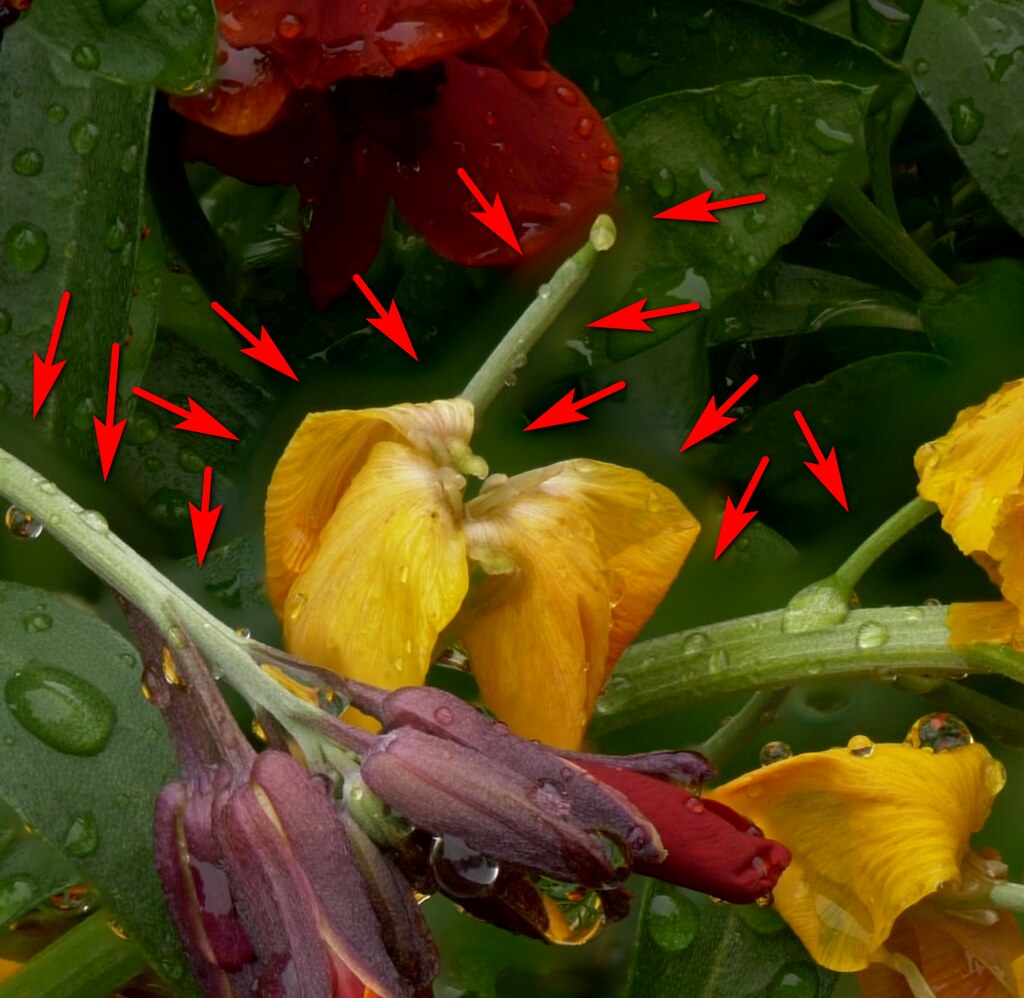
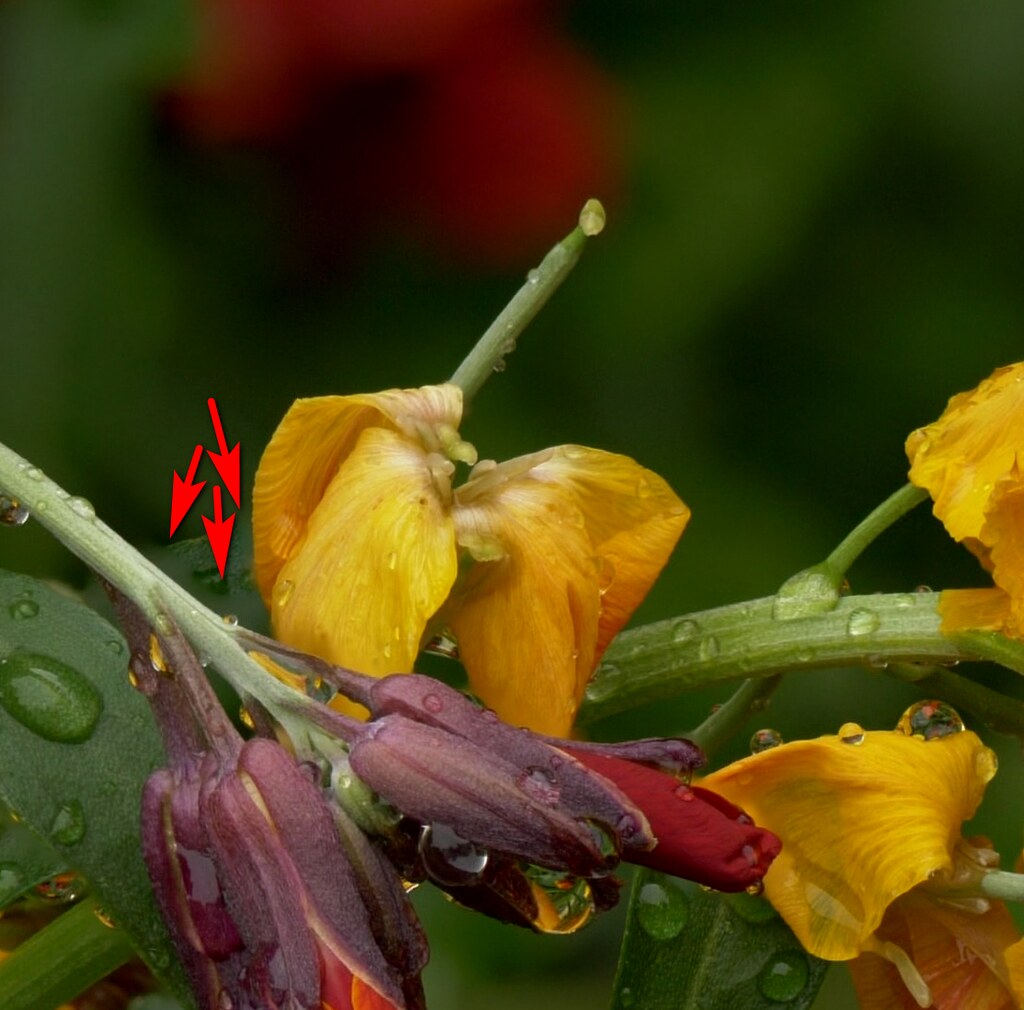
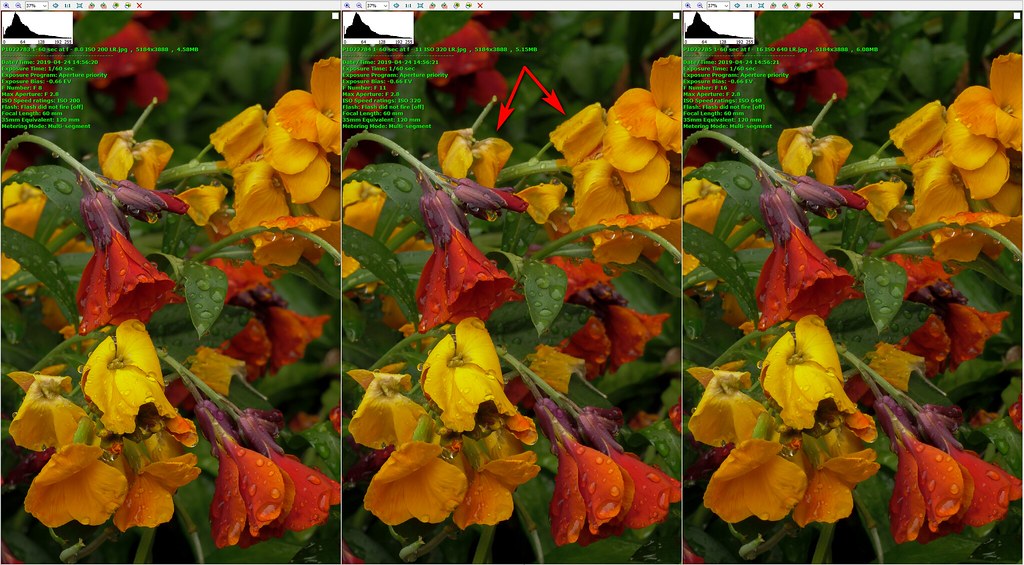
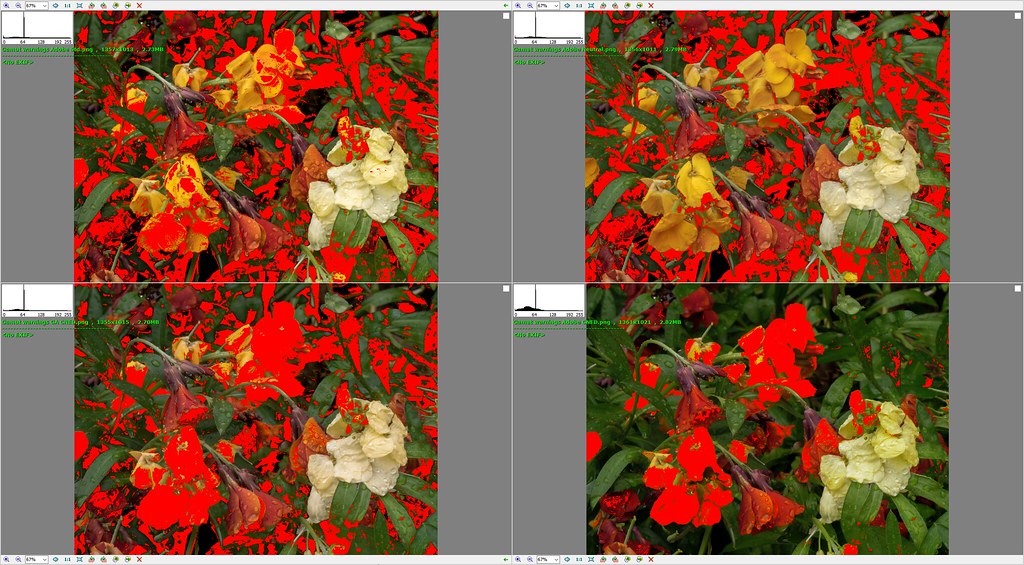
Second, I capture at least one aperture bracket set. This guarantees that I have single images with varied apertures to work on if the stack won't work or which may give me a look I prefer. Because of the way the G9 works this also makes it very quick to check the (3 separate channels) histogram for over-saturated channels, something which I find a particular problem with botanical issues, where one channel (often the red channel) is overloaded but this doesn't show up in the pre-shot zebras or the post-shot highlight blinkies. When this happens all detail can disappear from areas of, typically, petals, and the colours can become unrealistic and difficult or impossible (for me at least) to recover.
Third, capture several post focus videos. One of the issues with this is that it can be difficult to compose the shots. This is because when you half press the shutter button the camera moves the focus to find the front and back of the scene and as it does the subject changes size as it goes in and out of focus. Having done that the camera brings the focus to rest, at which point the subject will often be out of focus, and the wrong size, or even invisible, either of which make composition problematic. Starting with an aperture bracket capture helps with this, because autofocus works normally for that, allowing me to explore the options and settle on a composition. Since 6K post focus uses almost the entire sensor I can keep the same framing for the subsequent post focus capture. (This does not work with 4K post focus because 4K uses much less than the whole sensor, causing the framing to be completely different from single image capture framing.)
Little by little I am gaining confidence and competence with stacking, and bringing its use into balance with non-stacking techniques. At this stage I feel the G9 has been a great success. It feels good in my hands, I find it a pleasure to use, and I like the results I am getting from it.
As to the A7ii, I haven't found a use for it yet. When I started testing it for sunsets/cloudscapes I realised that I had forgotten that the 10-20 is an APS-C lens. To its credit, the A7ii handled that invisibly, automatically switching to APS-C mode when I mounted the 10-20, but of course it wasn't a good test of full frame capability. I then bought some inexpensive legacy lenses to try using the A7ii for sunsets and cloudscapes, but I had a lot of problems with flare and gave up on that idea.
I eventually bought a Sony 24-240. With that range of focal lengths it is obviously not optically brilliant. In fact I have seen it described as one of the worst (possibly the worst) lens in the Sony full frame line-up. However, I have also seen it described very positively, and detail (and therefore the optical qualities of the lens) would not be the key factor for the subject matter I had in mind. In this case the key factors would be to do with the camera rather than the lens - dynamic range (while the sun was still above the horizon) and low noise (when light levels drop after the sun has set). And in this case I would be able to use the lens wide open as depth of field would not be an issue and would be able to use slow shutter speeds, especially if using a tripod, which is a practical proposition for sunsets. This would mean I wouldn't run into the image quality limitation issues that had proved so critical for botanical subject matter.
Some early tests suggested that there would indeed be image quality benefits in using the A7ii for single-image captures of sunsets and cloudscapes. However, I have yet to test this properly with more extensive like for like comparisons. And then there is the question of multi-capture techniques, which could undermine any single image capture benefits of the A7ii. These techniques would be exposure bracketing and merging for high dynamic range scenes with the sun above the horizon and median blending for post sunset low light scenes. Since moving water is generally present in these scenes beside the estuary the softening effects of such merging might or might not be attractive. When my mood and the state of the sky coincide I shall do some more experiments.
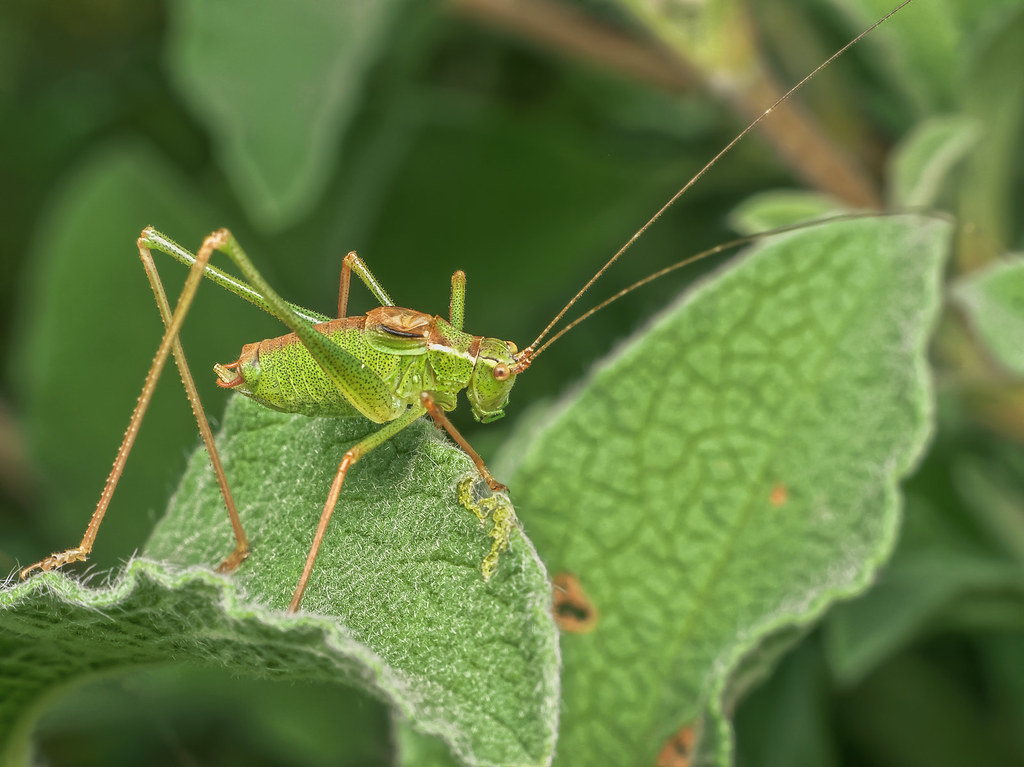
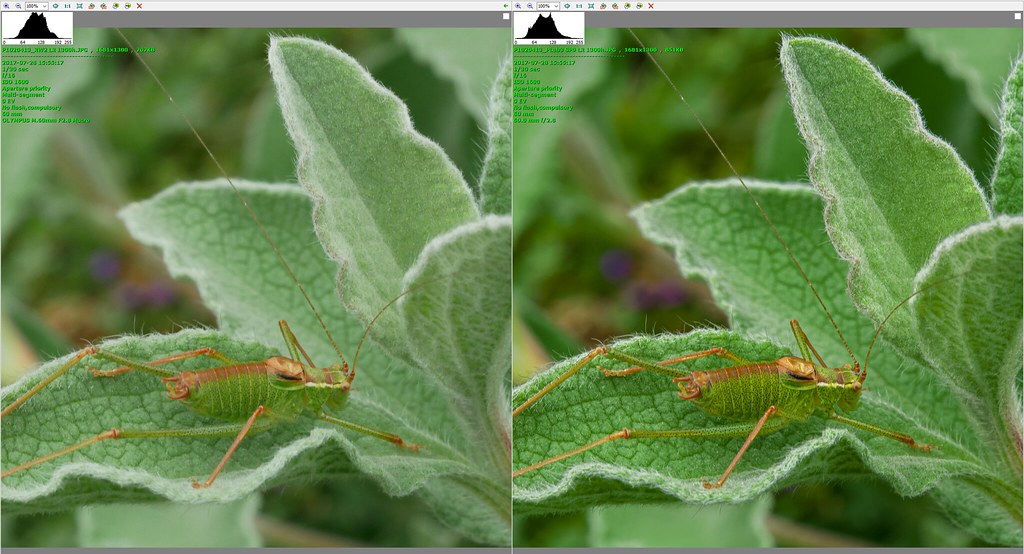
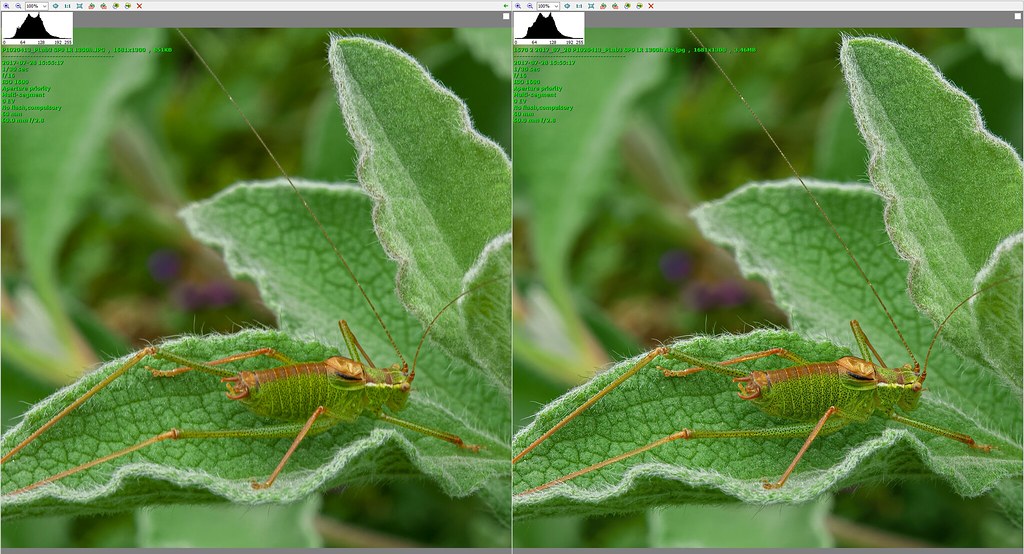
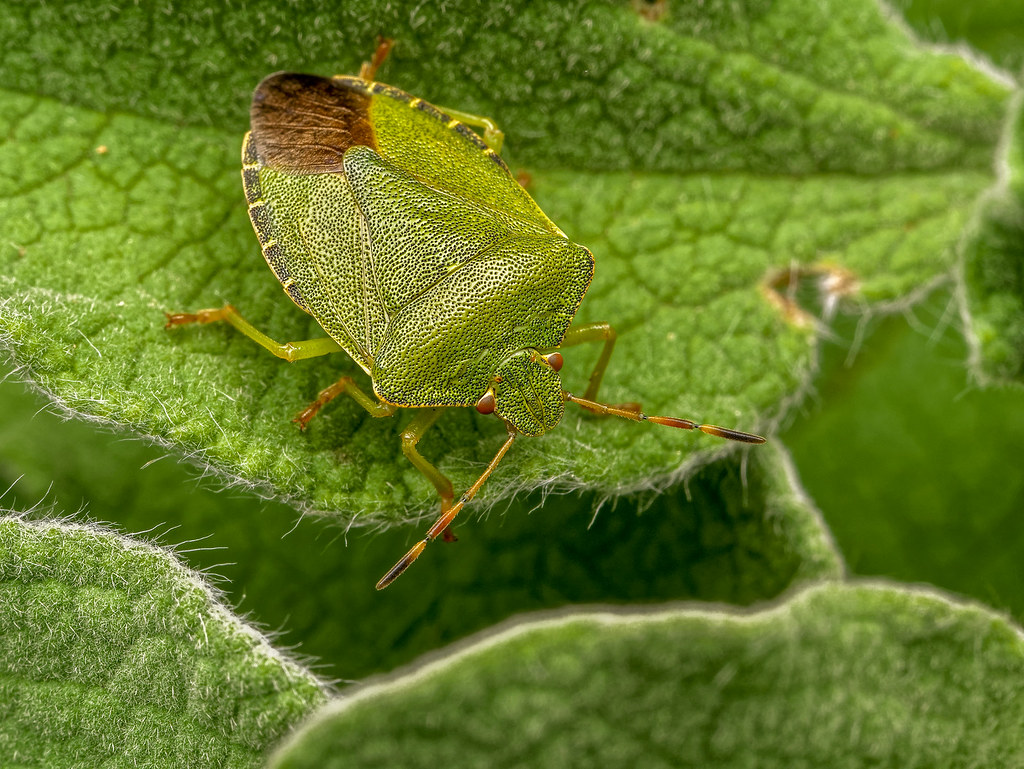
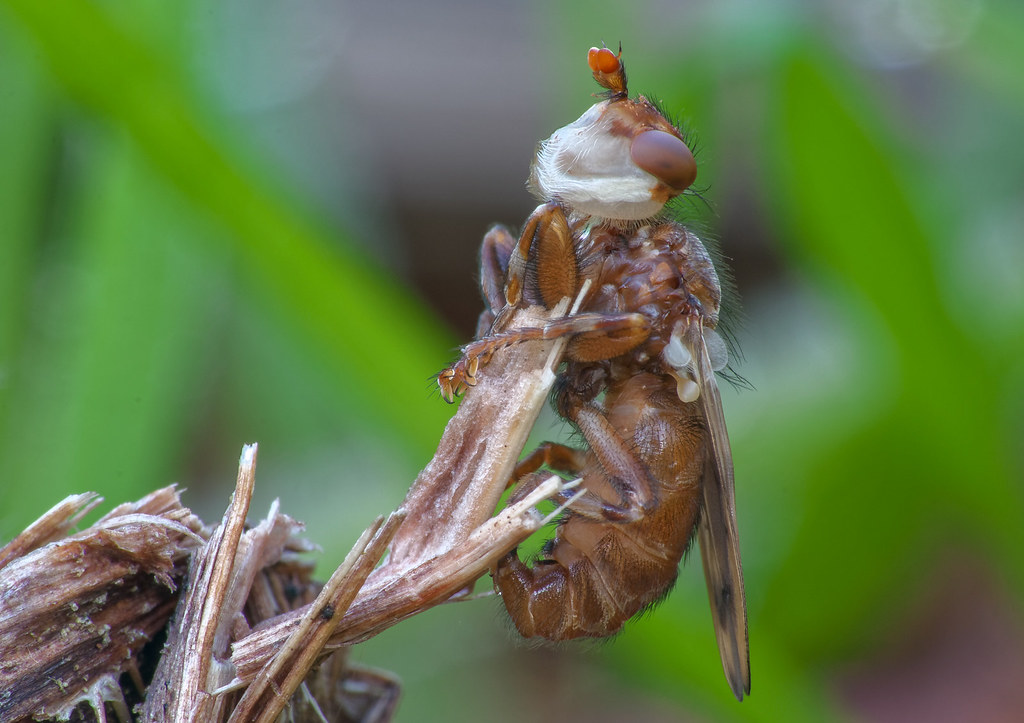
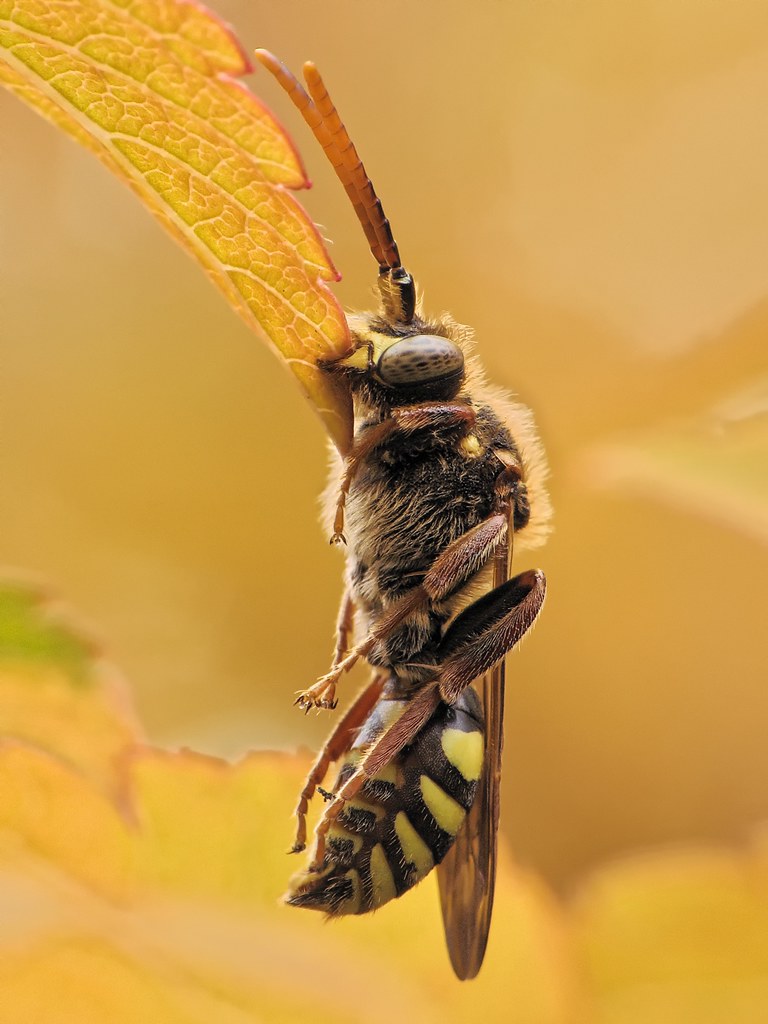
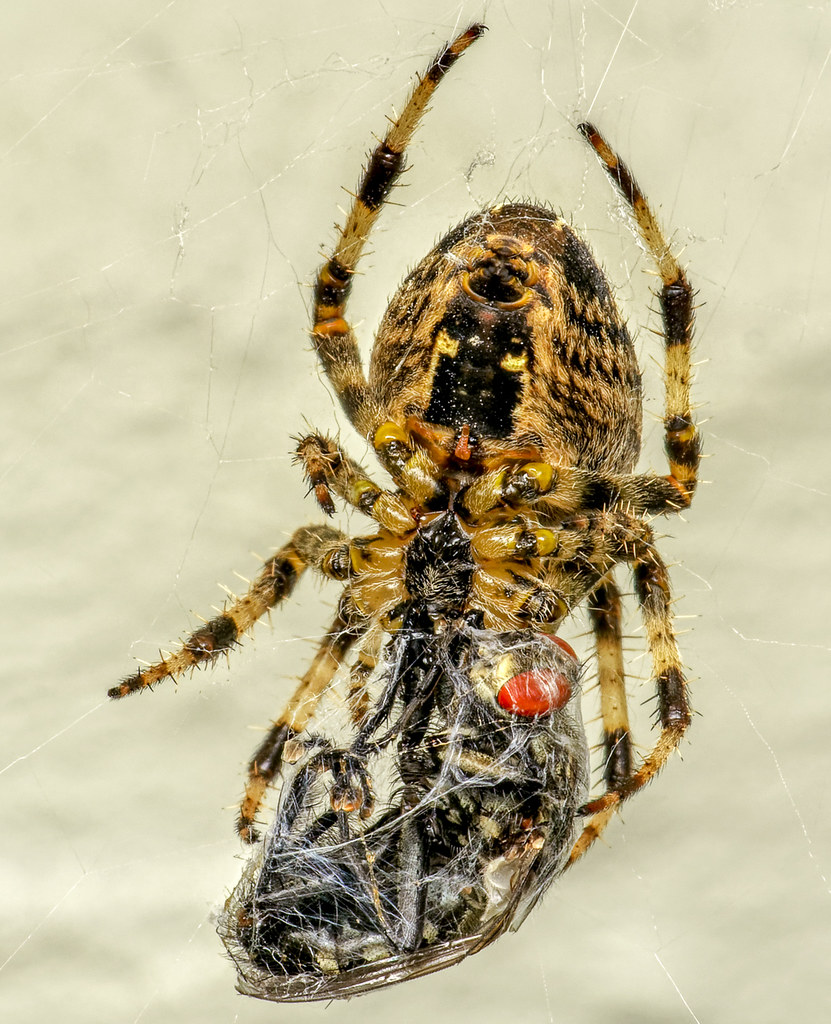
And for invertebrates? I don't see the A7ii being useful for this. I have been over the issues in detail over the course of many previous posts in this thread in relation to micro four thirds and APS-C, with various combinations of macro lenses, reversed lenses, extension tubes and teleconverters, and also with close-up lenses, and I kept coming back to using close-up lenses with my bridge cameras as the best option, for my preferred ways of working and usual subject matter. Given my use of very small apertures and the implications of that for loss of image quality from difraction, I don't see any prospect of the A7ii being an improvement. In fact it might not even be as good as APS-C or micro four thirds because I would only be able to use minimum nominal apertures of f/22 with the A7ii, equivalent to f/11 with micro four thirds or around f/14 with APS-C, reducing the depth of field by up to half.
I did some indoor test shots of a banknote that I have used to look at various setups and this did not suggest I would get exceptional quality for my purposes from the A7ii. For real world live testing there have not been many invertebrate subjects around until now, and for those that have I have been very inclined to use a setup that I know works rather than wasting these currently limited opportunities with a setup that I have no reason to believe would be better and good reasons (weight, focusing issues, DOF) to think that it would be worse. But when subjects are more plentiful I will give it a more thorough workout. Who knows, perhaps I will be surprised. That wouldn't be the first time that has happened on this journey.
")


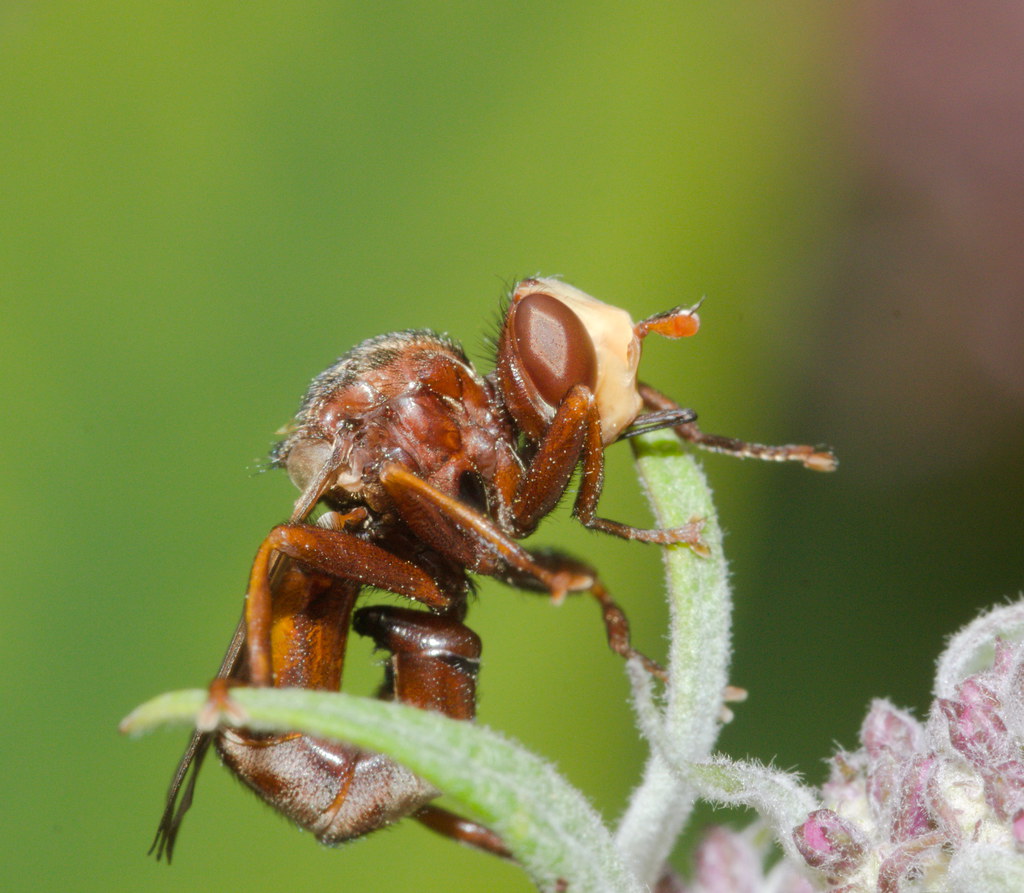 ConopidFlyIMG_5926
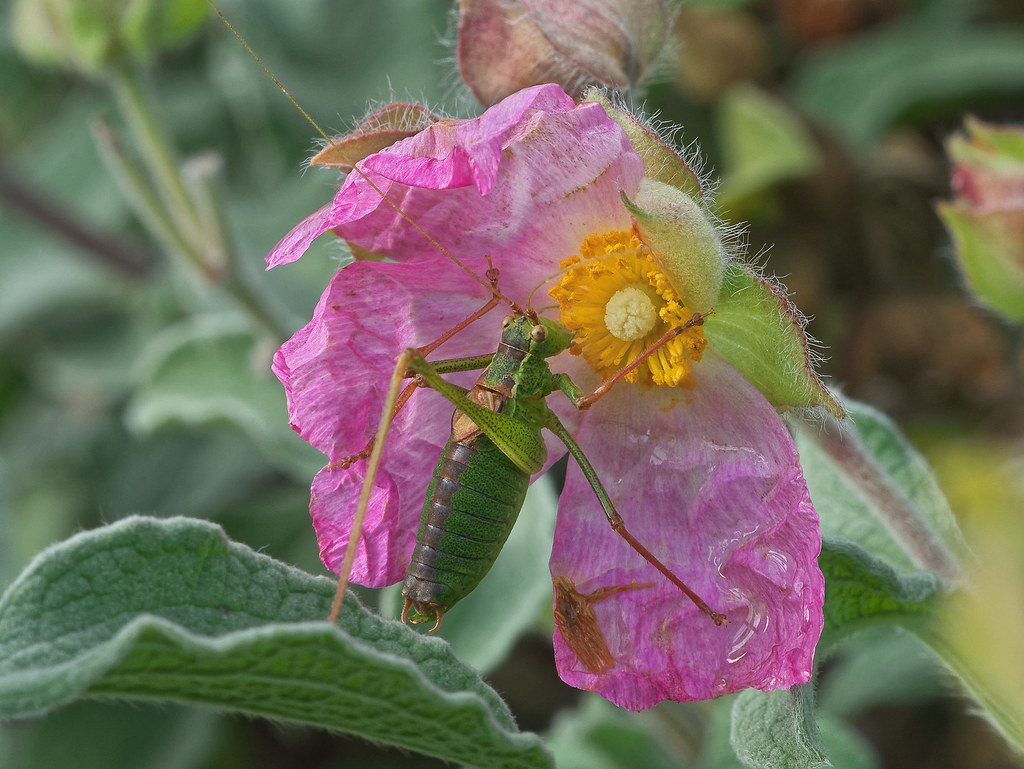

 1330 093 2018_06_21 IMG_9095_DxO RAW LR7 1400h
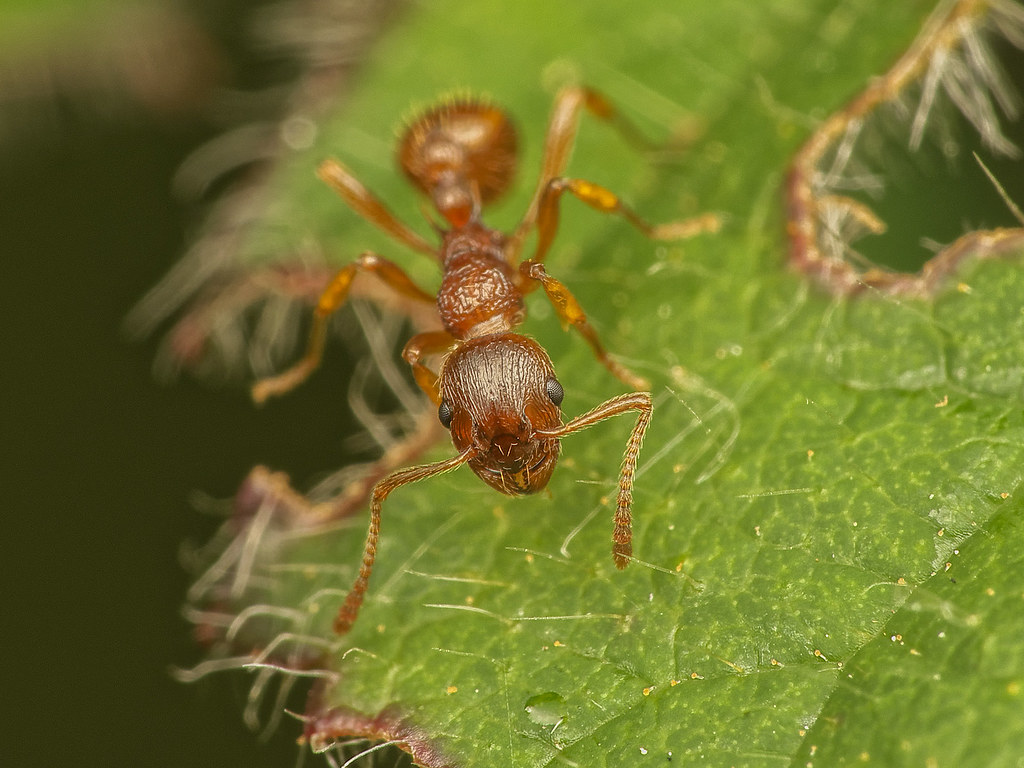
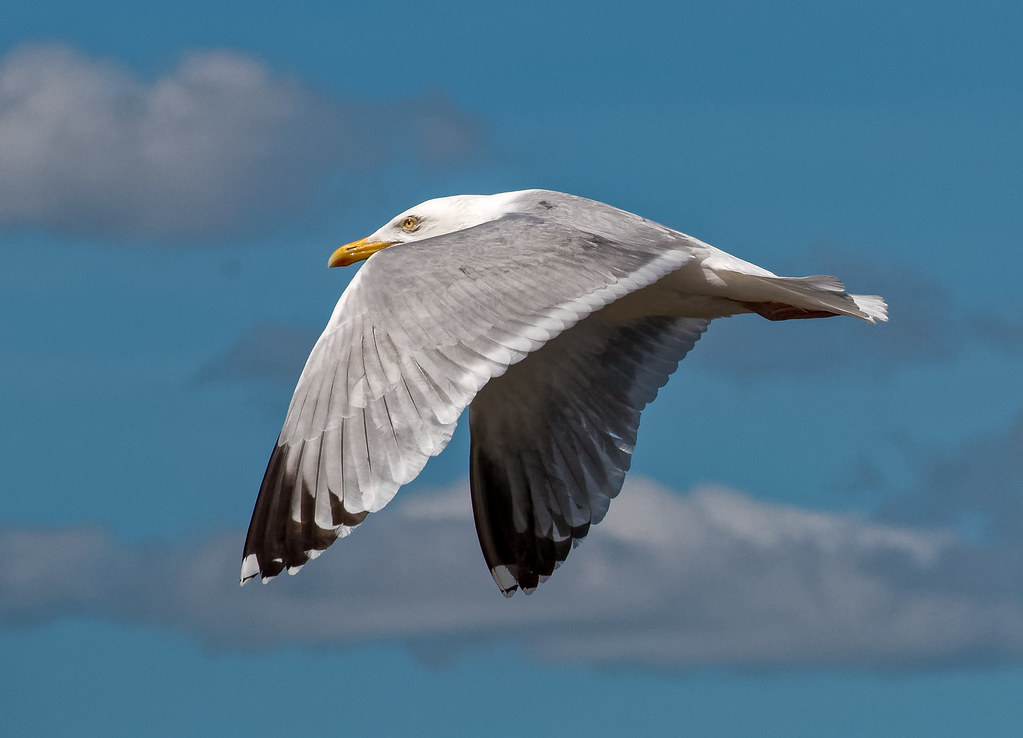 1330 090 2018_06_21 IMG_9058_DxO RAW LR7 1400h
 1330 070 2018_06_21 IMG_8885_DxO RAW LR6 1400h
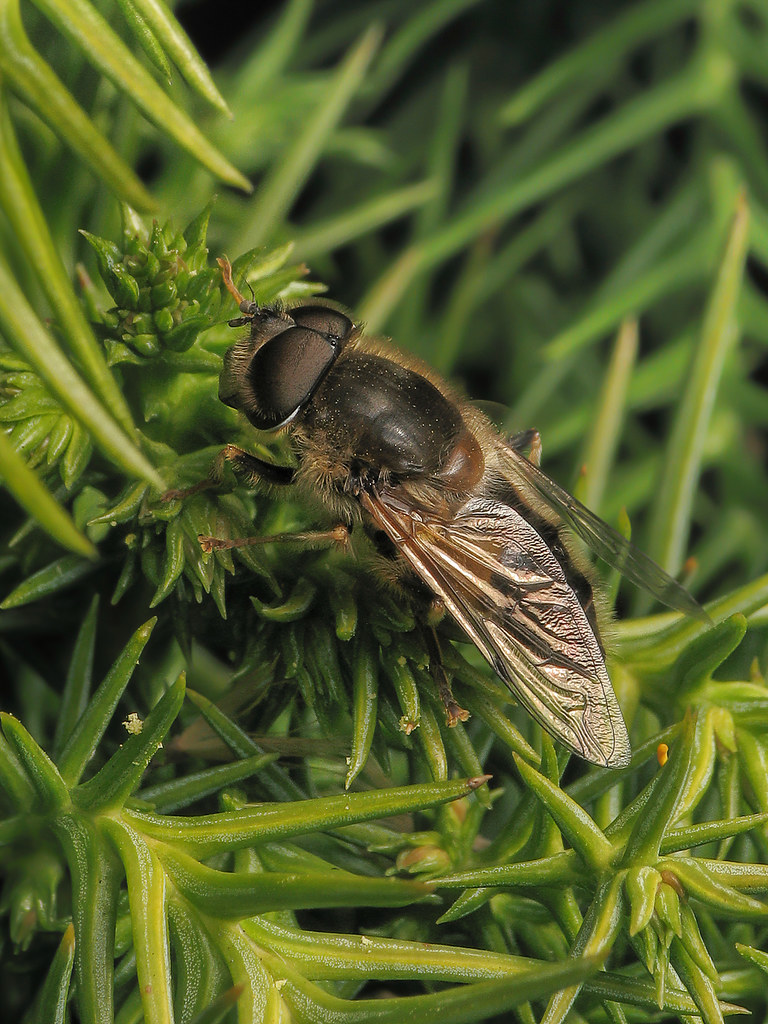
 1330 071 2018_06_21 IMG_8886_DxO RAW LR6 1400h
 1330 069 2018_06_21 IMG_8882_DxO RAW LR6 1400h
 1362 32 2018_08_21IMG_2700_DxO RAW LR7 1400h