

- Messages
- 571
- Name
- Dougie
- Edit My Images
- Yes
Hi All,
First go at some product photography.
Was helping out in work, these pics are appearing on QVC tonight !
Cheers,
Dougie.
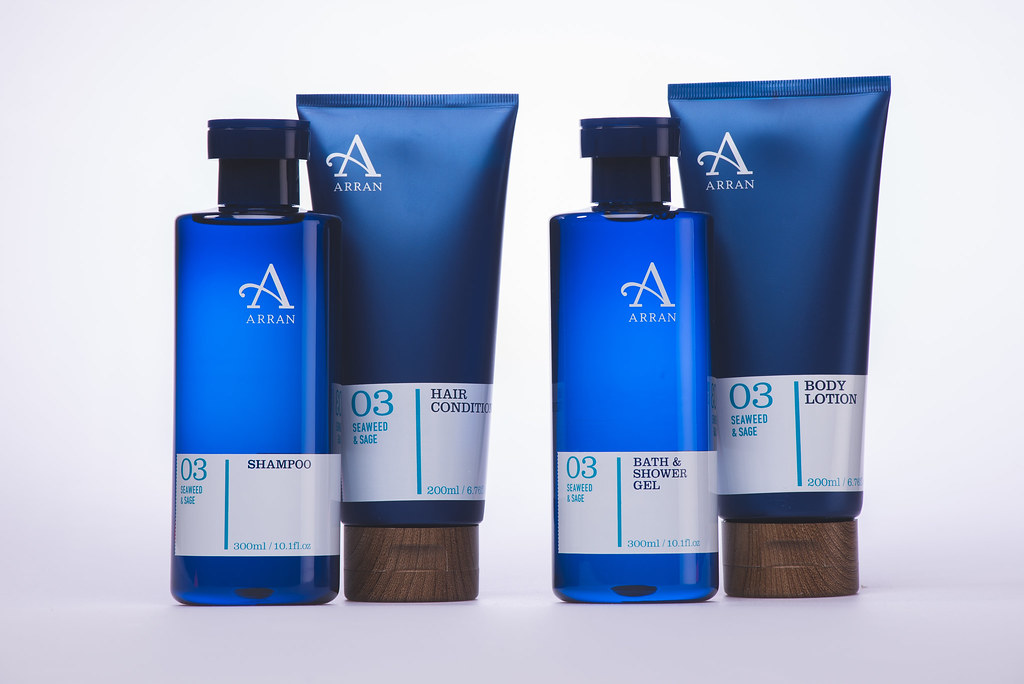 SeaWeedAndSage by Dougie Lindsay, on Flickr
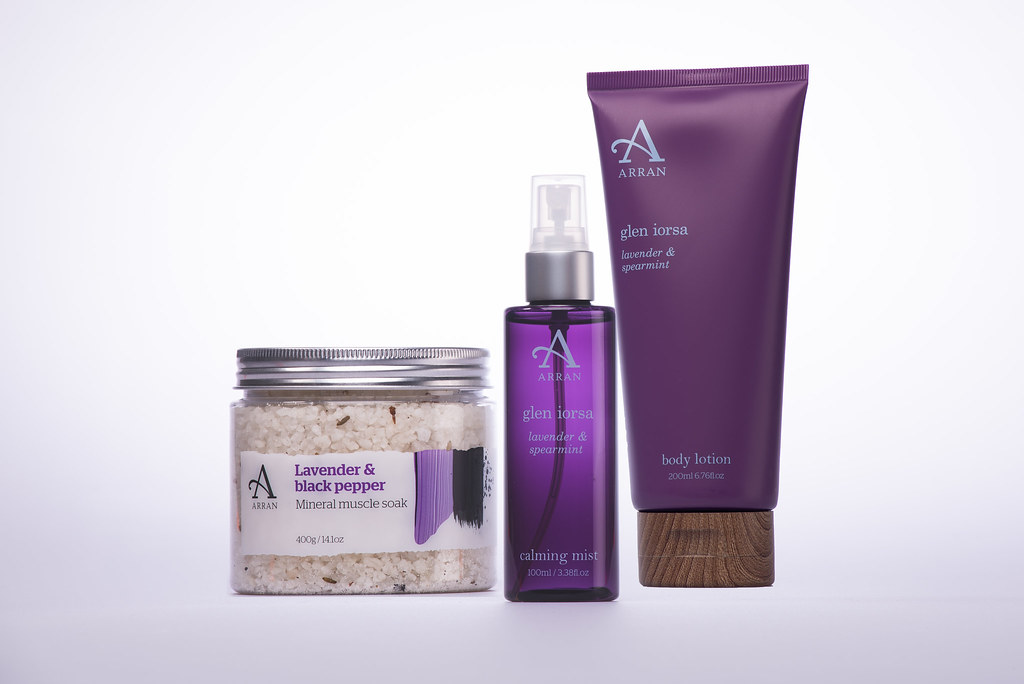 GlenIorsa-CalmingMistAndBodyLotionMuscleSoak by Dougie Lindsay, on Flickr
 GlenRosa-BathAndShowerGel-BodyLotionAndSoap by Dougie Lindsay, on Flickr
First go at some product photography.
Was helping out in work, these pics are appearing on QVC tonight !
Cheers,
Dougie.
SeaWeedAndSage by Dougie Lindsay, on FlickrGlenIorsa-CalmingMistAndBodyLotionMuscleSoak by Dougie Lindsay, on FlickrGlenRosa-BathAndShowerGel-BodyLotionAndSoap by Dougie Lindsay, on Flickr