- Messages
- 6,584
- Name
- Phil
- Edit My Images
- Yes
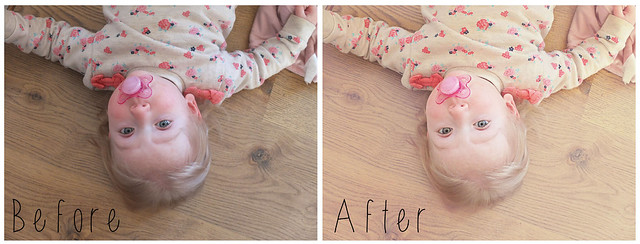
Following on from another thread, myself and several others think it's a good idea to show of before and after images.
I think it would be great for inspiration but also learning techniques as I'm sure there will be questions on how it was done.
I'll start then!
Before:

After:

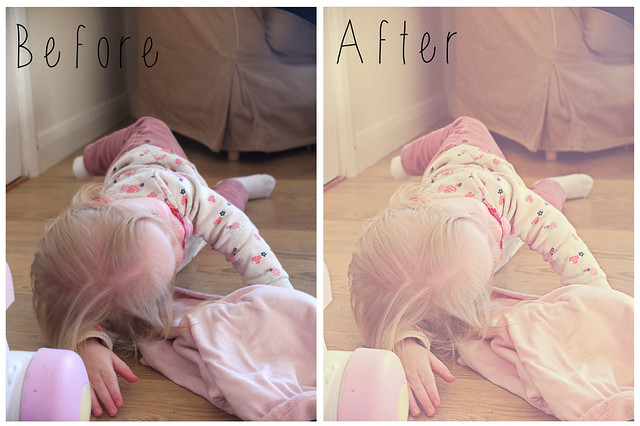
Before:

After:

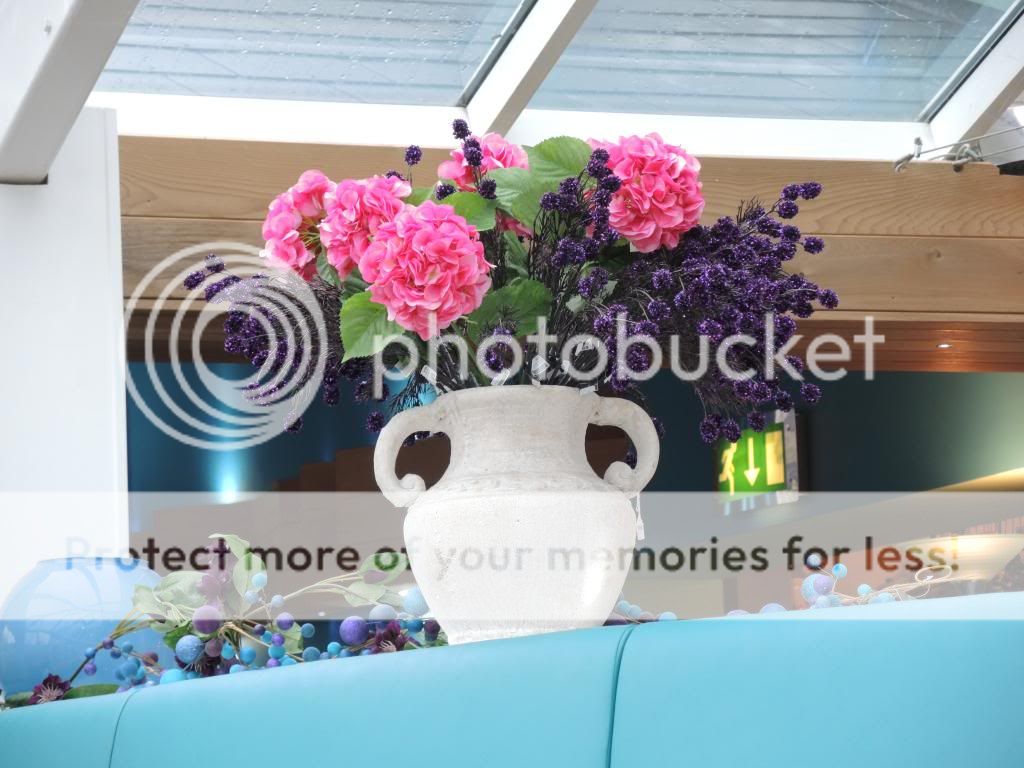
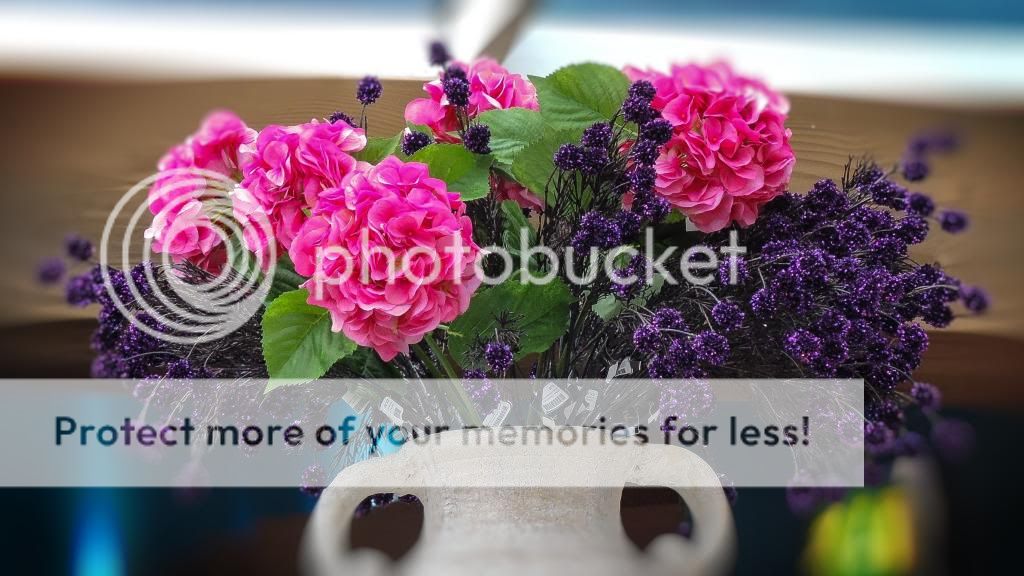
Before:

After:

I think it would be great for inspiration but also learning techniques as I'm sure there will be questions on how it was done.
I'll start then!
Before:
After:
Before:
After:
Before:
After:

")