Tutorial Cloning Multiple Images Together (How To)

CT

TPer Emeritus
Messages
26,617
Edit My Images
Yes
CT submitted a new resource:

Cloning Multiple Images Together (How To) - Cloning Multiple Images Together (How To)

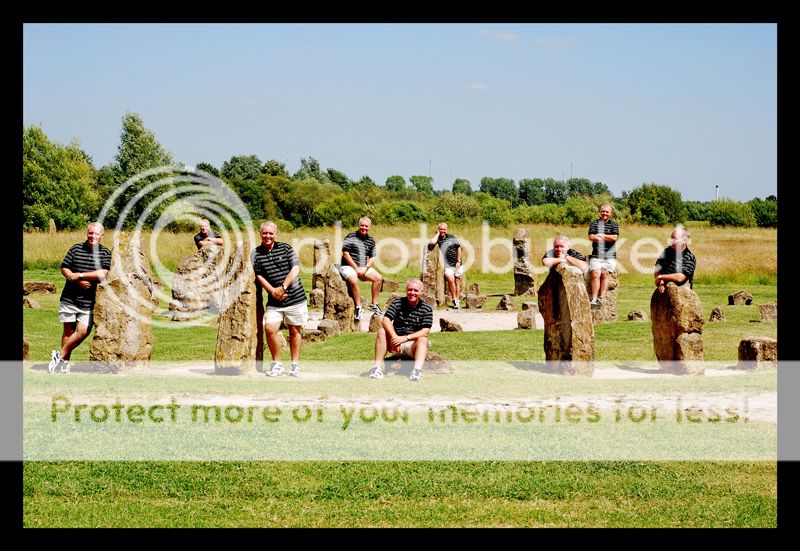
Combining multiple shots together like this one is very simple to do.

Tyre_Kickers.jpg


You need a photo editing package with a cloning tool, and a tripod. You can manage without a tripod by mounting the camera on a solid surface as long as it doesn't move at all between exposures, but a tripod makes life much easier. Probably the easiest way to get to grips with this is to take two exposures of yourself on a settee - one sitting on...

Read more about this resource...
 
Last edited by a moderator:
Many thanks for that, CT. I think you're using PSP8 there, but it's much the same in PSP9, except that the Tool Options appear automatically as a menu bar. Also the x and y cursor coordinates appear at the bottom right of the screen, so you can align the source and target points perfectly. :wink:
 
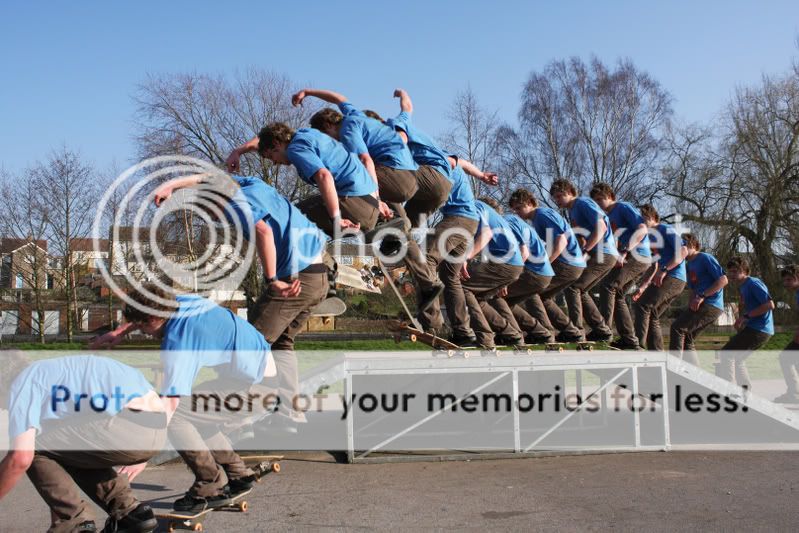
Great shot.. LOL.. made me laugh. Similar to that one of the girls running across the beach that I did... well.. I say girls.. but it's all one model cloned in again and again.

charmbattle.jpg
 
Another way to do it (among the million ways of doing anything in PhotoShop) would perhaps to be to overlay all the images add layer masks and paint away. It's quite easy to tweak the finished product this way.
 
Did this one using the layers method from a CD rom i got free with digital photo magazine.

multi-09-Tel-resized.jpg
 
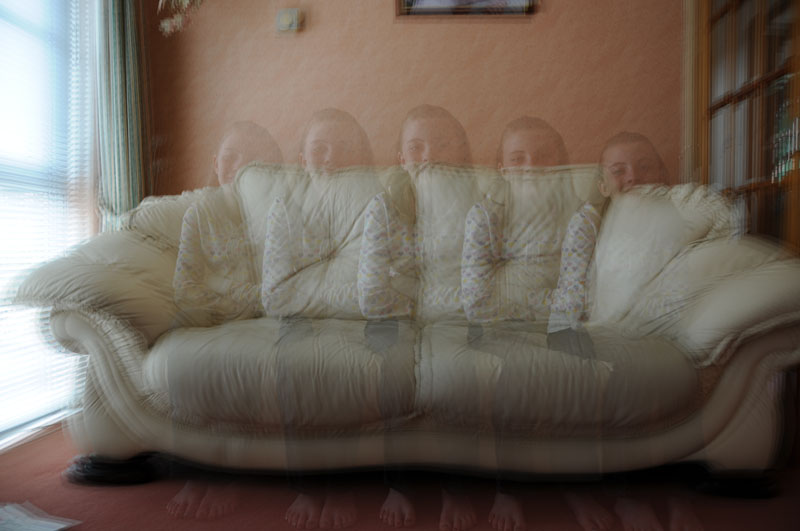
I had a go at doing this when I first got my D300 ...not sure why they were so faint......

2771033398_5623f25af0_o.jpg
 
In Corel PhotoPaint 12, I have to "Return" to the scanner after each scan.
Corel 8 would allow multiple scans before returning to the paint workspace.

Does anyone know how to scan multiple images with Corel Photo paint 12?

Thanks
Jerry
 
I had a go at doing this when I first got my D300 ...not sure why they were so faint......

2771033398_5623f25af0_o.jpg

LOL. It looks like you had the opacity of the clone tool reduced. Just set it to 100% opacity.
 
Did this one using the layers method from a CD rom i got free with digital photo magazine.

multi-09-Tel-resized.jpg


I think I had that same magazine :)

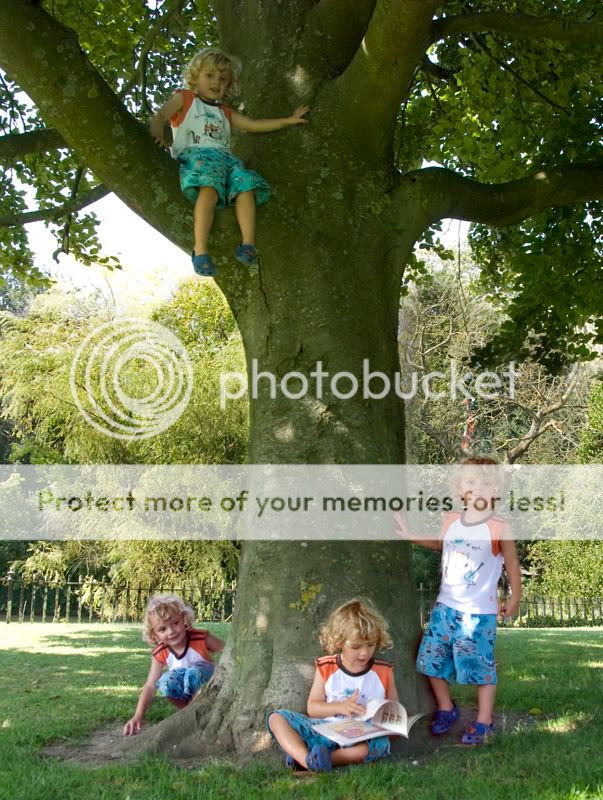
DylansTree.jpg
 
This has been a great help and I'm starting to get some good results. But I do have a quick question.... Can you do this without a tripod? I mean can I hold the camera, for example if I was shooting a surfer or wind surfer or maybe a plane where you have to pan the camera?

Sent from my iPhone using TP Forums

Generally speaking the usual approach for this type of image is that the camera doesn't move between exposures and that the view remains identical within each exposure - only the figures changing position within it -it's also obviously the easiest way to obtain a convincing result.

You could obtain a reasonable result by hand holding the camera and framing each exposure reaonably identically in the frame - you can certainly do that with hand held exposures you later intend to combine in HDR processing, so this would be essentially no different.

As for combining images of surfers on a single background, the difficulty would be the ever -changing background due to the varying sizes and positions of the waves, and panning with a plane would also mean a changing background with each exposure.

Having said that, digital processing and image manipulation means that little is impossible with a little thought and imagination.If you posted some idea of the sort of shot you had in mind it would be easier to comment on the feasiblity of it, and what other techniques might also be needed in addition to image cloning.

Well my first idea is to get one of my Lifeboats punching through a wave but I will be on a boat myself so the background will not be the same.

The other issue i have is I have two photos, the first photo is of a RNLI crew member jumping off the side of a river in mid air, the second one is of a person in the water on which was taken just after the first photo. What I want to do is put them together so it looks like the RNLI crew memeber is jumping in to get the person in the water.
 
The other issue i have is I have two photos, the first photo is of a RNLI crew member jumping off the side of a river in mid air, the second one is of a person in the water on which was taken just after the first photo. What I want to do is put them together so it looks like the RNLI crew memeber is jumping in to get the person in the water.
Post the two images and let people have a look - I'm sure you'll get plenty of help wth the idea.
.
 
I just wrote some ideas for making a multi image picture for a member who asked when he saw my picture. I was going to post it in tutorials when I saw this thread. Rather than waste the typing :nono: I have added it here.

My picture:

5155188301_8726941c5e_b.jpg


Making a multi-image - collage

Section 1
After deciding on the subject your taking, set the scene up and mount your camera on a sturdy tripod or other firm support.
It’s essential that the camera doesn’t move at all while you’re taking the sequence.
Make the necessary settings on the camera in manual mode including manual focus; don’t use any auto setting because all shots must have consistent quality. Try to ensure that the lighting in the room or wherever doesn’t vary, a cloud passing over the sun on a sunny day will make the room darker and will make that one image different to the rest.
If you’re using flash, use a manual setting rather than TTL to avoid any variations in lighting.
Set the camera to mirror up, and use either a remote or cable release to avoid any camera movement
Take a basic picture of the empty room; this will be the base picture.
Next place the subject in the room in your chosen position and take that picture. Repeat this as many times as you need to get the final effect you want.

I have based this on Photoshop CS5, Elements 9 works the same now that it has layer masks included. Other software will do the same job but having not used them I can’t include them in these instructions.
If you want to make any alterations or changes to the pictures, ie. cropping, brightness, sharpening, its important that these are all done at the end of the process. The only exception is if you want to change an individual picture for any specific reason, other than that, you want all the pictures to be identical in size and quality.

In Photoshop or similar, load the base picture, or background as it will be called in the layers.
Section 2
Now open the next picture in the series with the person/item in.
Click >Select >all on the second picture, then click >edit >copy.
Go back to the base picture and click >edit >paste
(As an alternative to this, you can open two windows on your work area then click and drag the second layer into the base layer. The disadvantage to this is that you need the picture on full size to allow accurate editing).
Click on the second image layer, and open a layer mask.
Click on the layer mask window, make sure the foreground colour is black, then select the brush tool.
Use a soft round brush of around 400px or what size suits you best, set mode to normal, opacity to 100%. Then brush the second image to remove the area surrounding the person/item to reveal the layer below. Because the backgrounds should be identical and all layers perfectly aligned (providing the camera wasn’t moved at all during taking the images), there isn’t a need to brush right up to the person very accurately, but try not to brush any of the person out. Should you accidentally brush out any part you want kept, change the foreground colour to white and brush the area back in.
Now open the third picture in the series and repeat from section 2. Repeat this with all the other pictures you want in the collage.
If you want to save the image at any point, save it as a PSD file, that will keep all the layers intact so that you can go back to the collage at a later time and continue editing.
When your satisfied with the results, select Layer > flatten image to finish and save as a JPEG or whatever you usually use.

This was my first opening image or base image, I have included Jessica in this first shot. This picture is used in full throughout the process and so has the be clear of any people or items you don't want in the final image. You can see this layer on the lower right showing as 'Background'.
5466186427_7de78a4a99_b.jpg


The second image has been added here and partly brushed over revealing the layer below by using the brush tool with the foreground colour being black. You can see that Mum Sue was in the room when the pictures were taken except in the first picture, I needed an empty room for the first shot. Mum was brushed out in each layer together with the rest of the room. On the lower right are the layers building up. The mask is showing the areas (in black) that have been brushed out so far. The brushing out on this layer hasn't been finished, I have left it like this to show the process.
5466784166_1534088b65_b.jpg


The third layer has been added now, and again, partly brushed out. The third layer can be seen on the lower right together with the layer mask. Brush each layer out leaving only the subject in the picture before adding the next layer. Continue adding each picture as a layer until complete.
5466187031_a0ca5511a9_b.jpg


This process is slightly different to CT's method, both will work of course.


Here I have shown the same process but in Elements 9. Only the second two images are shown here, the first is the same as in CS5 above. I havent done a final crop on these images, that should be done after all images have been loaded and processed and the final image flattened. I have left the project bin open in this series to show the images being added as well as the layer mask showing the area that has been painted over to reveal the picture below.


5467805551_24b894281f_b.jpg


5468403058_6889da1f72_b.jpg

I hope this helps and good luck.
 
Last edited:
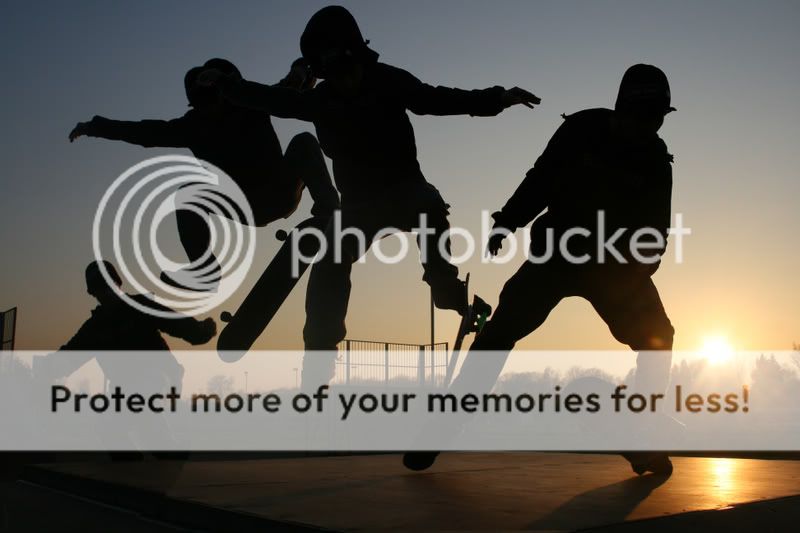
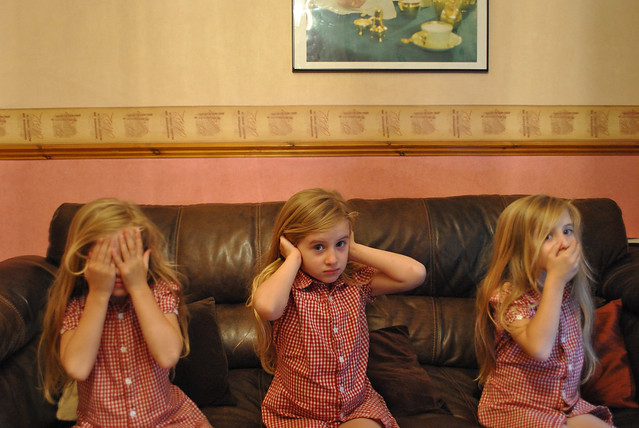
Just found this while going through some old stuff - three exposures combined in processing...


threesome by tonky8203, on Flickr
 
Back
Top