

- Messages
- 6,320
- Name
- Steven
- Edit My Images
- Yes
I picked this up quite cheap not as cheap as I'd hoped but I figure it can be a bit of winter project. Its missing the back or any film holders so I'm going to have to work something out there and the bellows are terminally moth eaten but I've been thinking of trying to make some bellows for ages. It looks to be a fairly basic meniscus lens so its not going to be good for more than contact prints.
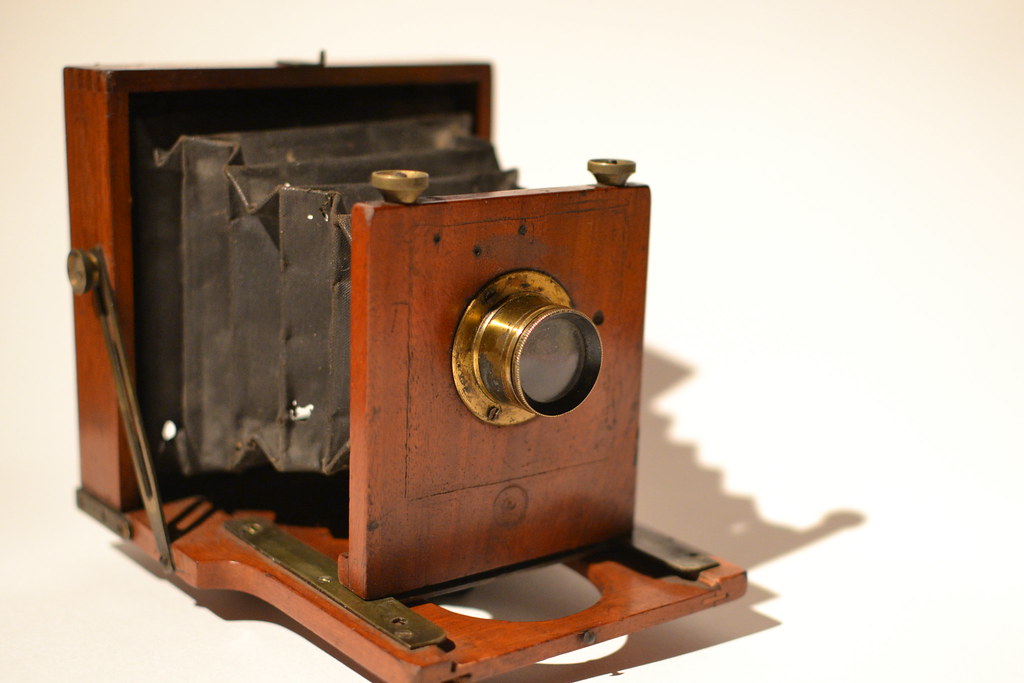 Unidentified 2x3 Field Camera by Steven, on Flickr
I'm guessing this iron work is to connect to a tripod but I've never seen it before, any thoughts?
 Unidentified 2x3 Field Camera by Steven, on Flickr
It folds up pretty tiny too.
 Unidentified 2x3 Field Camera by Steven, on Flickr
Unidentified 2x3 Field Camera by Steven, on FlickrI'm guessing this iron work is to connect to a tripod but I've never seen it before, any thoughts?
Unidentified 2x3 Field Camera by Steven, on FlickrIt folds up pretty tiny too.
Unidentified 2x3 Field Camera by Steven, on Flickr") what are you going to do with film? chop 5x4 down to size?
what are you going to do with film? chop 5x4 down to size?
