

You are using an out of date browser. It may not display this or other websites correctly.
You should upgrade or use an alternative browser.
You should upgrade or use an alternative browser.
Julie MCE Build Log
- Thread starter Rob 80386
- Start date
OP

- Messages
- 6,385
- Name
- Emily
- Edit My Images
- No
spec?
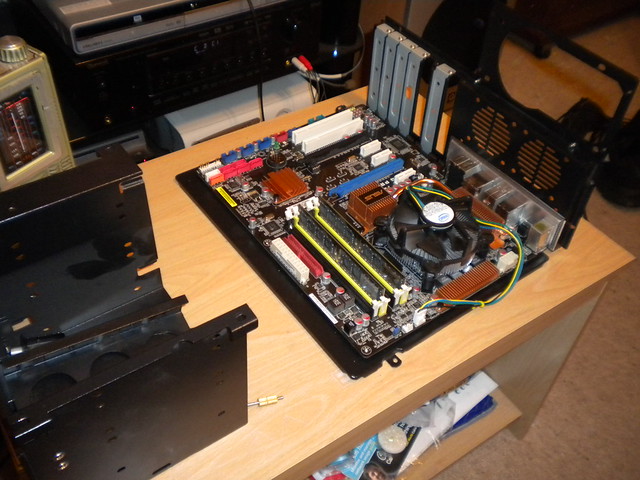
At the moment I'm using an Asus P5Q Pro Turbo board with a 775 Core 2 Duo E8400 3GHz, 2GB RAM
I hope to put the core i7 950 in its place once the case is fully assembled and tested to ensure proper air flow
OP
- Messages
- 6,385
- Name
- Emily
- Edit My Images
- No
That's a very high spec processor for an MCE - unless you want gaming.
Gaming will be part of it's function, which is why I chose an ATX board and the i7 950, ATi Crossfire 2x4890 will be used, also because I had the components already

This is intended to become my "central media hub"
Last edited:
OP
- Messages
- 6,385
- Name
- Emily
- Edit My Images
- No
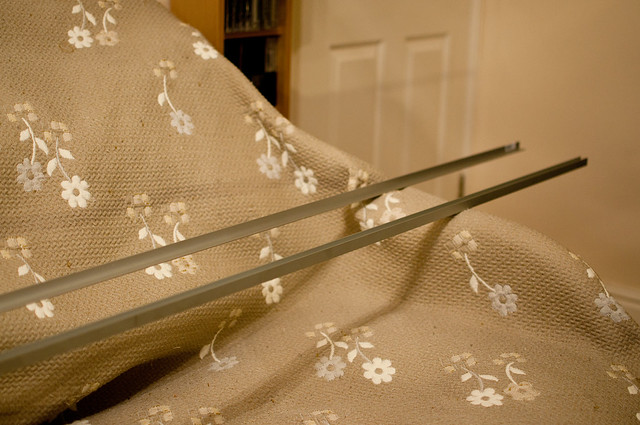
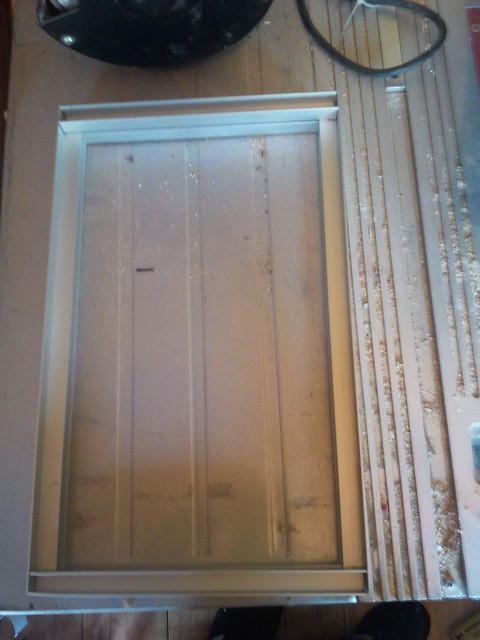
Building your own case?
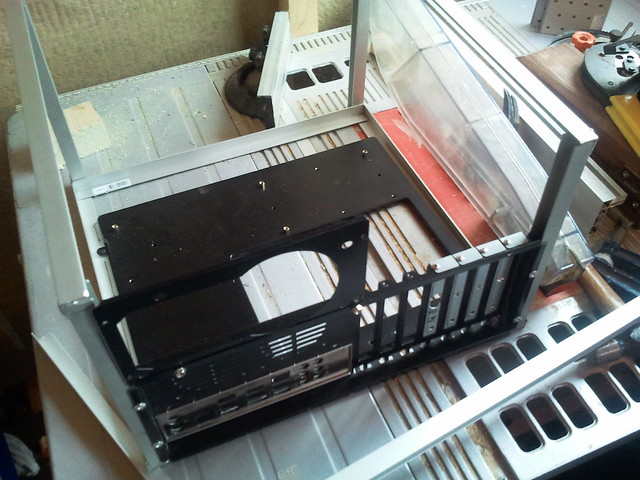
Oh yes, I couldn't find an ATX case small enough, so I decided to build my own
D
david_voodoo
Guest
What software you going to be using on it. I just started using XBMC last month and quite impressed.
OP
- Messages
- 6,385
- Name
- Emily
- Edit My Images
- No
just to put it into perspective, what dimensions is that?
It is, L 355mm x W 355mm x H 213mm
the height is short as it needs to fit a particular space in my media unit

- Messages
- 30,364
- Name
- Neil
- Edit My Images
- No
It is, L 355mm x W 355mm x H 213mm
the height is short as it needs to fit a particular space in my media unit
so actually pretty small then, the pics make it look bigger
OP
- Messages
- 6,385
- Name
- Emily
- Edit My Images
- No
so actually pretty small then, the pics make it look bigger
I blame that on my phone camera

It's as small as I could practically go with an ATX board and two ATi 4890 graphics cards


- Messages
- 9,438
- Name
- Andy
- Edit My Images
- Yes
- Messages
- 30,364
- Name
- Neil
- Edit My Images
- No
But did it work?

:razz:

OP
- Messages
- 6,385
- Name
- Emily
- Edit My Images
- No
Update...
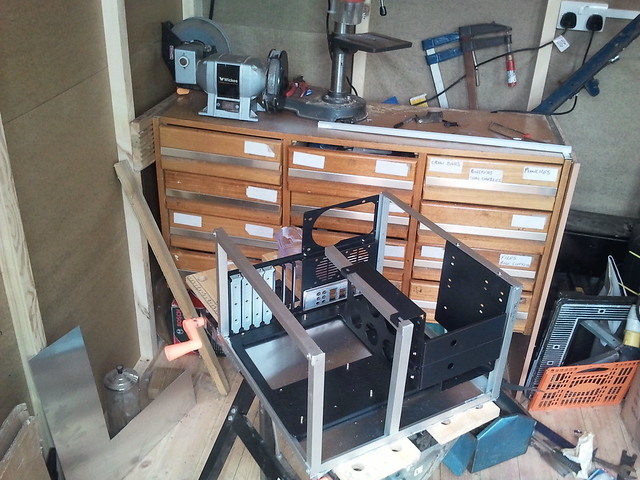
This hasn't died, I've been busy sorting other things that have had to take priority over this, but the top front and sides have be made and fixed on, the only thing left to do is give it a few coats of primer and black paint, then install the computer parts.
This hasn't died, I've been busy sorting other things that have had to take priority over this, but the top front and sides have be made and fixed on, the only thing left to do is give it a few coats of primer and black paint, then install the computer parts.