- Messages
- 9,192
- Edit My Images
- Yes
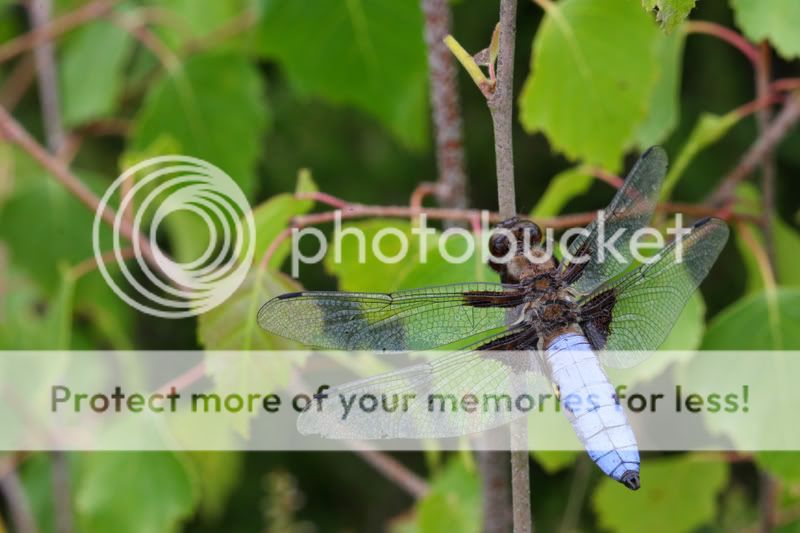
Hi Whats the easiest way in photoshop to bring out the blue colour of this Broad Bodied Chaser
I remember it being a really vivid blue but I've not got the exposure right but using digital exp comp in DPP makes the background too dark
thanks")
Pete
http://img.photobucket.com/albums/v490/lcpete/_MG_8960malebroadbodiedchaser.jpg
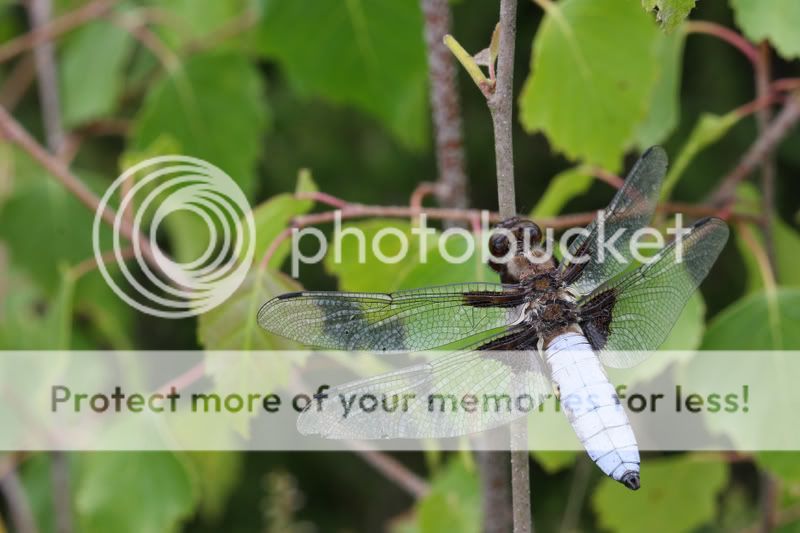
I remember it being a really vivid blue but I've not got the exposure right but using digital exp comp in DPP makes the background too dark
thanks
Pete
http://img.photobucket.com/albums/v490/lcpete/_MG_8960malebroadbodiedchaser.jpg


 )
)