Please Help Me To Make This Work. - Finished!

Messages
13,582
Name
Dean
Edit My Images
No
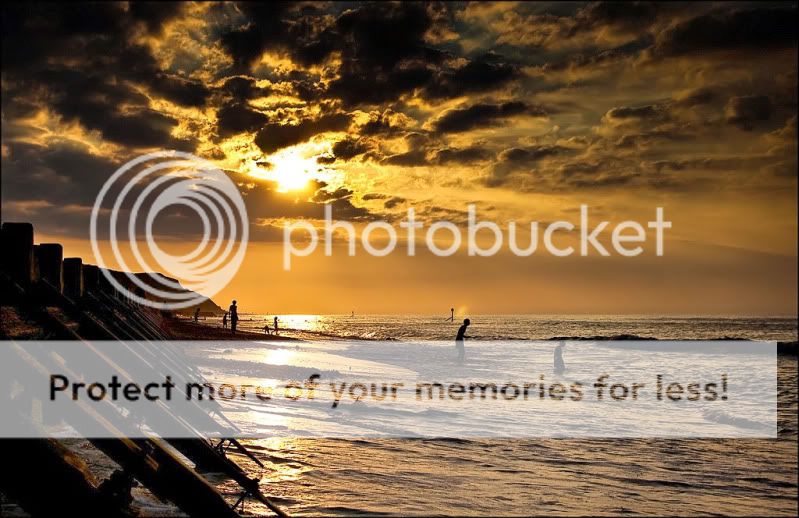
I like this image, but am pretty new to layers and PP and am struggling to bring out the bottom left of the picture. At the moment I think it's just too much darkness. A crop is no good as it throws the people out of wack. Can some kind wizz help me with CS4 or Lightroom 2 to fix this, please?


These two are my best efforts using the adjustment brush in Lightroom, but it tends to introduce some noise.


Last edited:
It was shot in RAW. Fill light slider in which program?
 
Fill light slider in the Lightroom develop module.

One other thing that might be worth trying is a single image pseudo-HDR in PhotoMatrix.
 
Thanks, Richard. I'l look into PhotoMatrix as an option as I'd like to try my hand at HDR like effects, but for now will play with the fill light in Lightroom.(y)
 
I tried it in Dynamic Photo HDR, and it doesn't work. The left of the photo is totally underexposed, and there is no information in it at all apart from some sea behind the wooden props, but the cost in noise is way too high to justify the gain.

There won't be any information is his jpeg file as it removes contrast. Because he's got the raw file he'll have a bit more data to play with.
 
Roughly select the outline of the dark area - feather the mask by about 20 pixels ande increase the image gamma to taste.

3862148366_8af75712f4_o.jpg


I wouldn't take it too far as long as you can see a reasonable amount of detail in the shadow areas, that's how it should be and it will show up noise as it's effectively an under-exposed area, so recovering from that will increase visible noise.
 
Last edited:
Roughly select the outline of the dark area - feather the mask by about 20 pixels ande increase the image gamma to taste.

3862148366_8af75712f4_o.jpg


I wouldn't take it too far as long as you can see a reasonable amount of detail in the shadow areas, that's how it should be and it will show up noise as it's effectively an under-exposed area, so recovering from that will increase visible noise.

Thank you. I can see that there's no way to really recover without creating too much noise. Would a properly bracketed shot help in future? In this instance I'm going to live with the slight improvement I got with the brush and smaller amount of noise.
 
Thank you. I can see that there's no way to really recover without creating too much noise. Would a properly bracketed shot help in future? In this instance I'm going to live with the slight improvement I got with the brush and smaller amount of noise.

There's no way you can record this spread of luminence in one shot. You have to choose to sacrifice either the highlights at one extreme, or the shadows at the other, but that's a problem as old as photography itself.

You could of course take two or more bracketed shots and combine them in editing, but then you're in danger of producing an unnatural looking image without shadows where people expect to see them. It's all down to personal taste of course. ;)


Personally I'd edit it just as I have here and then run NR just within that same feathered mask before you remove the mask?
 
Yes, I can see that. I've just realised your edit is on the much lower quality web version. Doing the same thing in RAW will give better results? As I said at the outset, I'm very new to masks and don't really know how to go about doing what you suggested. A simple step-by-step would help, but I understand if that's a bit time consuming. :)
 
Also when you record the deep shadows as black as they are here, there really is no detail within the image to be brought out, so apart from the noise, you start to get some strange looking artifact patterns appearing in the blackest areas when you try to recover too much.

I think it's a nice image - I'd do a moderate recovery of the shadow area and you shouildn't have too many problems depending on how big you want to print it.
 
I'm planning on A4 to go as a set of three with a couple of other shots from the same evening.
 
Yes, I can see that. I've just realised your edit is on the much lower quality web version. Doing the same thing in RAW will give better results? As I said at the outset, I'm very new to masks and don't really know how to go about doing what you suggested. A simple step-by-step would help, but I understand if that's a bit time consuming. :)

Just select the freehand mask tool and draw roughly around the area with your mouse You don't have to be even that accurate as long as you get all the bits you want to lighten within the mask. Feather the mask by about 20 pixels so that the lightened area blends in nicely with no obvious lines where the mask was.

Selective masks are a really powerful tool! The only way is get in there and play.;)
 
I honestly don't see noise being a big problem at A4 unless you're going to get your nose right down on the print. On the wall from normal viewing distances I'm sure it'll be fine.
 
No probs. I dunno if you can do selective masks in your RAW editor - you can't in DPP. What you should be able to do in RAW though is adjust the highlight and shadow sliders separately to get the best detail you can at both extremes. Then output as a tiff or jpeg and do the rest in your usual editing package.
 
Last edited:
2nd Picture for me. Very smart

Thank you. I've finished cleaning the image up as per instructions, but made the mistake of starting it off as a tif. It's now 126mb and PS wont let me convert it to a jpeg. Any ideas?
 
Thank you. I've finished cleaning the image up as per instructions, but made the mistake of starting it off as a tif. It's now 126mb and PS wont let me convert it to a jpeg. Any ideas?

Could try allocating more memory to PS -
Photoshop - preferences - performance.

Think you might get a slightly better result, as CT's above, but just use shadow / highlights instead of gamma.
 
Last edited:
Could try allocating more memory to PS -
Photoshop - preferences - performance.

Think you might get a slightly better result, as CT's above, but just use shadow / highlights instead of gamma.

Thanks, Rock. Working on it now. :)
 
Okay, I think this is what I'm settling on...

Whaddaya think??
 
Works for me. There's more detail in the shadow area and the dark parts of the image are exactly where you'd expect to see them given the position of the sun.
 
Thank you both for all your advice and feedback, it really is appreciated. :)
 
I've held off commenting on this till it was finished and I've read the thread with interest. I did not know a lot of the stuff thats been mentioned so thanks guys.
Anyway my thoughts on the image are that it was a very nice shot to begin with but now its a print and frame it job. I'd be happy to have that on a wall, stunning.

Andy

Thanks, Andy, that's very kind of you to say so. I'll do just that! I'm glad you've learnt something as well.

Cheers,
Dean
 
Back
Top