Hi guys,
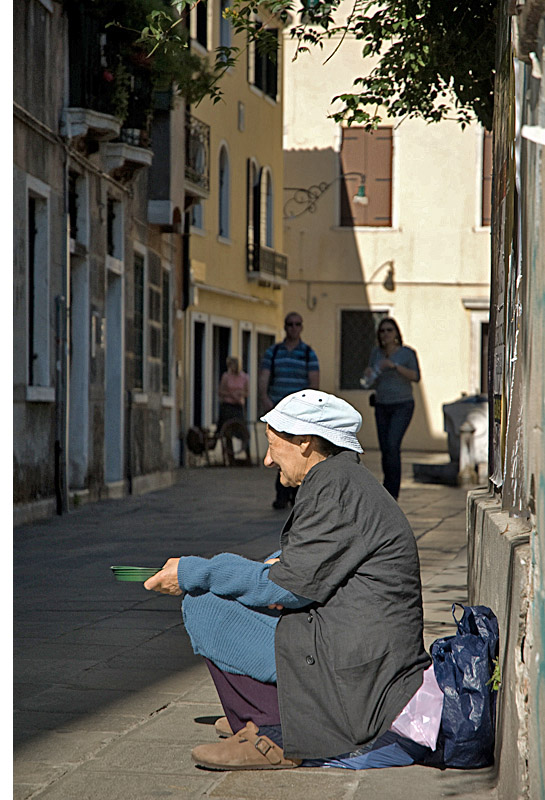
I made a trip to Venice earlier in the year and took this shot. I think it's got promise, but lacks something ( I can't put my finger on quite what).
I''ve made some tweaks below (colour saturation) and was wondering what changes you'd make to enhance this shot? (or, would you simply throw it out? )
)
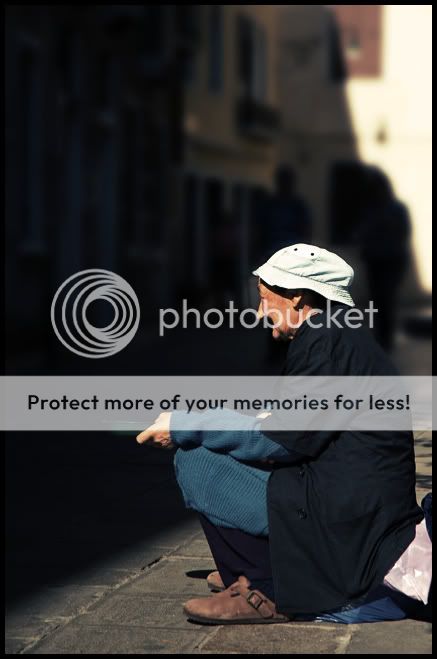
Straight off camera

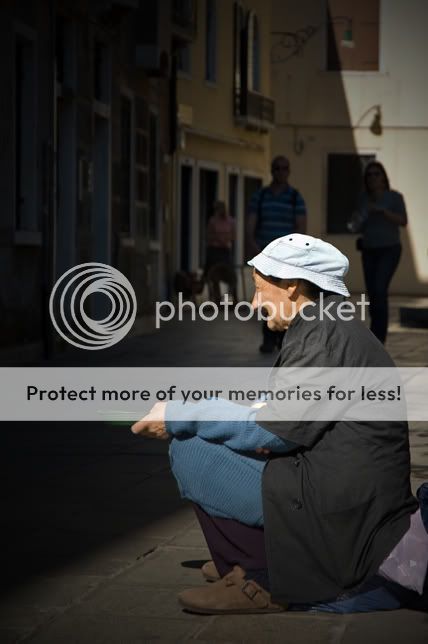
Slightly tweaked in PS

A jpg conversion of the raw file can be found here if anyone wants to take a peek.
Any suggestions on PP would be greatly appreciated
I made a trip to Venice earlier in the year and took this shot. I think it's got promise, but lacks something ( I can't put my finger on quite what).
I''ve made some tweaks below (colour saturation) and was wondering what changes you'd make to enhance this shot? (or, would you simply throw it out?
)Straight off camera
Slightly tweaked in PS
A jpg conversion of the raw file can be found here if anyone wants to take a peek.
Any suggestions on PP would be greatly appreciated