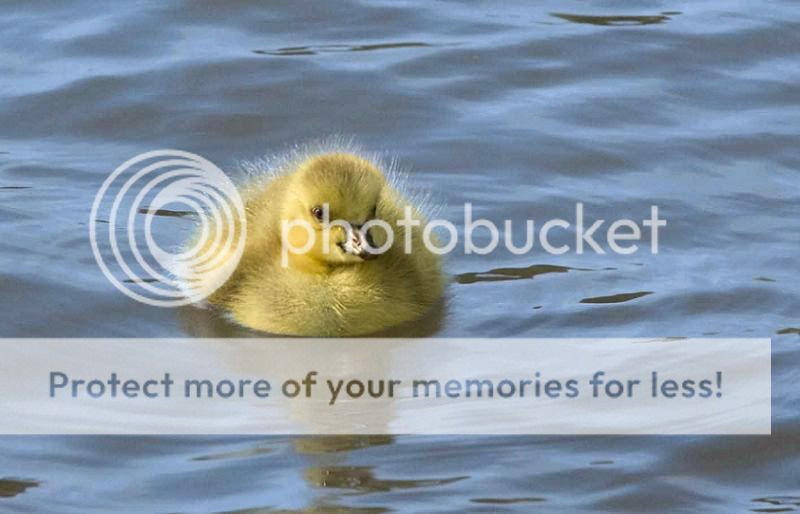
Did the above using PSE6, here's how:
1. New adjustment layer, photo filter, selected blue and pumped-up the density a bit
2. Selected original (background) layer, quick selection tool, click a bit around the duck until it's all selected including the fluff over the water
3. Layer, new, layer by copy
4. Select the new layer with just the duck. Click on the eye icons next to the other two layers, so you see just the duck and a hatched background (indicating transparency).
5. Zoom in a bit, use eraser tool, opacity 40%, to go around the duck to get rid of any water and fluff-and-water bits. Could also pick out the highlites on the nose (I didn't). Then go over the lighter band of fluff around the top, leaving it still visible but faded-out, so it will pick up some of the blue tone filter from the water around it.
6. Create another photo filter layer on top of the duck, this time I used yellow
7. select the duck and the yellow adjustment layers together, right-click and merge layers (stops the yellow filtering over the water)
8. click the now blank squares next to the other layers to see the whole thing.
I'm also pretty useless at photoshop so there are very probably much better ways than this. It's easier than it looks when written down BTW.
Hope that helps!


")