The Ultimate Car Rig Photography Thread!

Messages
1,005
Name
Sammy
Edit My Images
Yes
Being a keen car photographer I recently made my own car rig and researched multiple threads on here for advice.

I am now on my second stage of my rig and have ordered the proper manfrotto parts.

I thought it would be helpful for others (and me) to have a thread of discussion/advice and photo sharing of car rig shots.

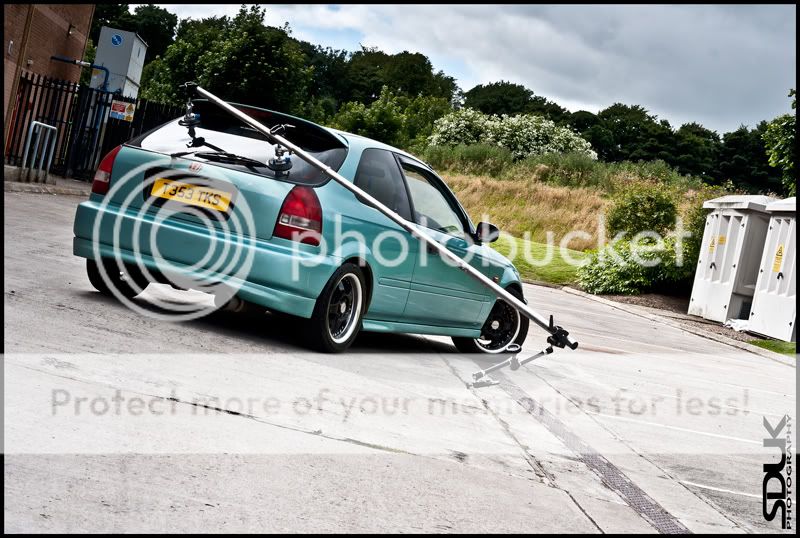
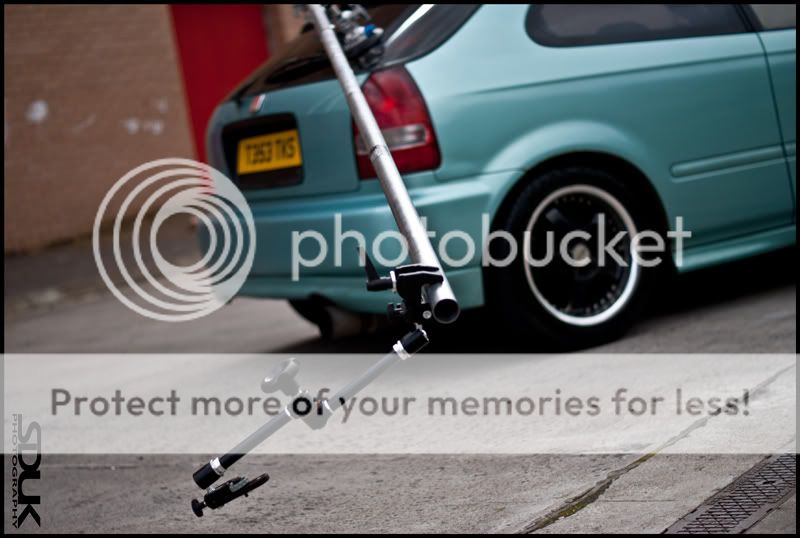
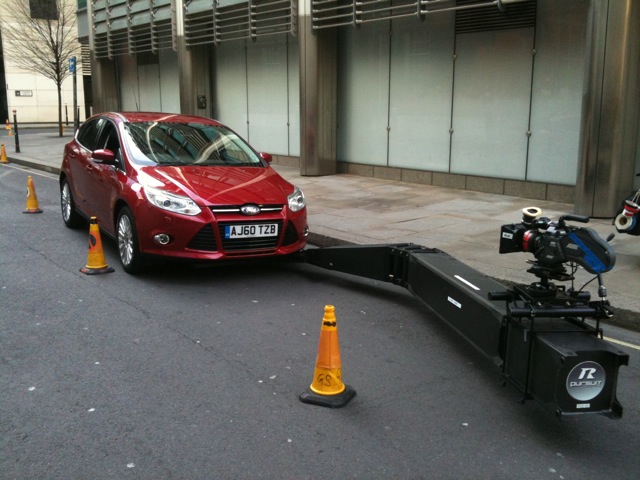
So here was my first rig. I think it must have cost me about £62 in total and is made up of the following parts...

2 x suction pads from B&Q - £9.99 each
1 x aluminium 12ft aerial mast - £12
1 x steel 2m metal pipe - £10
10 x 6mm nuts and bolts - £5
1 x mini tripod - £15

Here is a picture as I was adding an extension piece on (it is now drilled and bolted)...

12022d94.jpg


1488daba.jpg


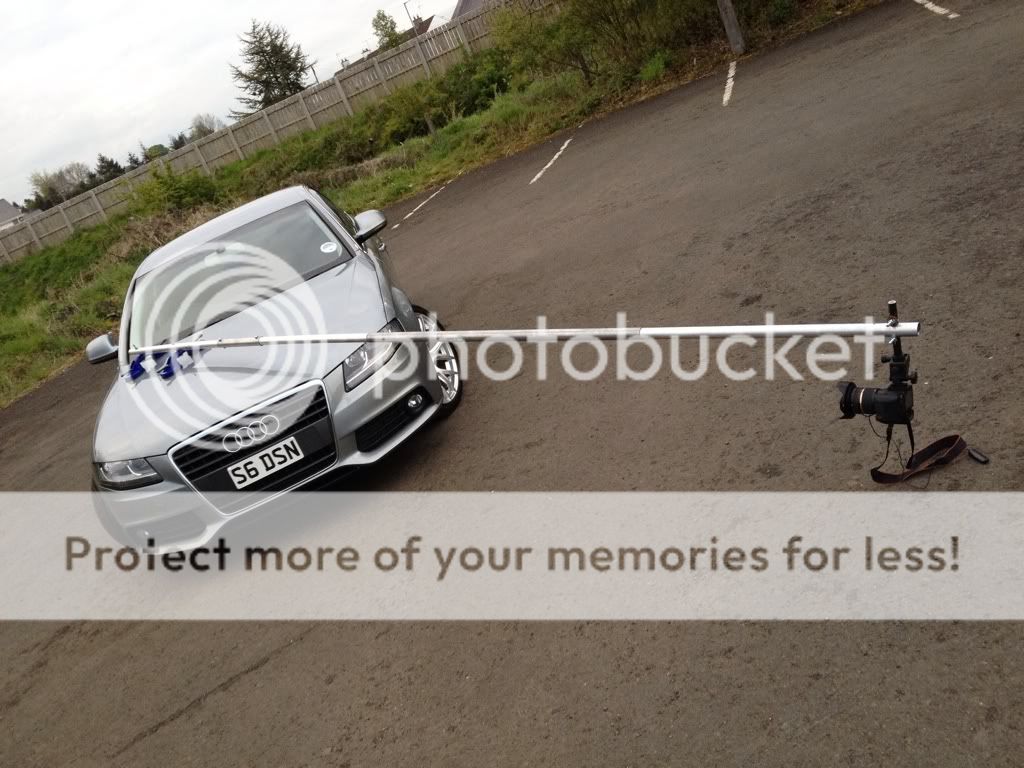
It was good fun to make and easier than I thought, it easily dismantles and transported in the boot of my car.

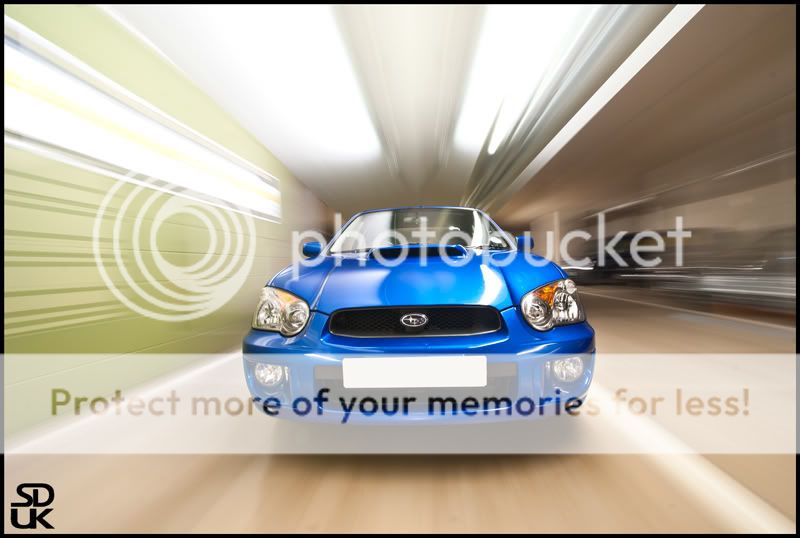
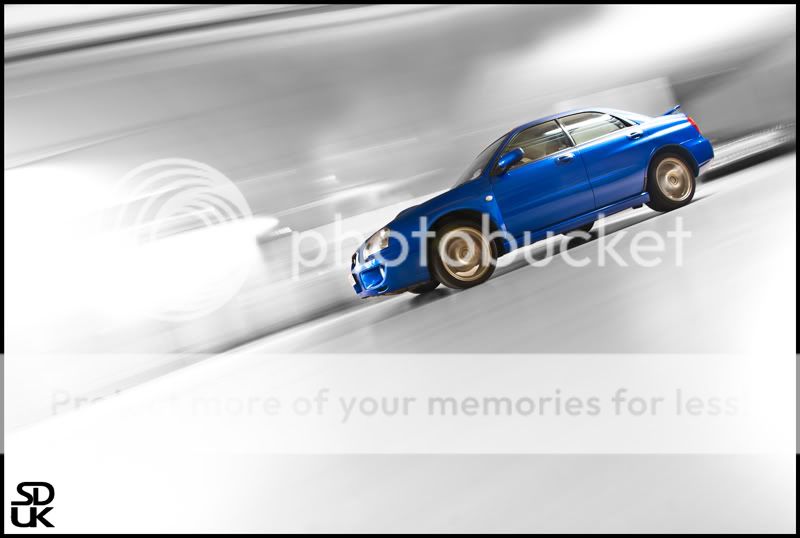
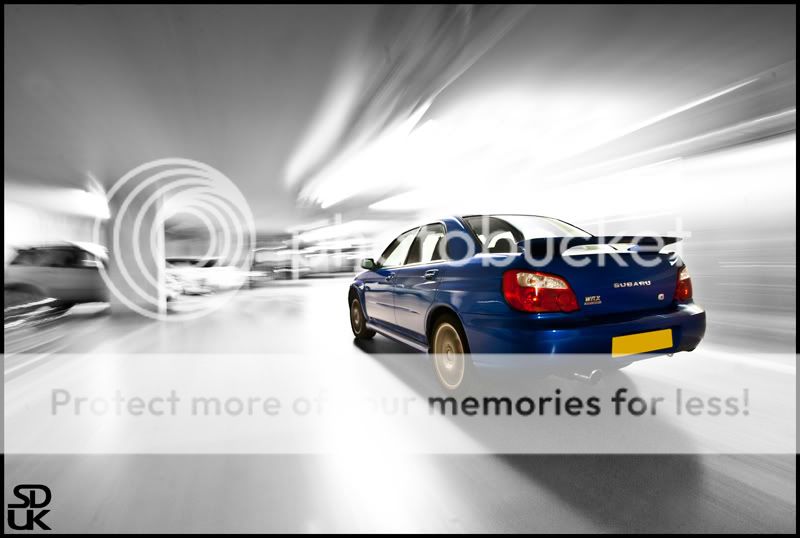
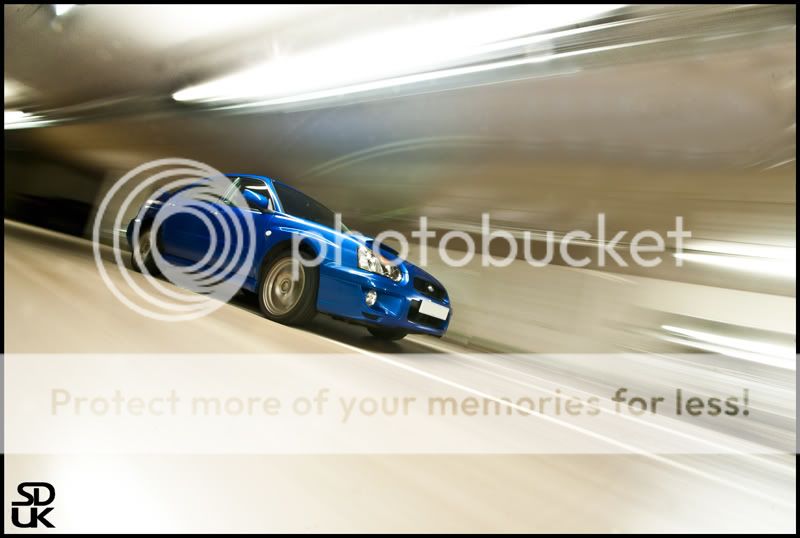
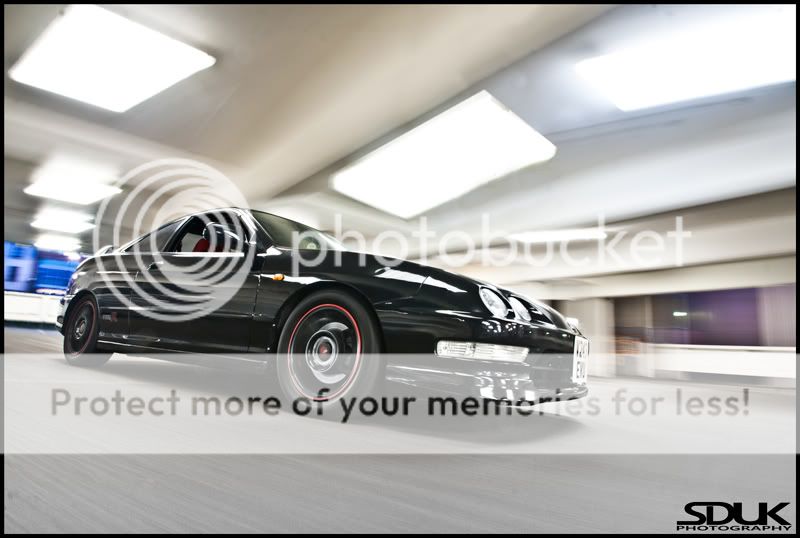
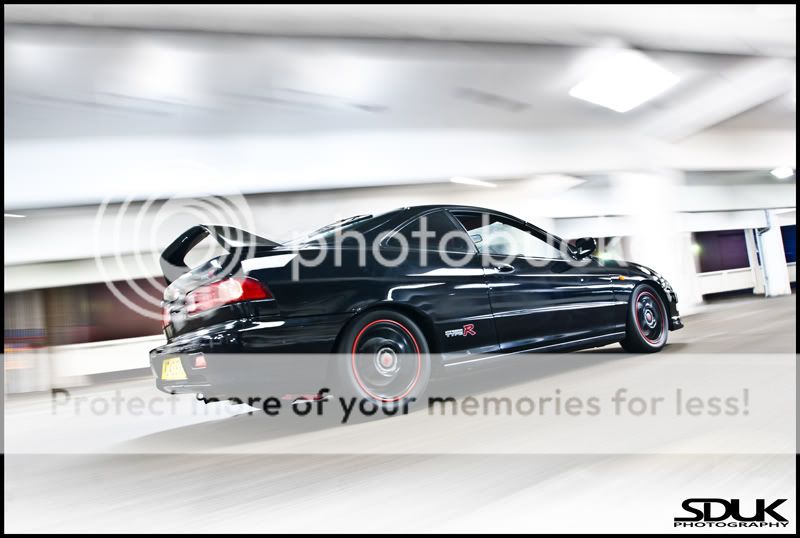
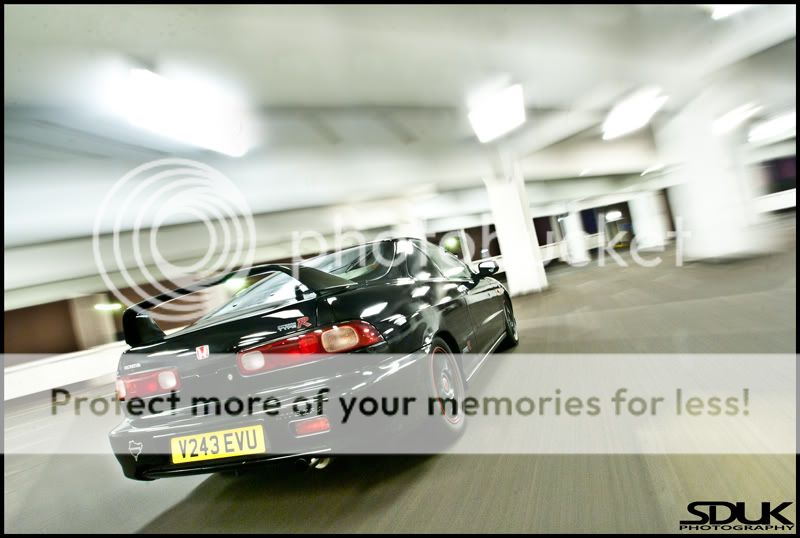
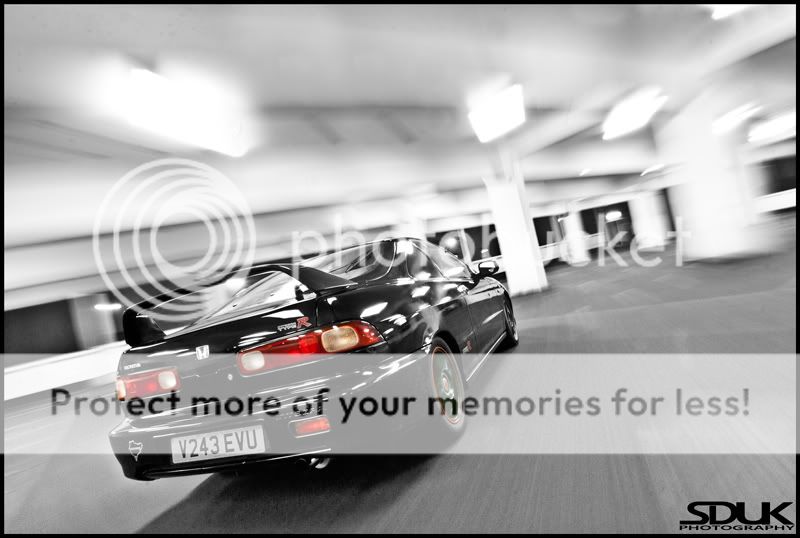
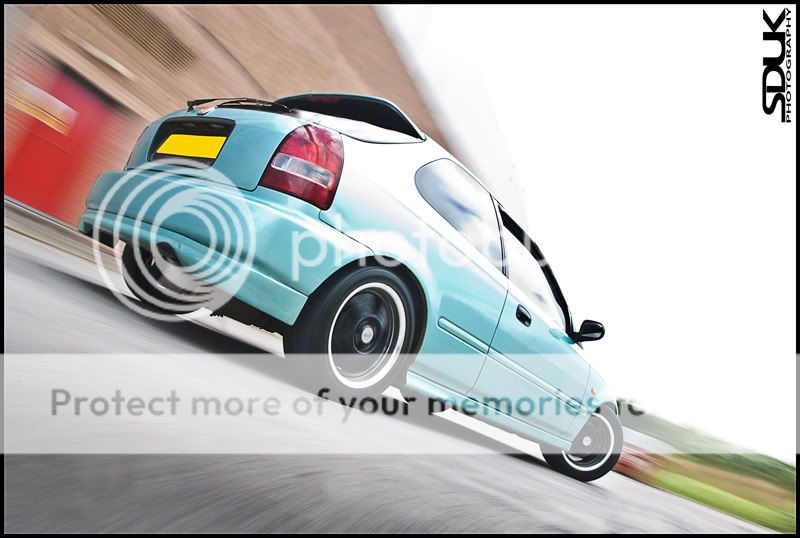
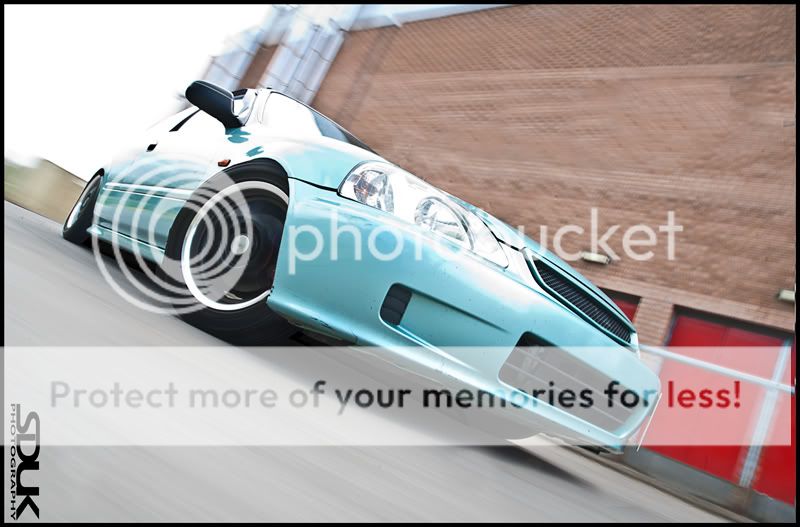
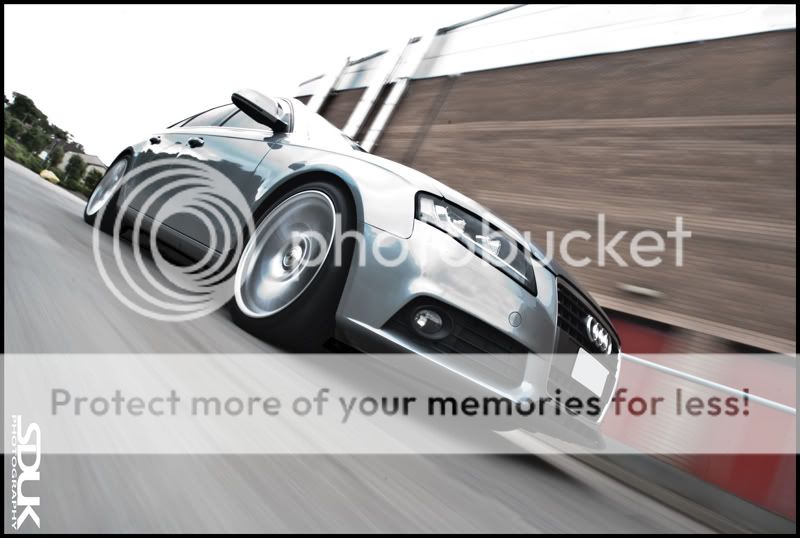
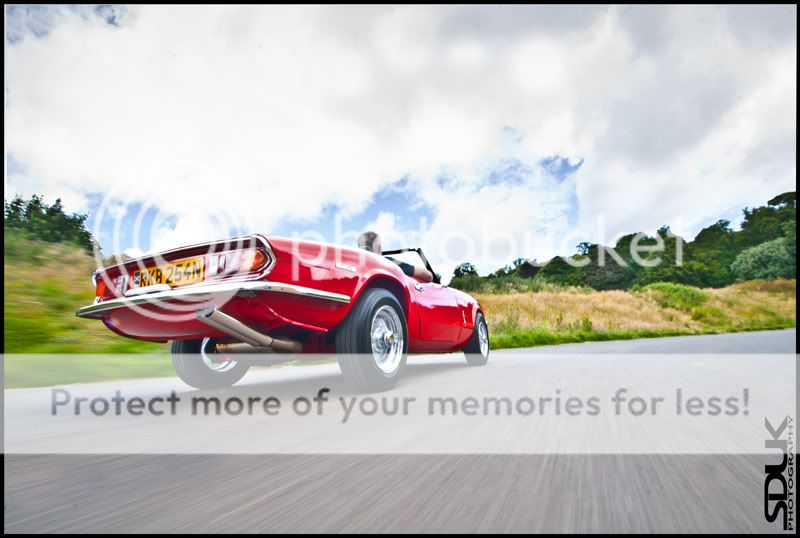
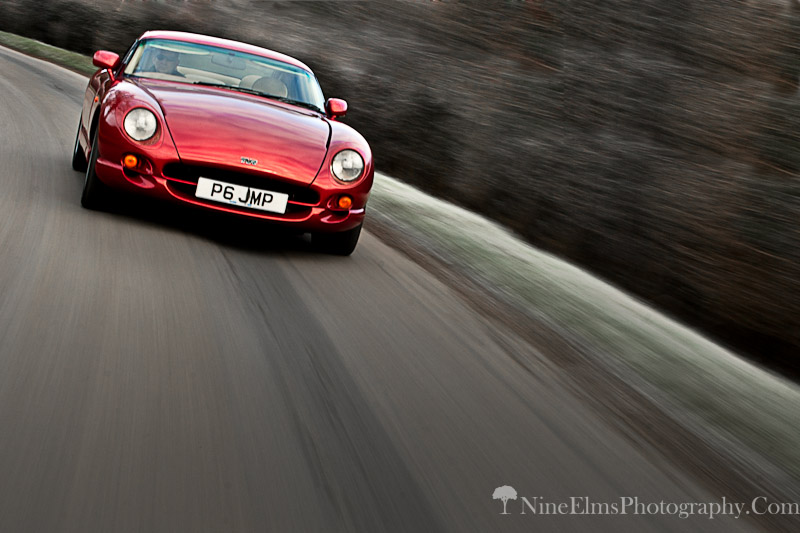
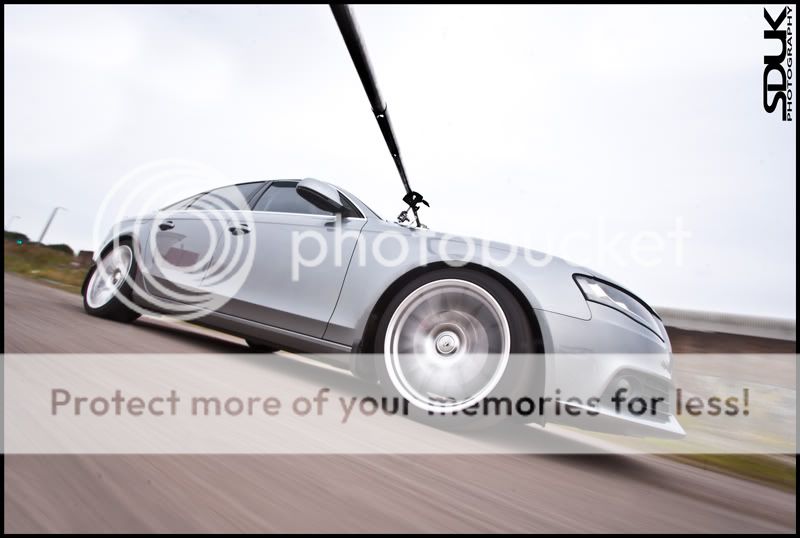
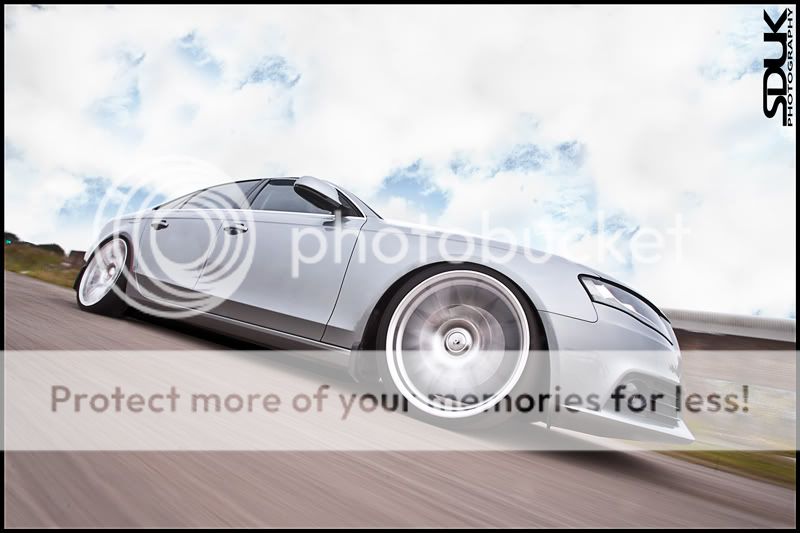
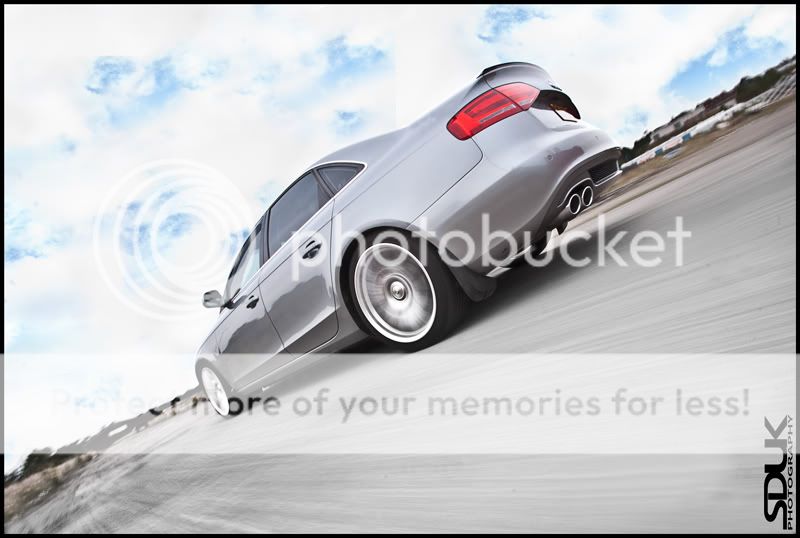
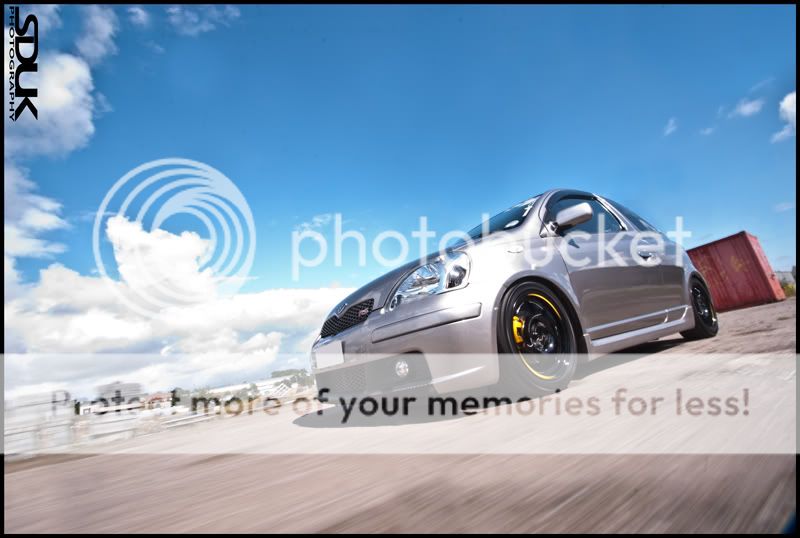
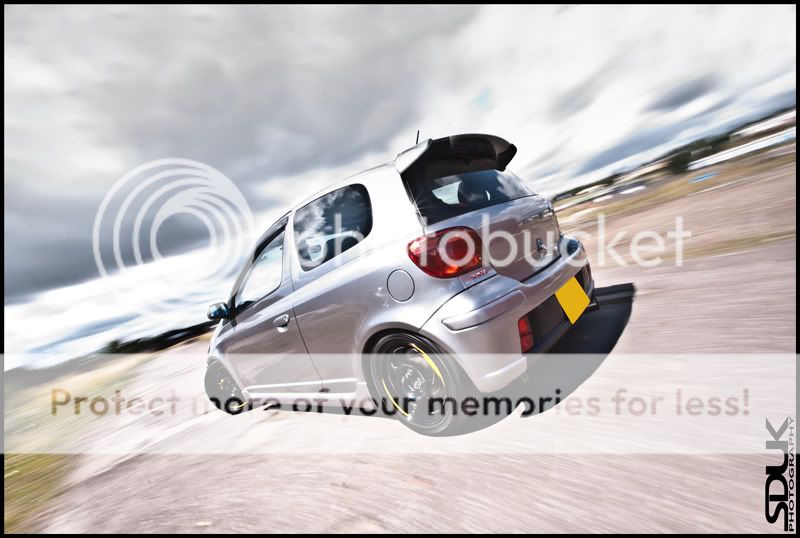
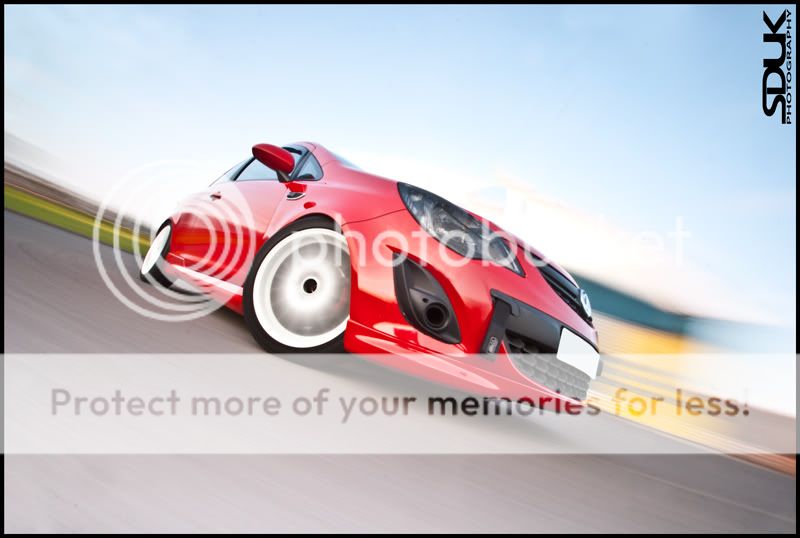
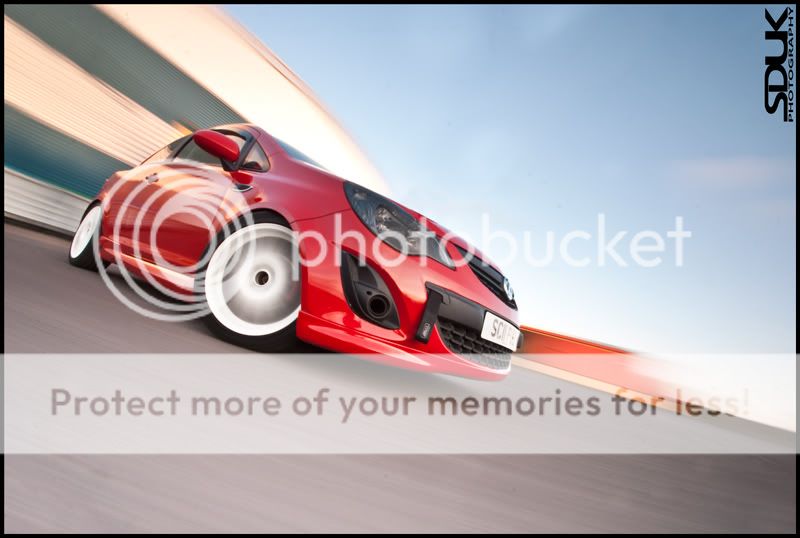
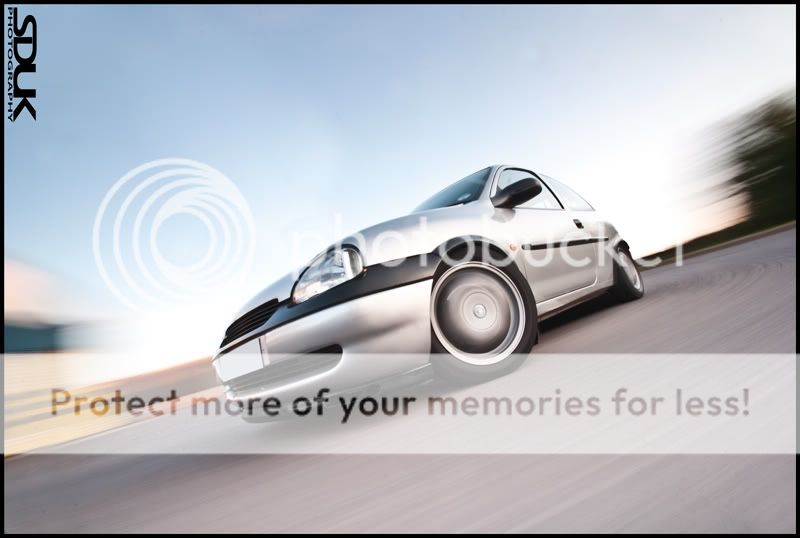
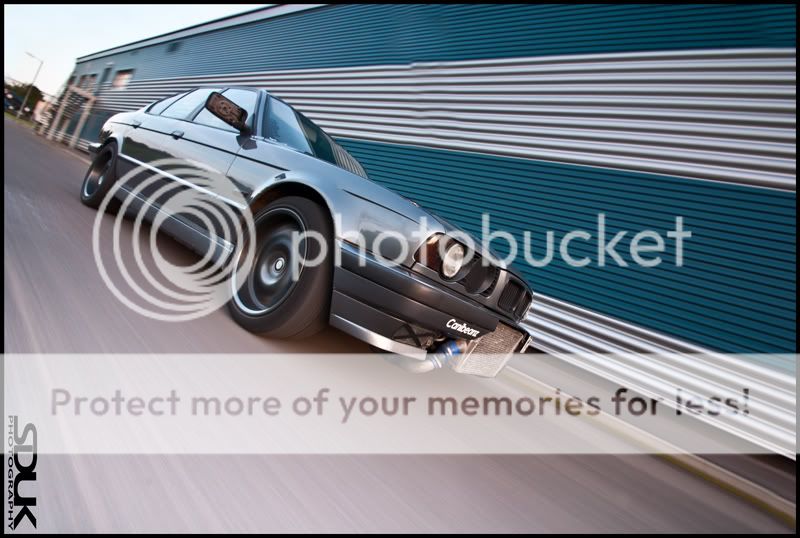
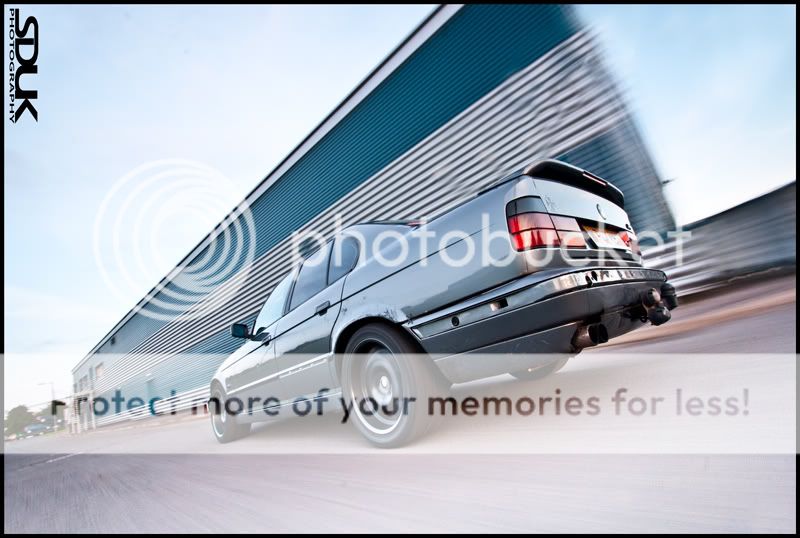
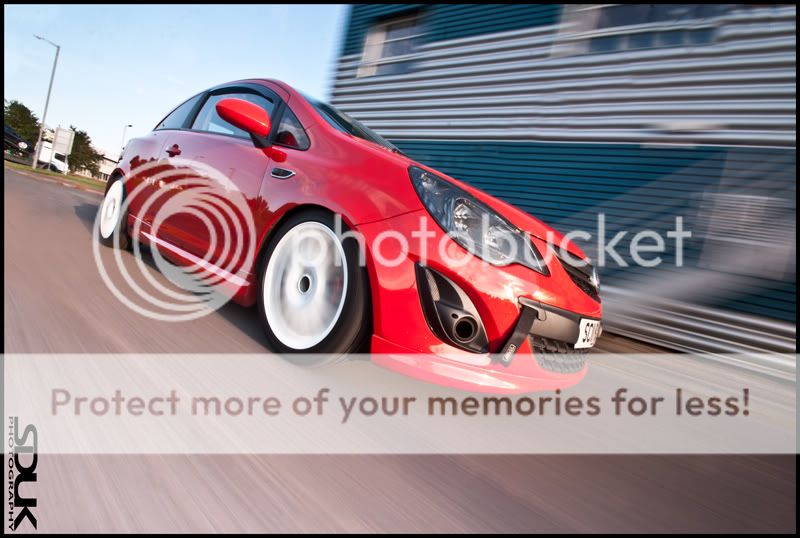
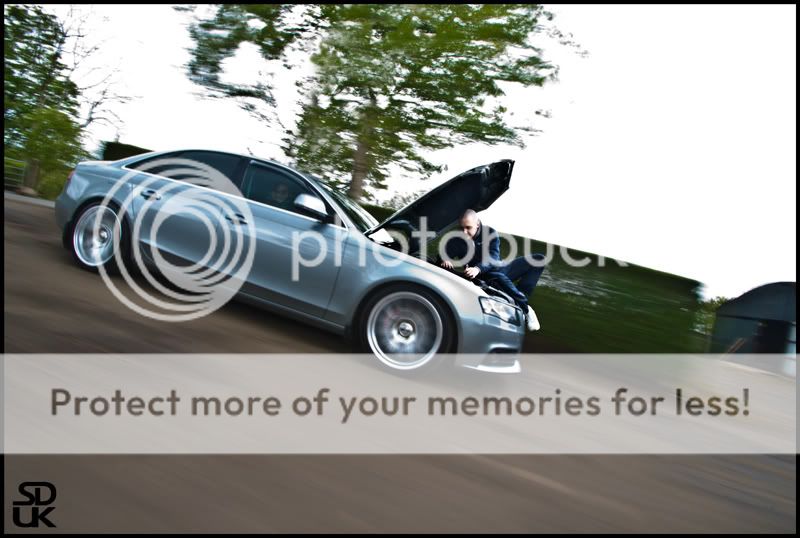
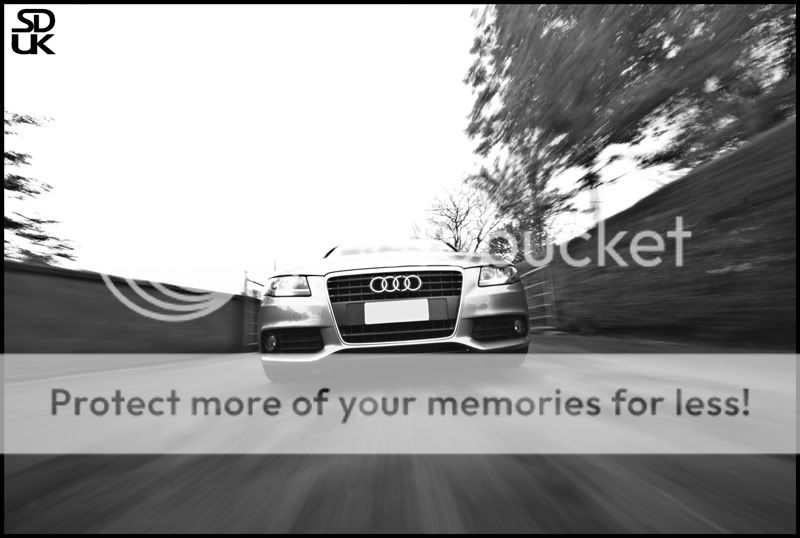
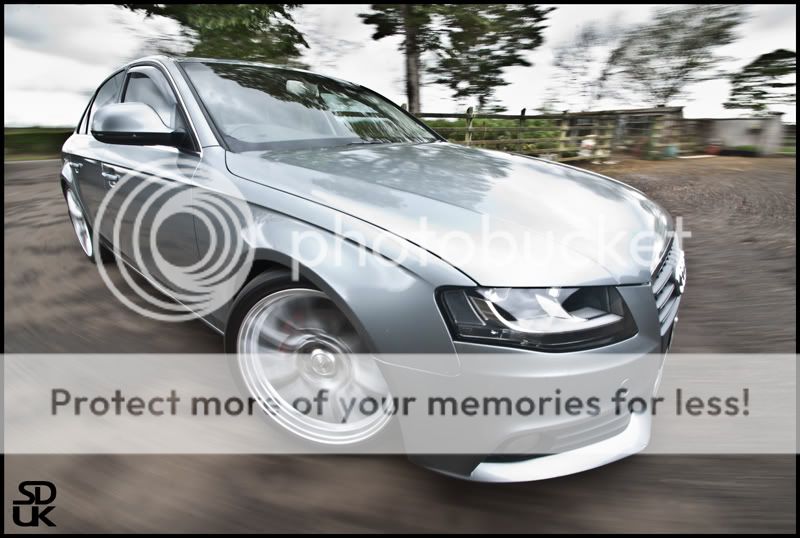
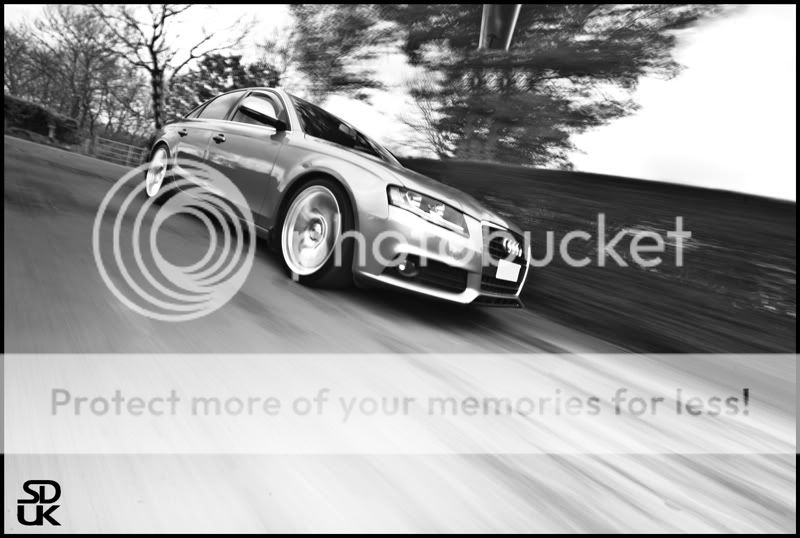
Once I made it I was dying to try it out but was on my own, so made do with a couple of trial shots in the back yard lol.

Was limited to the shots I could do alone and kept having to stop the car rolling away lol

Here are the best...

audirig4.jpg


audirig3.jpg


audirig2.jpg


audirig1.jpg


Sammy
 
notice the deliberate mistake in the last one, don't know why I didnt remove that last bit of the beam in photoshop lol :)

I then had another shot with the rig in an underground car park. Much better in low light and a smooth floor...


ronnie4.jpg


ronnie3.jpg


ronnie2.jpg


ronnie1.jpg
 
I would love to see other people's photos and hopefully get some discussion going on this topic. I cant wait to get the new parts which should hopefully help alot!

Sammy
 
so got the new Manfrotto parts delivered and went out for a practice. Here is new the rig set up...

rigsecond5.jpg


rigsecond4.jpg


And didn't have long but had a practice couple of shots...


rigsecond3.jpg


rigsecond2.jpg


rigsecond1.jpg


One thing that is lacking is the ND filter, shooting in daylight I cant get the required exposures and keep the detail in the sky. So gonna try it again when the filter comes and also do some indoor and sunset shots.
 
Cracking shots sir!!

really like the idea of you building the rig on the cheap and getting better pics than iv seen some "professionals" getting with top-end gear.

Just one question tho, would you mind putting up a quick idea of how you take the shots please? ie: technique and camera setting etc

thread subscribed, looking forward to seeing others inputs also :)
 
thanks, be good if we could get a few people on here discussing rig shots and helping each other out!

Technique there is not too much to it, I am not sure how everyone else does it, i have just been seeing what works best with trial and error.

The shot is much easier to compose with the magic arm, the camera is easily positioned and you get the exact angle you want.

I just basically set up the rig, attach the camera to the magic arm, loosen it and lock the focus (onto manual) onto where i want the focal point to be. Then adjust the magic arm to the desired position and lock it in place.

Then shoot on shutter priority (usually between 0.5 and 1.5 seconds) with a -2 exposure compensation (because I don't have an ND filter as yet) then using a remote trigger, take multiple shots while the car is being pushed slowly.

Hope that makes sense, there is maybe a better way of doing it but that's how I have been doing it :)

would love to hear what others use and do?

Sammy
 
really need to get a higher angle and better back grounds to make the rig shot work - and a CP for the reflections
 
really need to get a higher angle and better back grounds to make the rig shot work - and a CP for the reflections

I prefer the lower angle, could have been higher if i had wanted but chose for the low shot here :)

What would be a better background? Since this was an older car I decided a rural shot would be better than a new building in the background.

I have a cpl but not for my wide angled lens unfortunately :)


I was not specifically talking about the one above, I ment all of them.
 
I just basically set up the rig, attach the camera to the magic arm, loosen it and lock the focus (onto manual) onto where i want the focal point to be. Then adjust the magic arm to the desired position and lock it in place.

Then shoot on shutter priority (usually between 0.5 and 1.5 seconds) with a -2 exposure compensation (because I don't have an ND filter as yet) then using a remote trigger, take multiple shots while the car is being pushed slowly.

Sammy

many thanks for the info Sammy, the shutter speed and technique etc was exactly what i was after :)

its definitely something id love to try for myself if and when i would have the spare funds to spend on building the rig.

keep up the good work, loving the angle on the last one as it shows off the exhaust and the cracking condition of the car itself just beautifully.

look forward to seeing some more :clap:
 
excellent photos and advice :clap: I didn't realise you could capture these images without driving the car and just pushing it along - looks a lot faster
 
many thanks for the info Sammy, the shutter speed and technique etc was exactly what i was after :)

its definitely something id love to try for myself if and when i would have the spare funds to spend on building the rig.

keep up the good work, loving the angle on the last one as it shows off the exhaust and the cracking condition of the car itself just beautifully.

look forward to seeing some more :clap:

thanks mate, gonna keep practicing and will share the pics as I go along :)

excellent photos and advice :clap: I didn't realise you could capture these images without driving the car and just pushing it along - looks a lot faster

yeah when the engine is off there are no vibrations and it helps keep the shot sharp.

would love to see other people's efforts, get a good discussion going on the topic :)
 
Check out some posts by George Williams.
CPL is a must for keeping down reflections as this helps with cloning out the rig, or just getting that right feel to the reflections in the bodywork, i.e. not sharp.

Don't forget you can also rig onto a chase car so you don't have to clone out the rig at all
140908143.jpg
 
Depends on the road surface and the driver tbh. Some drive a lot smoother than others. I also find its smoother in reverse. :)
 
Cool rig! Just out of interest where did you source your materials?

Do you mean the beam? I got it from a electrical store near me. It is an aerial extension pole that I cut into three parts. Then I went to a motor factors and bought exhaust piping that was slightly larger. To allow it to fit over the top and be used as extension pieces!

You should be able to get a similar pole from somewhere near you :)
 
i've never done anything like this before & those shots are great.
i have access to a decent car rig & might have to give this a go.
my buddy is a key grip ;)

a shot of one of his car rigs.

IMG_0659.jpg
 
Awesome thread - going to have a look at this! Thanks for posting!

I'm bit of a photoshop newbie - are there any online guides to cloning out the pole?
 
Awesome thread - going to have a look at this! Thanks for posting!

I'm bit of a photoshop newbie - are there any online guides to cloning out the pole?

hey, no problem, thought it would be a good thread for everyone to discuss and help each other. I'm just finding stuff out as I go along :)

There are a few guides and also a great youtube video by GFWilliams from here. It explains the clone stamp and other ways of removing the rig from the pic, its not too hard once you get used to it.
 
well today I got my pack of ND filters. I went for an ND 2, ND 4 and ND 8 filter.

Tonight I went out but I was on my own and the sky was awful. Deep blue sky all day and all of a sudden the clouds went white and featureless.

Never the less I set the rig up and had a go with the ND2 filter. Happy with the results, they are a cheap eBay set (£11.99) but worked perfectly, allowing me to have longer exposures (about 2 seconds) whilst not blowing out the picture.

Here is a before shot...

ndrig3.jpg


and then edited (lowered and wheels enlarged for fun)....

ndrig1.jpg
 
Just wondering, are ND filters really required? Surely can be done by using manual settings and just adjusting the appeture to suit?
 
I found shooting in bright daylight it was a lot harder to keep the exposure on the car to what was required without the filter. Every shot was over exposed and even after reducing the exposure in RAW it looked too much.

It maybe is possible though, I just didn't manage it very well. I know from speaking to other rig users, they shoot at lower light/sunset to counter this.
 
hey, no problem, thought it would be a good thread for everyone to discuss and help each other. I'm just finding stuff out as I go along :)

There are a few guides and also a great youtube video by GFWilliams from here. It explains the clone stamp and other ways of removing the rig from the pic, its not too hard once you get used to it.

Cheers will have a look for it! I follow GFWilliams on Facebook and Twitter and love the shots. Always wanted to give it a go but looked like the rig would cost a fortune!

Will have a look for his video!

Nice car btw!
 
Fantastic effort both the photography and your DIY rig! Got me thinking about having a go now!
 
thanks, yeah massively, I have only used the ND2 filter but you can see how much better the exposure is in the shots, the detail in the sky is kept and it looks much better.

Possibly going out tonight with the rig so going to give the ND4 filter a shot!
 
tonight I went out again and had a try on a couple of different cars. I used the ND4 filter this time and it was much better! Exposure was nearly spot on straight out of the camera.

Here were my favourites...

nd4rigshot2.jpg


nd4rigshot3.jpg


nd4rigshot4.jpg


Disappointed as I had a few more good ones along the side of a building but the corrugated side of the building made the photoshopping a nightmare. Gave up in the end!

Really happy with these tho!

Sammy
 
These look awesome, very impressive. Going to have to have a go at building one myself. :)
 
Great thread
 
thanks, here are another two from last night. Really happy with the composition and the shot of the car. Just the building in the background makes it a nightmare to photoshop! haha Gave up in the end!

nd4rigshot5.jpg


nd4rigshot6.jpg


It's a learning curve and I now know not to do it in a location like that again! :)
 
Back
Top