- Messages
- 8,826
- Name
- Bryn
- Edit My Images
- Yes
Document IN DRAFT but if you feel you can add to it or have some experience that you would like to share please include a post... I will collate it or you would like to see something be put in here then let me know and I will try.
Good starters Video;
View: https://www.youtube.com/watch?v=Ozd-Z4J7IKs
This is a short guide of options of how to get into Macro, what you need, what you don't need and just some guidance.
Hopefully this should answer some of the most common questions seen from new users or people that want to do Macro after seeing photos from this section.
Usual threads seen are;
I need a Macro Lens?
I want to start Macro
Which Macro lens should I buy?
Mostly due to them seeing some of the amazing images produced in this section, but everyone gets sold on marketing from Lens makers with their MACRO stamp on it. So to dispel the myth you need a Macro lens to do macro. BECAUSE YOU DON'T
This thread >>>> HERE <<<< is quite old but some very good info in there but I will try and keep this guide short.
A very good read on this blog >>> HERE <<< from @Carlh who started Macro recently and shows how quickly you can make progress and what he found works for him.
Macro photography is one of the hardest forms of photography due to the magnification that is involved. The higher the magnification the harder it becomes due to the magnification of other factors wind, handshake and being able to get close to subject (if a bug or flower).
Lets go through some options... you probably have some of this kit without realising it is capable for Macro use.
Reverse Lens
You can reverse any Lens but the kit you most likely have is the kit lens - 18-55mm or similar variety.
This is probably the cheapest method as all you need is a reversing ring that cost a couple of pound from your favourite store (Amazon, E-bay etc) basically you fit the reversing ring onto the end of your lens like a filter and then attach that end to the camera body.
The biggest issue with this setup is that you will lose electronic functions suchs as AF/Image stabilization and if lens has electronic Aperture you will need to set it before reversing.
You can buy this to maintain the electronic functions... >>>HERE<<< But at £250 is a little expensive if you just want to try macro.
Cheaper version for £100 >>> HERE <<<
You can pick up older Lens which have an aperture ring so don't have to worry about the way to set the aperture prior to reversing.
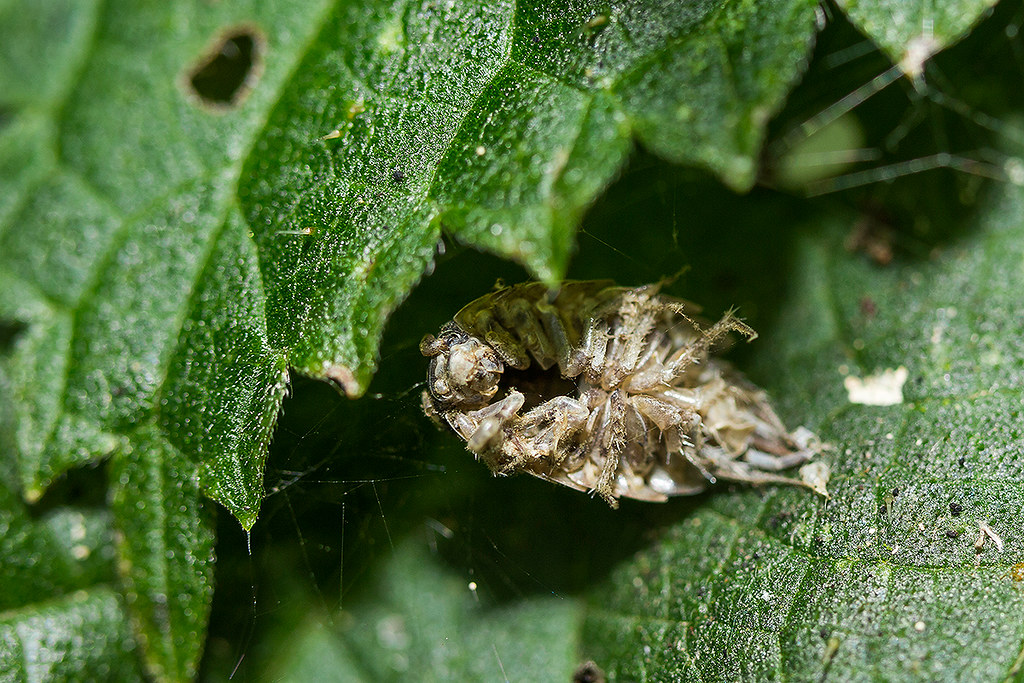
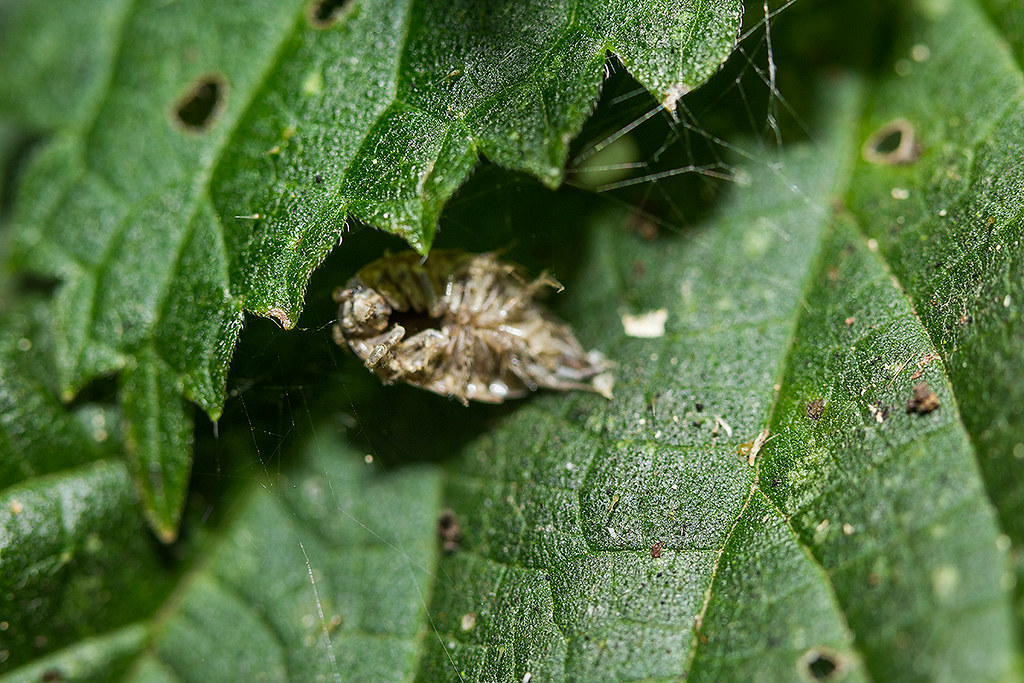
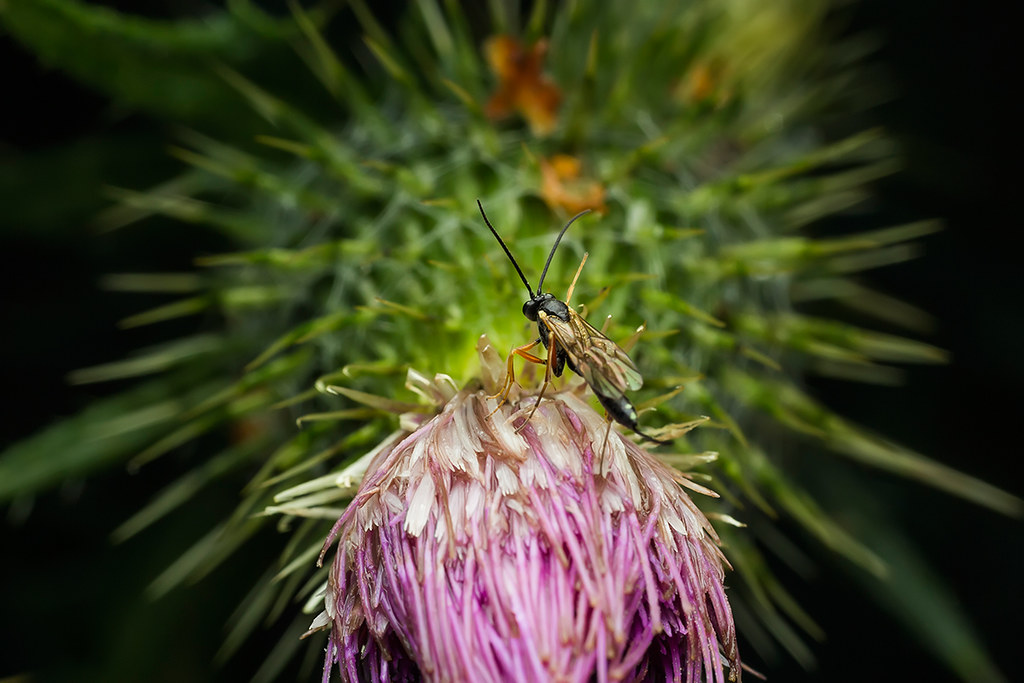
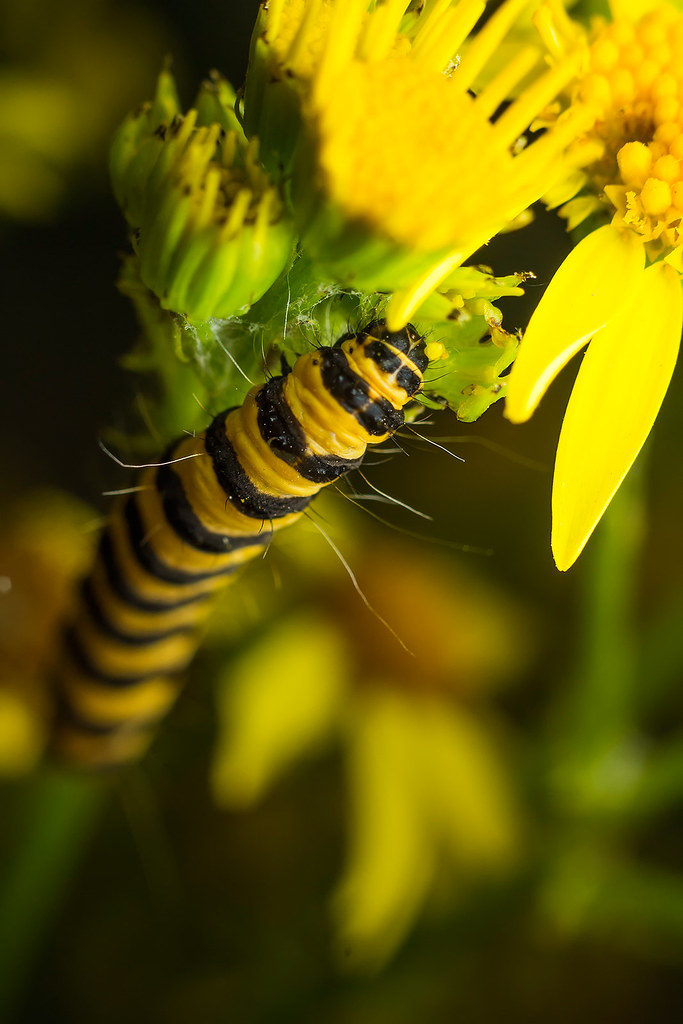
Sample of Kit lens reversed:

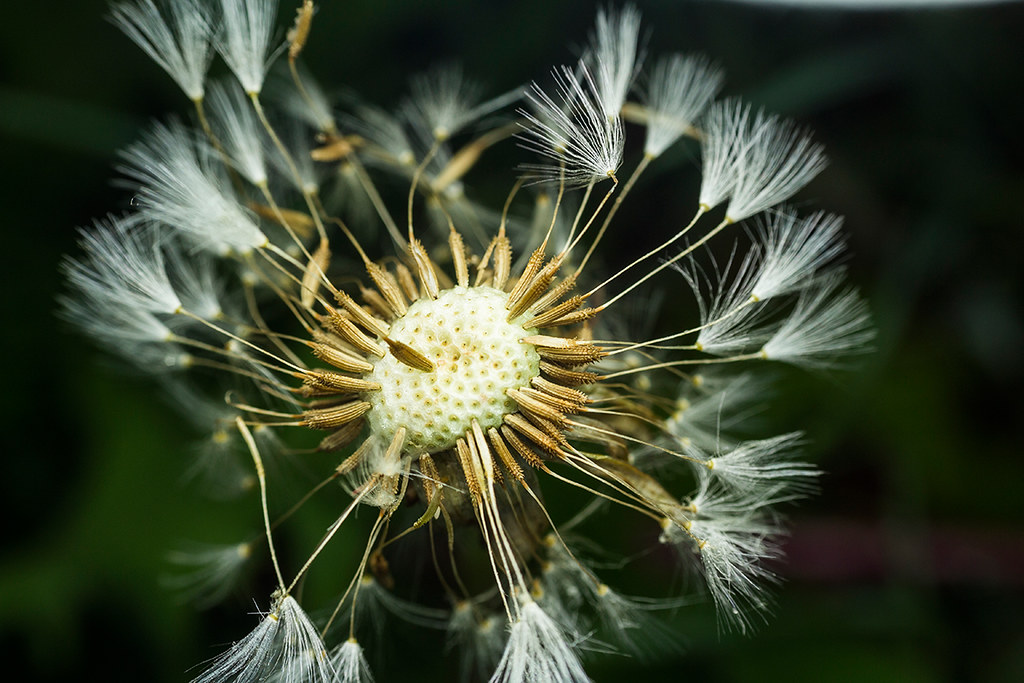
Close-up diopters / Achromats
Diopters or close-up lenses are simply magnifying glasses that you can screw onto the front of a lens to increase object size.
Its is probably best to stay away from the cheap ones due to the issues that of Chromatic Aberration (CA) but you can get some optically excellent ones that fairly cheap called;
Raynox 150/250/202/505 with the 150/250 being in the £40 bracket. 202 in the £70 bracket. These all have a thread size of 43mm so if you don't want to use adapter that comes with it you will need a step down adapter from your Lens thread to 43mm.
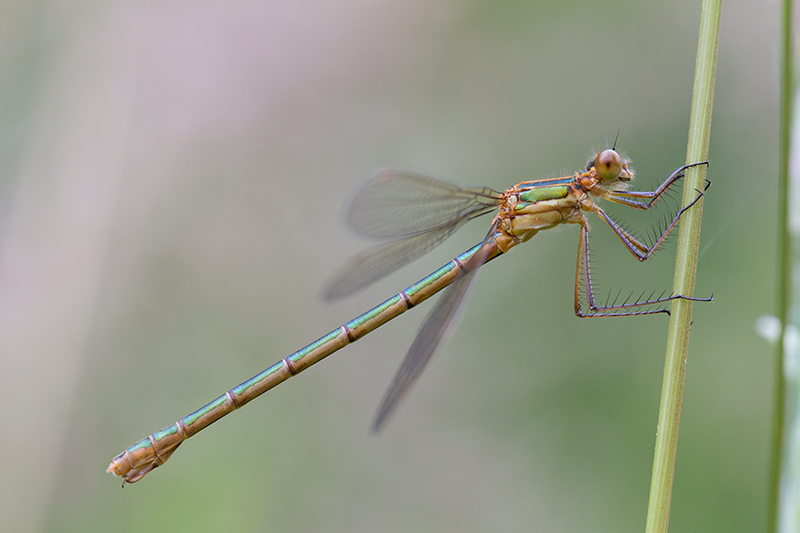
Canon 500d - (Not the camera) not cheapest option but renowned for the optics but matched with the Raynox
Raynox 202

Raynox 250

Extension Tube
These extend the distance from the Lens elements to the camera sensor and in turn allow you to get closer to the subject. These can be added to any of options shown here to increase the magnification.
These range in price from a few quid to hundred plus and in non AF and AF flavours and come in a set of 3 normally small, medium and large which can also be put together to create whatever length of tubes you want.
I would recommend you get the AF ones as this allows aperture control and keep exposure functions in tack. Its best to keep away from the really cheap plastic ones with plastic mounts as they can cause issues with lens connections.
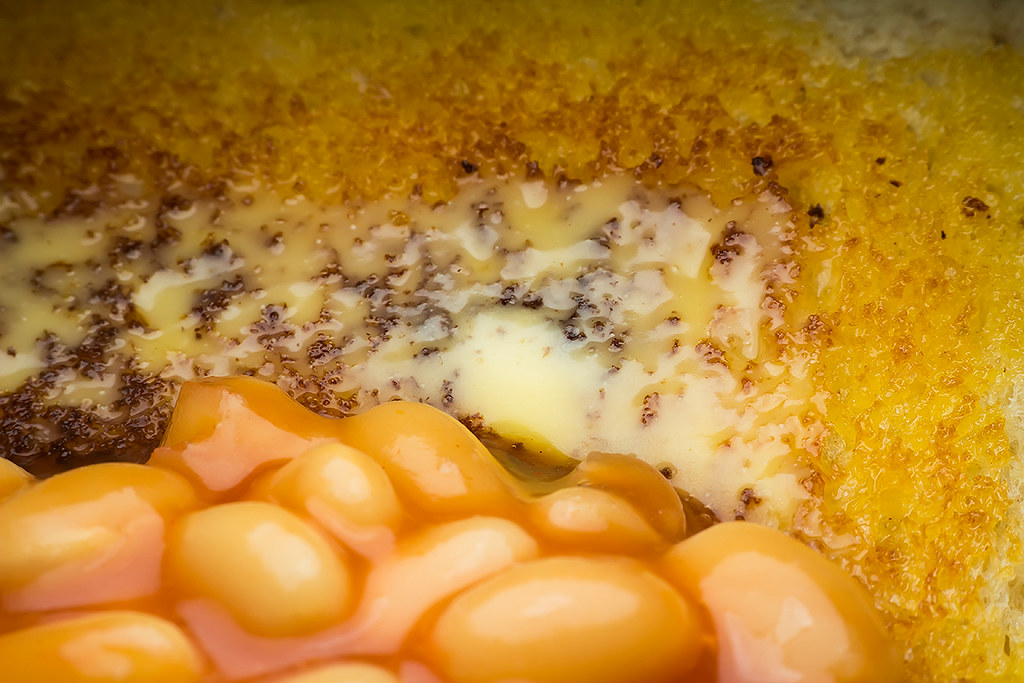
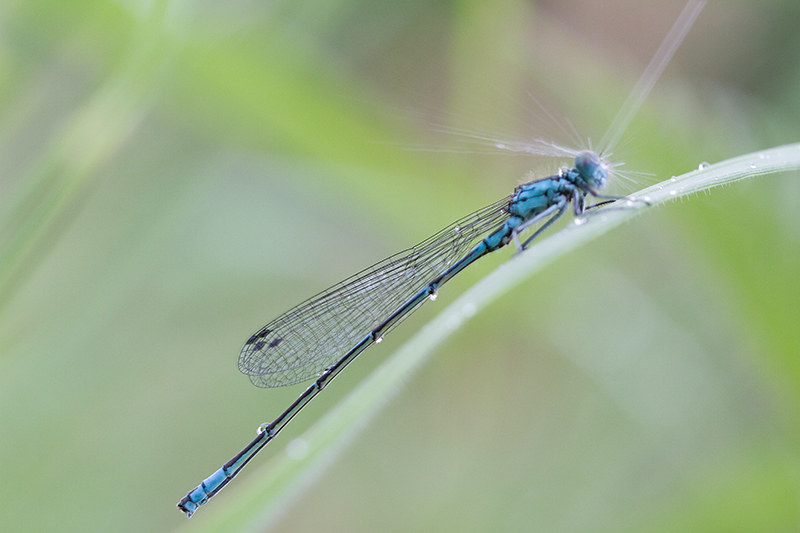
Extension Tube on 24-105mm Lens

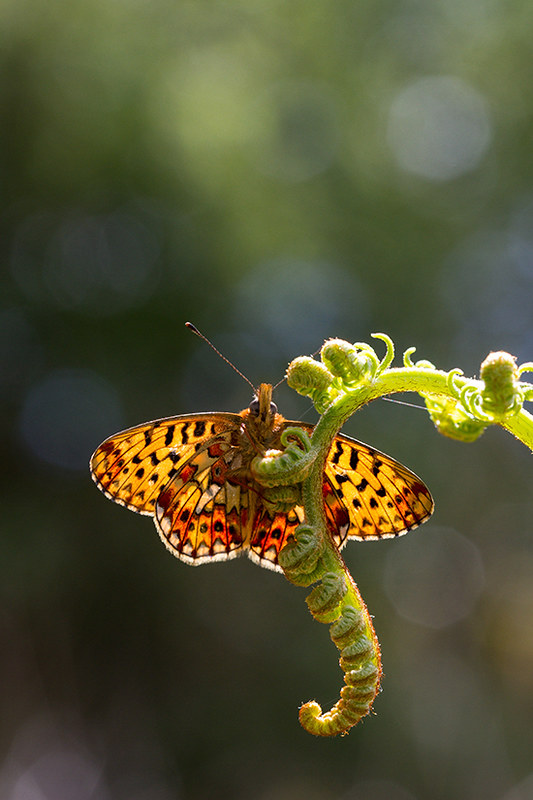
Macro Lens - 1:1 Lens
Generally a prime lens in the 60mm / 100mm / 180mm range with slight variations and all able to shoot subjects to 1:1 scale and above in the case of Canon's MP-E
Links to Things you may want to consider and look at;
Offical ID Thread >>> HERE <<< Please place images that you want ID'd in here and not create your own thread unless you also wish for Critique
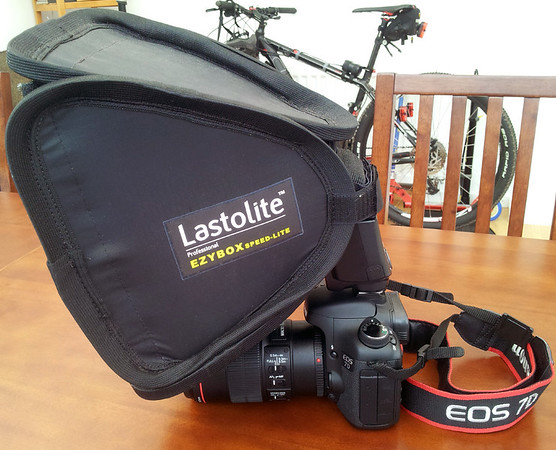
Macro Rigs >>> HERE <<< Show off your Macro Rig or check out other peoples setups.
One mans Journey (@GardenersHelper) of getting through Macro >>> HERE <<< Blog of the use of Achromats DSLRs vs Bridge Cameras
Focus stacking
(also known as focal plane merging and z-stacking[1] or focus blending) is adigital image processing technique which combines multiple images taken at differentfocusdistances to give a resulting image with a greater depth of field (DOF) than any of the individual source images.[2][3] Focus stacking can be used in any situation where individual images have a very shallow depth of field; macro photography and optical microscopy are two typical examples.
The starting point for focus stacking is a series of images captured at different focal depths; in each image different areas of the sample will be in focus. While none of these images has the sample entirely in focus they collectively contain all the data required to generate an image which has all parts of the sample in focus. In-focus regions of each image may be detected automatically, for example via edge detection or Fourier analysis, or selected manually. The in-focus patches are then blended together to generate the final image.
http://en.wikipedia.org/wiki/Focus_stacking
If you can add or feel I have missed something glaring let me know or want to add your own images taken with various setups.
Good starters Video;
This is a short guide of options of how to get into Macro, what you need, what you don't need and just some guidance.
Hopefully this should answer some of the most common questions seen from new users or people that want to do Macro after seeing photos from this section.
Usual threads seen are;
I need a Macro Lens?
I want to start Macro
Which Macro lens should I buy?
Mostly due to them seeing some of the amazing images produced in this section, but everyone gets sold on marketing from Lens makers with their MACRO stamp on it. So to dispel the myth you need a Macro lens to do macro. BECAUSE YOU DON'T
This thread >>>> HERE <<<< is quite old but some very good info in there but I will try and keep this guide short.
A very good read on this blog >>> HERE <<< from @Carlh who started Macro recently and shows how quickly you can make progress and what he found works for him.
Macro photography is one of the hardest forms of photography due to the magnification that is involved. The higher the magnification the harder it becomes due to the magnification of other factors wind, handshake and being able to get close to subject (if a bug or flower).
Lets go through some options... you probably have some of this kit without realising it is capable for Macro use.
Reverse Lens
You can reverse any Lens but the kit you most likely have is the kit lens - 18-55mm or similar variety.
This is probably the cheapest method as all you need is a reversing ring that cost a couple of pound from your favourite store (Amazon, E-bay etc) basically you fit the reversing ring onto the end of your lens like a filter and then attach that end to the camera body.
The biggest issue with this setup is that you will lose electronic functions suchs as AF/Image stabilization and if lens has electronic Aperture you will need to set it before reversing.
You can buy this to maintain the electronic functions... >>>HERE<<< But at £250 is a little expensive if you just want to try macro.
Cheaper version for £100 >>> HERE <<<
You can pick up older Lens which have an aperture ring so don't have to worry about the way to set the aperture prior to reversing.
Sample of Kit lens reversed:
Close-up diopters / Achromats
Diopters or close-up lenses are simply magnifying glasses that you can screw onto the front of a lens to increase object size.
Its is probably best to stay away from the cheap ones due to the issues that of Chromatic Aberration (CA) but you can get some optically excellent ones that fairly cheap called;
Raynox 150/250/202/505 with the 150/250 being in the £40 bracket. 202 in the £70 bracket. These all have a thread size of 43mm so if you don't want to use adapter that comes with it you will need a step down adapter from your Lens thread to 43mm.
Canon 500d - (Not the camera) not cheapest option but renowned for the optics but matched with the Raynox
Raynox 202
Raynox 250
Extension Tube
These extend the distance from the Lens elements to the camera sensor and in turn allow you to get closer to the subject. These can be added to any of options shown here to increase the magnification.
These range in price from a few quid to hundred plus and in non AF and AF flavours and come in a set of 3 normally small, medium and large which can also be put together to create whatever length of tubes you want.
I would recommend you get the AF ones as this allows aperture control and keep exposure functions in tack. Its best to keep away from the really cheap plastic ones with plastic mounts as they can cause issues with lens connections.
Extension Tube on 24-105mm Lens
Macro Lens - 1:1 Lens
Generally a prime lens in the 60mm / 100mm / 180mm range with slight variations and all able to shoot subjects to 1:1 scale and above in the case of Canon's MP-E
Links to Things you may want to consider and look at;
Offical ID Thread >>> HERE <<< Please place images that you want ID'd in here and not create your own thread unless you also wish for Critique
Macro Rigs >>> HERE <<< Show off your Macro Rig or check out other peoples setups.
One mans Journey (@GardenersHelper) of getting through Macro >>> HERE <<< Blog of the use of Achromats DSLRs vs Bridge Cameras
Focus stacking
(also known as focal plane merging and z-stacking[1] or focus blending) is adigital image processing technique which combines multiple images taken at differentfocusdistances to give a resulting image with a greater depth of field (DOF) than any of the individual source images.[2][3] Focus stacking can be used in any situation where individual images have a very shallow depth of field; macro photography and optical microscopy are two typical examples.
The starting point for focus stacking is a series of images captured at different focal depths; in each image different areas of the sample will be in focus. While none of these images has the sample entirely in focus they collectively contain all the data required to generate an image which has all parts of the sample in focus. In-focus regions of each image may be detected automatically, for example via edge detection or Fourier analysis, or selected manually. The in-focus patches are then blended together to generate the final image.
http://en.wikipedia.org/wiki/Focus_stacking
If you can add or feel I have missed something glaring let me know or want to add your own images taken with various setups.
Last edited: