A question about my 10 Stop Filter

  • Thread starter Thread starter DTS
  • Start date Start date

DTS

Messages
726
Name
Dan
Edit My Images
No
I got my new 10 stop filter and it doesnt have a 1.5mm gasket on it for my Lee filter holder.

What i want to know is

1) do i really need one?
2) if i do, can i make one?
3) do i meter the camera after ive put the filter on the camera or before?

I know i need to compose the shot etc before putting the camera on but i read somewhere to set the aperture etc before putting the filter on - but i could be mistaken.

Thanks guys
 
I wrote up my workflow for using 10 stop filters on my blog if it helps, http://www.markmullenphotography.co.uk/blog/2012/8/long-exposure-photography---my-tips although I am sure everyone works differently.

1) Compose, get the shot looking right in the viewfinder, including what I want in the shot and, more often more importantly, excluding what I don't want in shot
2) Focus, then switch to manual focus
3) Meter, with both the camera's internal meter and an external spot meter
4) Expose for a standard shot
5) Apply ND grad filters as necessary to get the exposure right
6) Take a test shot at a short shutter speed
7) Examine the histogram on the short shot for blown highlights or blocked shadows
8) Adapt exposure according to step 7
9) Work out 10 stop shutter speed - various apps are available for smartphones to do this for you
10) Close viewfinder to stop light leaking in
11) Check AF on manual and IS/VR turned off
12) Slide 10 stop filter into position checking it covers the entire lens
13) Set the exposure up, either on bulb or with manual setting
14) Check mirror lockup is switched on
15) Lock mirror up, give it a second or two for any vibrations to die out
16) Set shutter with cable release, either one shot if it is on manual (eg less than 30 second exposure) or lock it off if on bulb.
17) Check top plate exposure timer and also chronograph for exposure time
18) Walk about, try and keep warm for up to 32 minutes!
19) Unlock shutter release when exposure time reached.
20) Review shot and reshoot as necessary (if I am doing a long exposure at dawn or dusk the exposure time is a bit hit and miss as the EV of the scene changes during the exposure).

The gasket stops light leaks, have a go, see how you get on, you could try draping a cloth over around the filter holder when in use, see if it cuts down leaks.

 
I wrote up my workflow for using 10 stop filters on my blog if it helps, http://www.markmullenphotography.co.uk/blog/2012/8/long-exposure-photography---my-tips although I am sure everyone works differently.

1) Compose, get the shot looking right in the viewfinder, including what I want in the shot and, more often more importantly, excluding what I don't want in shot
2) Focus, then switch to manual focus
3) Meter, with both the camera's internal meter and an external spot meter
4) Expose for a standard shot
5) Apply ND grad filters as necessary to get the exposure right
6) Take a test shot at a short shutter speed
7) Examine the histogram on the short shot for blown highlights or blocked shadows
8) Adapt exposure according to step 7
9) Work out 10 stop shutter speed - various apps are available for smartphones to do this for you
10) Close viewfinder to stop light leaking in
11) Check AF on manual and IS/VR turned off
12) Slide 10 stop filter into position checking it covers the entire lens
13) Set the exposure up, either on bulb or with manual setting
14) Check mirror lockup is switched on
15) Lock mirror up, give it a second or two for any vibrations to die out
16) Set shutter with cable release, either one shot if it is on manual (eg less than 30 second exposure) or lock it off if on bulb.
17) Check top plate exposure timer and also chronograph for exposure time
18) Walk about, try and keep warm for up to 32 minutes!
19) Unlock shutter release when exposure time reached.
20) Review shot and reshoot as necessary (if I am doing a long exposure at dawn or dusk the exposure time is a bit hit and miss as the EV of the scene changes during the exposure).

The gasket stops light leaks, have a go, see how you get on, you could try draping a cloth over around the filter holder when in use, see if it cuts down leaks.


ok just one question if you dont mind how do i close the viewfinder? never heard of that one
 
black cloth over it do?
 
Great stuff il give it a go

Is it worth trying to make a gasket out of some draught excluder or something?
 
Just sticking my nose in on the thread to say thanks to mark for his work flow - will come in handy when I start tying some of these long exposures
 
I got my new 10 stop filter and it doesnt have a 1.5mm gasket on it for my Lee filter holder.

What i want to know is

1) do i really need one?
2) if i do, can i make one?
3) do i meter the camera after ive put the filter on the camera or before?

I know i need to compose the shot etc before putting the camera on but i read somewhere to set the aperture etc before putting the filter on - but i could be mistaken.

Thanks guys

Was it supposed to have a gasket on it? Maybe try and contact Lee and see if it is something they would be prepared to sell to you.
 
Was it supposed to have a gasket on it? Maybe try and contact Lee and see if it is something they would be prepared to sell to you.

Unfortunately i dont think it was - its a hitech 3.0

I think ive solved the issue actually with a bit of black insulation tape. ive put two bands several layers thick across the top of the filter which very nearly fill the gap. Then a little tape over the remainder of the gap and its jobs done, and the only residue left easily washes off. Cost - nowt :D
 
Another thing. If i take a second shot of the one i actualy want with a grey card in the shot, and pick the white balance from the grey card, will it fix the colour cast for me and save me playing about with the image?
 
Unfortunately i dont think it was - its a hitech 3.0

I think ive solved the issue actually with a bit of black insulation tape. ive put two bands several layers thick across the top of the filter which very nearly fill the gap. Then a little tape over the remainder of the gap and its jobs done, and the only residue left easily washes off. Cost - nowt :D

I'd check again with HiTech, they supply or at least used to supply them in 2 types, one for the HiTech holder and one for the Lee holder. (1.5mm and 3.0mm gaskets)
 
HiTech have emailed back saying basically unlucky buy a new one lol

Any idea on my grey card question above?
 
Another thing. If i take a second shot of the one i actualy want with a grey card in the shot, and pick the white balance from the grey card, will it fix the colour cast for me and save me playing about with the image?

Should do. Also if you take a custom white balance from your grey card and store it in camera although it won't be 100% accurate (as ambient light colour temp changes) it will make reviewing your shots on the rear LCD screen a lot easier as they will be at least in the right ballpark.
 
Just what I wanted to hear! Great stuff il get one ordered.

Then il have to google how to do a custom WB lol
 
Last edited:
HiTech have emailed back saying basically unlucky buy a new one lol

Any idea on my grey card question above?

That's a very disappointing and somewhat surprising reply. Did you buy second-hand by any chance? Can I ask who you bought from? Have they had anything to say about it?
 
To be honest it's really my fault. It was advertised as and ND 3.0 not a pro stopper.

I just hadn't seen there was a difference. It will still do the job il just seal it with tape and colour correct :/
 
To be honest it's really my fault. It was advertised as and ND 3.0 not a pro stopper.

I just hadn't seen there was a difference. It will still do the job il just seal it with tape and colour correct :/

Oops, not good. You'll obviously have a bit more work to balance things then. Be interesting to see how things turn out.
 
Thanks for everything above guys
 
i went to test the filter out earlier and the results are below (only quick shots to have a go with - nothing i intend to use or require critique on ;) ). I cant seem to get the image looking quite right - i guess its because i cant find the right colour grey i suppose - maybe i should have waited for the cards to come. any ideas how to get it looking better?
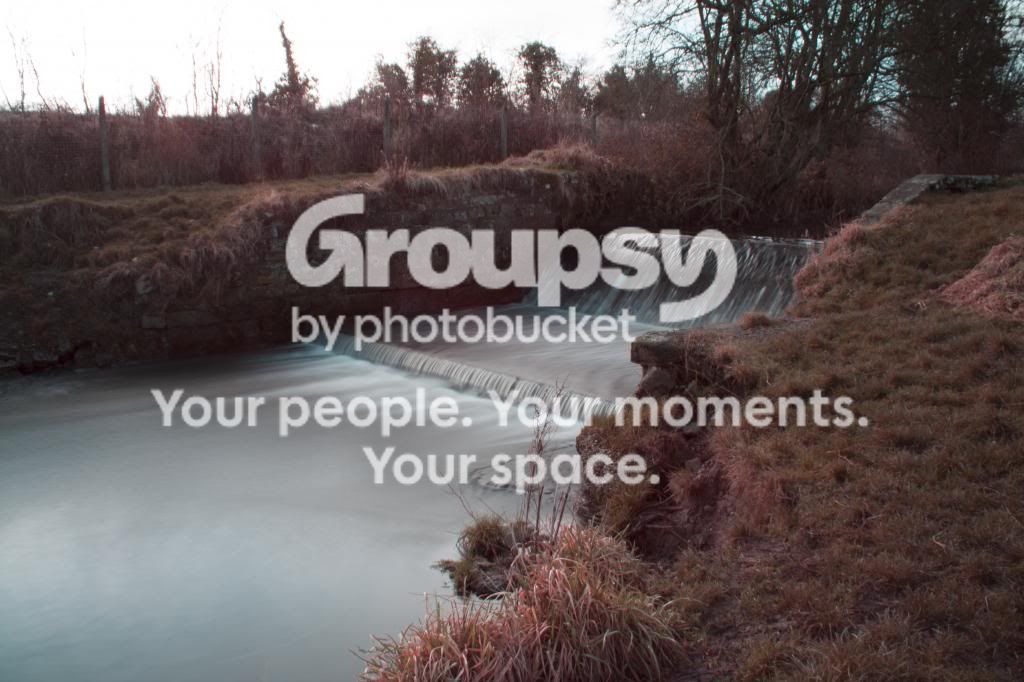
Original as shot:

testnd3original_zps88a7cab0.jpg


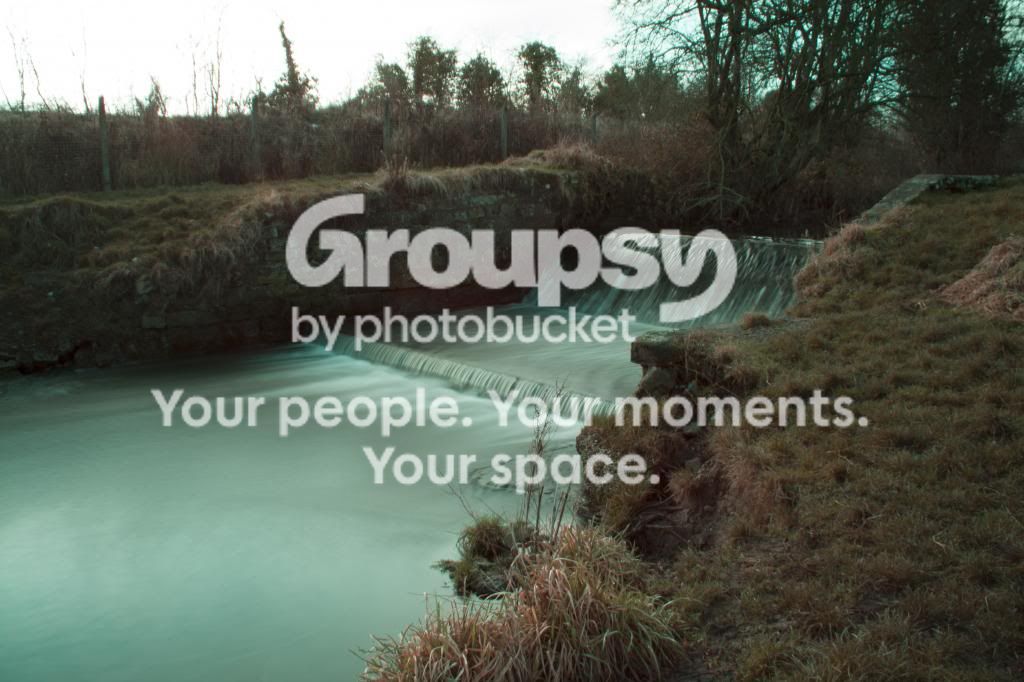
My try to correct:

testND3_zps0deb6d3d.jpg


It somehow has made everything too blue rather than red, and i think the water looked better in the original.

Any ideas? what should i be doing in camera raw to correct this?

Step by step sort of thing :)
 
Try picking different places with the WB dropper, I reckon the wall opposite should have a decent neutral grey to get you started, or the white water at the bottom of the weir.

I can't remember Camera Raw's settings but in Capture One you've got colour temperature and tint as controls, I reckon the tint could help with that, put more magenta into it than green.
 
Can anyone confirm if I should be removing UV filters before applying the ND?

Thanks

Euan
 
I tried loads of places on the wall just wasn't right. Didn't try the white water
 
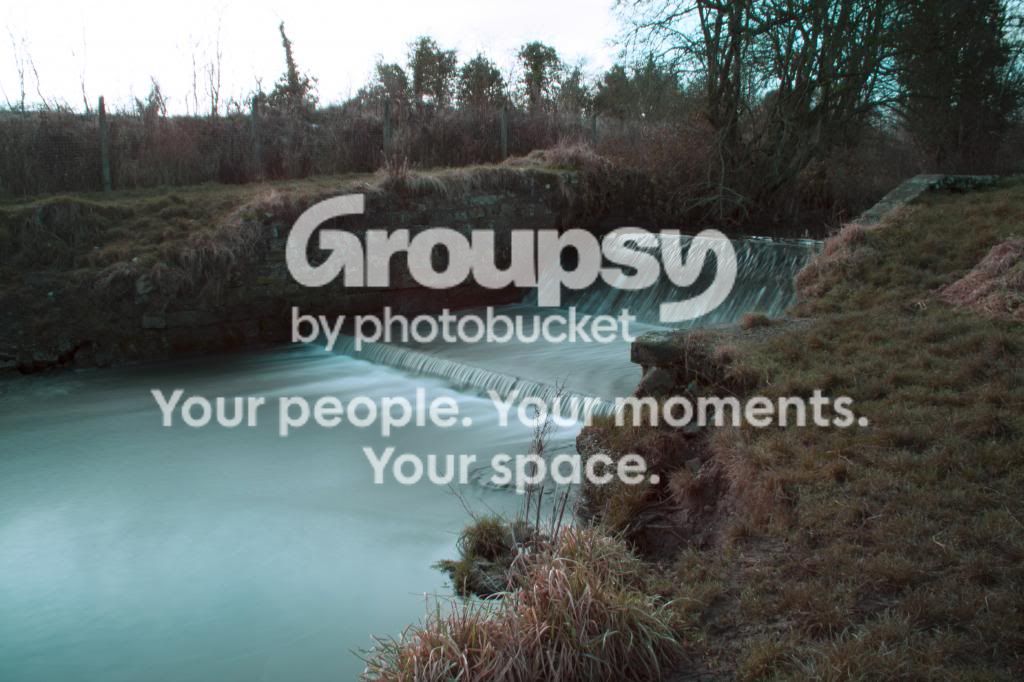
Had a play with the image in photoshop using the levels tool on and playing with the blues

does this look better? ignoring the turquoise in the sky top right, thats because i didnt expose the sky right and theres light leaking in top of the filter as i didnt tape it up for this test

testND3_zps95a23ec6.jpg
 
I was intrigued by this picture, so I took the liberty of having a go in Lightroom. The colour balance is very odd, and I really can't work it out. I used your original shot and the water is very close to a neutral grey, which suggests a correct colour balance. Yet the grass is red. If I 'correct' the white balance by eye for the grass, the water becomes a bizarre turquoise. Maybe the grass really is red or the water really is turquoise :shrug:

This is the best I can do without resorting to local adjustments. I've left the WB almost unchanged to keep the water grey, and used a big positive hue shift on red and orange to correct the grass. Upped the overall saturation, but reduced the aqua, blue and magenta saturation to remove some colour casts in the water.

Where did the original JPEG come from? I wonder if the filter has confused AWB? (or did you use a different WB setting?)

qq8syc.jpg
 
That is spot on from what I can see on my iPhone.

I have no idea what you've done but I'm sure the above might make sense when I open it in camera raw and take a look. The jpeg was just the raw file saved as jpeg.thanks for taking a look
 
I haven't used Camera Raw, but I'm pretty sure it doesn't use the WB info from the camera, so you can rule that out. As an experiment, try Canon's DPP instead, as that does use the WB info.
 
Ignore that saw the Lightroom comment. Il try to repeat it in photoshop tomorrow and see how I get on.

Thanks for the help :)
 
Last edited:
I tried loads of places on the wall just wasn't right. Didn't try the white water

The colour problem is infrared interference. You can't get rid of it.

The original Hitech 3.0 ND was notorious, and the Pro Stop also suffers too. I believe Hitech has a new Pro Stop IR version, but I've not tried it.

Nobody has yet managed to make a decent ten-stopper out of resin. Lee's is glass, as are all the others.
 
well gridlock has done a bloody good job of it up above
 
following gridlocks advice above i cam up with this - i'd say its done a brilliant job of correcting the shot. Having seen the scene (thats a mouthful - even in my head :LOL: ) that the shot is damn near a perfect match on the actual image the camera should have captured.
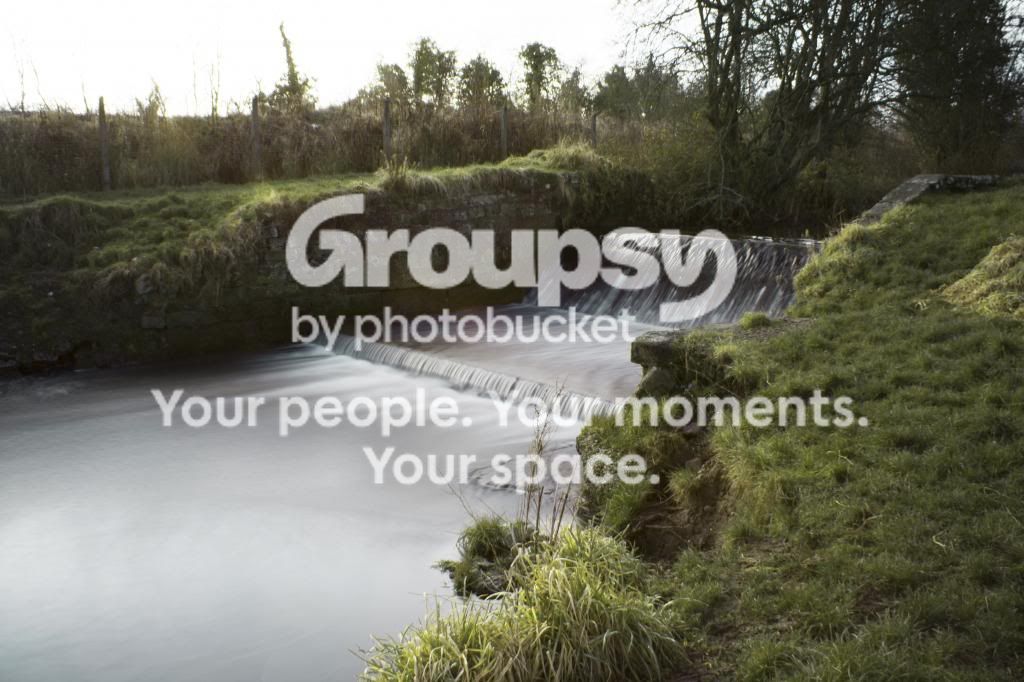
testND3correct_zpsd5973664.jpg


Thanks for your help gridlock! you've just save this filter being a complete waste! :thumbs:
 
Last edited:
The colour problem is infrared interference. You can't get rid of it.

The original Hitech 3.0 ND was notorious, and the Pro Stop also suffers too. I believe Hitech has a new Pro Stop IR version, but I've not tried it.

Nobody has yet managed to make a decent ten-stopper out of resin. Lee's is glass, as are all the others.

The 3.0 ND is even advertised by some as 'not suitable for colour photography'.
 
Back
Top