


- Messages
- 400
- Name
- Ashley
- Edit My Images
- Yes
hello, ive been seeing posts around forums and decided to purchase some items and then create a cheap ND
items needed:
Welding Glass (i got grade 9) Ebay is the place to get it from!
ND filter (i used 77mm as my camera lens is 77mm) cheap one off ebay again!
Micro fibre cloth
Superglue
Wet and Dry 1200 Grit
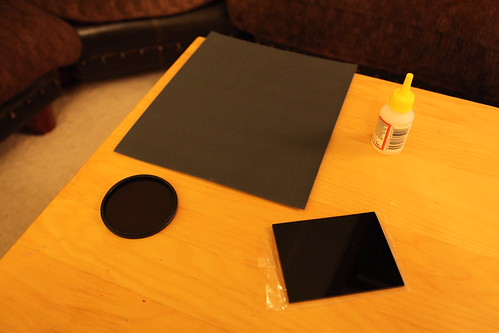
IMG_2654 by AshleyKent, on Flickr
Step one:
Prepare the filter. on the filter i purchased if you use enough force it will come apart, this is the main screw part for the camera lens, the filter itself and a ring to hold the filter in.
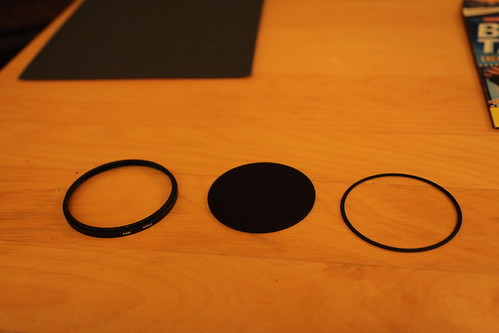
IMG_2659 by AshleyKent, on Flickr
Step Two:
Use the camera filter ring and sand down outside surface using Wet and Dry, this then creates a flat clean surface ready to glue which will prevent gaps that light can pass through.
Step Three:
Use minimal glue around the outside of the filter... Ensure the Welding glass is clean before you do that and that the writing on it isnt over where the lens is.
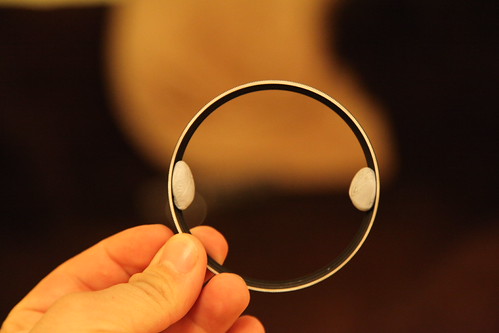
IMG_2662 by AshleyKent, on Flickr
(ignore the blue tac... didnt work too well and got in the way)
Step Four:
Wait for glue to dry. Filter Complete!
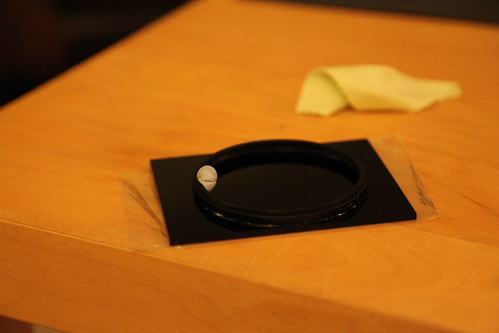
IMG_2663 by AshleyKent, on Flickr
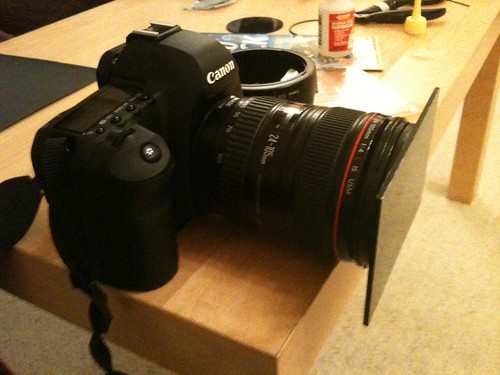
Picture 001 by AshleyKent, on Flickr
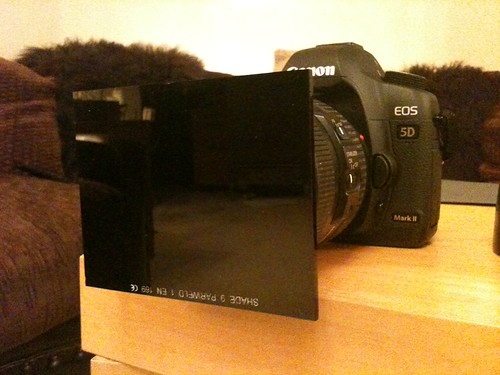
Picture 004 by AshleyKent, on Flickr
Step Five:
havnt got as far as calculating the change in shutter time but it does come out Green so be sure to shoot in RAW.
Check my Flickr for more pictures!
Thanks for Looking | Ashley
items needed:
Welding Glass (i got grade 9) Ebay is the place to get it from!
ND filter (i used 77mm as my camera lens is 77mm) cheap one off ebay again!
Micro fibre cloth
Superglue
Wet and Dry 1200 Grit
IMG_2654 by AshleyKent, on Flickr
Step one:
Prepare the filter. on the filter i purchased if you use enough force it will come apart, this is the main screw part for the camera lens, the filter itself and a ring to hold the filter in.
IMG_2659 by AshleyKent, on Flickr
Step Two:
Use the camera filter ring and sand down outside surface using Wet and Dry, this then creates a flat clean surface ready to glue which will prevent gaps that light can pass through.
Step Three:
Use minimal glue around the outside of the filter... Ensure the Welding glass is clean before you do that and that the writing on it isnt over where the lens is.
IMG_2662 by AshleyKent, on Flickr
(ignore the blue tac... didnt work too well and got in the way)
Step Four:
Wait for glue to dry. Filter Complete!
IMG_2663 by AshleyKent, on Flickr
Picture 001 by AshleyKent, on Flickr
Picture 004 by AshleyKent, on Flickr
Step Five:
havnt got as far as calculating the change in shutter time
but it does come out Green so be sure to shoot in RAW.Check my Flickr for more pictures!
Thanks for Looking | Ashley

