Cloning a background

slideordie

Suspended / Banned
Messages
269
Edit My Images
Yes
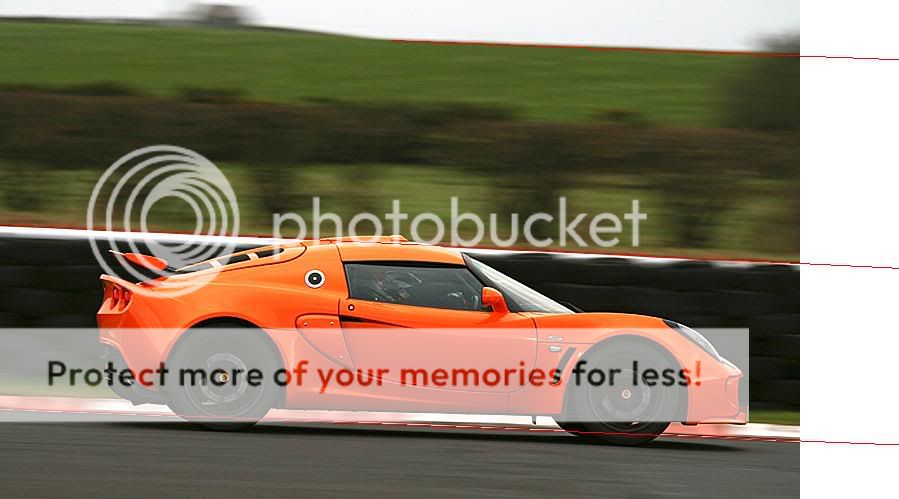
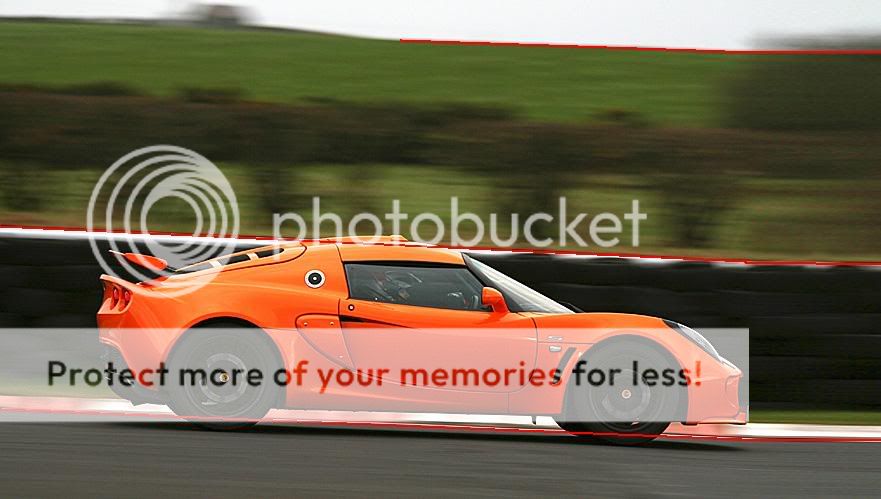
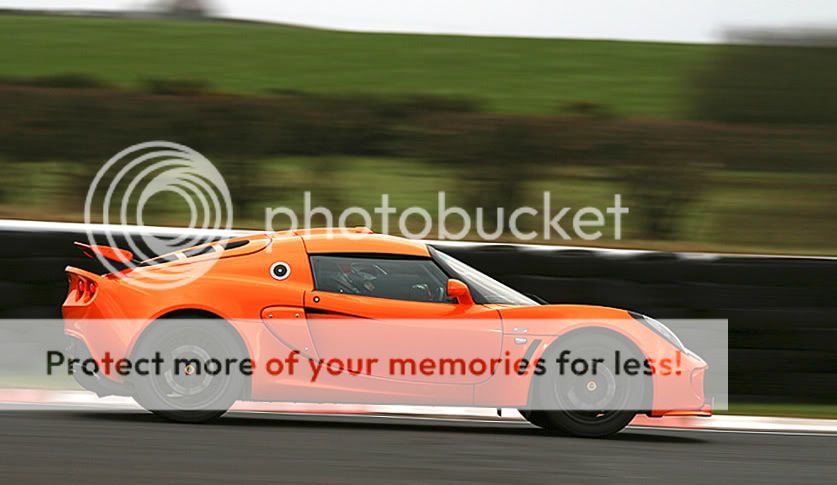
Someone mentioned that I could clone the background in front of the car to add some more "track" in front of it.

Can anyone do this or provide some tips on how to do it?
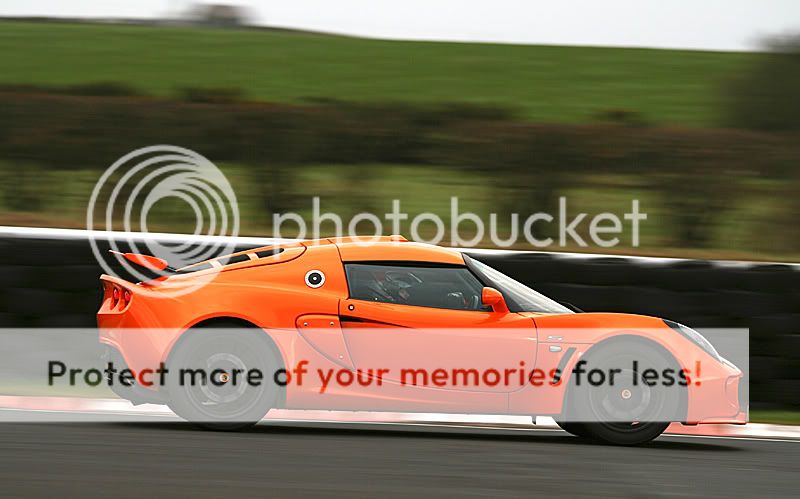
kirky_feb_01.jpg


Thanks
 
There's not much track to work with there so you run the risk of it look tiled. Do you have another shot from the day that could be used as a source for the cloning?

The basic idea is simple, enlarge the canvas and with the clone tool you set a source point and then paint. The area you're painting "copies" from the source. It's just a real time copy and paste really except the section you're copying from is always a set distance from the current position (you can set it to be static as well but that's normally for cloning flat colours).
 
Given how blurred it is, it should be fine to enlarge the canvas, copy and paste the chunk of track beneath the car in to the empty space, use the clone tool to blend it in well, then consider using some very light dodge/burn tools to make it look a bit unique
 
Thanks for the tips guys, tried it there and its sort of working, need some practice with the Clone tool!
 
Heres another idea. Extend the canvas in front of the car, then use the rectangular marquee tool to select an oblong from just in front of the car to the edge of the print, copy paste, then edit/transform/transform scale and drag out the front edge to the end of your extended canvas. As long as you don't go too far it'll look pretty good. A few tweeks and nobdy would know.
heres a very quick rough version, I'll happly take it down if your not happy about me showing it. Wayne
3253993534_3238015cf6_o.jpg
 
As a slight variation of the above, enlarge the canvas then just select the part of the image in front of the car, Select free transform and drag the edge out to gain more track. It works for small adjustment with images like this, just don't overdo it as it will look really odd
 
I would copy the whole left hand side and paste it to the right, then use the transform tools to make it fit, the do a bit of light cloning to blend it.
 
If you have Photoshop CS4, try using the content-aware scale. It seems to work pretty well on this image.

Anthony.
 
Tried the suggestions above.

Not used to Clone tool before so am struggling with it. Tried the Free Transform idea and its working nicely, only problem is the kerb is coming out straight and not falling away towards the corner as it should. When I rotate it it then doesn't line up elsewhere. Content aware scaling is giving me the same problem.

Thanks for posting that up swanseamale47, I don't mind at all.

Will keep fettling with it!

The methods suggested all allow the car to be driving into space, but only you know that there is a corner in front of the car in real life, so does it matter? The primary object of the edit has been achieved...

Anthony.
 
No, that's not what I mean. Perhaps these will explain better. The kerb/tyre wall/skyline are all falling off at an angle, but when I free transform the selection it moves out in a straight line and doesn't follow the angle of the exiting lines. Sticks out like a sore thumb to my eyes.

kirky_feb_01-1.jpg


3253993534_3238015cf6_o.jpg
 
When you select Free Transform, if you hold down the ctrl/cmd key, you can move one of the "handles" independently to the others. This may help you control the kerb down
 
No, that's not what I mean. Perhaps these will explain better. The kerb/tyre wall/skyline are all falling off at an angle, but when I free transform the selection it moves out in a straight line and doesn't follow the angle of the exiting lines. Sticks out like a sore thumb to my eyes.

[..]

Understand the point you are making. To overcome this, I used the measure tool and rotated the picture to level up the background. Made the changes using the content-aware scale, then re-opened the rotate image dialogue and instead of CCW used the CW radio button to put the image back where it started. Then I cropped to taste.

Anthony.

Very clever! I will give that a go, thanks!
 
Back
Top