First steps with Lightroom

Messages
3,622
Name
Keith
Edit My Images
Yes
I'm finally getting stuck into LR after months of (I shamefully admit) editing the odd picture with basic controls - contrast, highlights, shadows, sharpening, but usually dropping photos in free faster editors with basic adjusters. Whilst a lot of my photos are just pleasure shots, there are times when they deserve more effort on my part.

I watched a few videos to start understanding where the Texture, Clarity, Dehaze section fits in, and to get started with masking. At the moment its more around learning what all the sliders do and when to use them, and to experiment, have fun, and then start trying to sharpen it all up into better editing in the near future.

Starting in small steps and working up this evening

So this was the auto generate on a scene from the spare room window, just wanted this for comparison
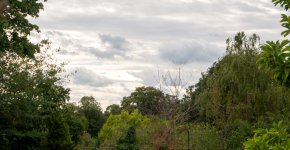
17 08 26 01.jpg

So I chose the sky in masking and had a crack at dehaze. Seems to add noise if there's little haze to start with.
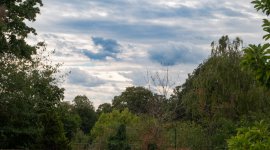
17 08 26 02 Dehazze.jpg

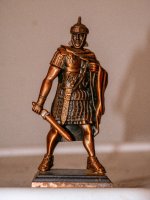
Three shots getting more adventurous at the end. This Roman figure had the texture increased
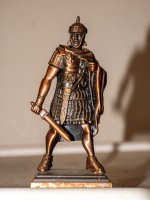
17 08 26 03 Texture statue.jpg

And now increasing the temp
17 08 26 04 Temp.jpg
Started again and this time started by masking the subject before increasing temp which gave me a bronze look I liked.
Then I masked the background and dropped the exposure plus dropped the saturation all the way (could have hit B&W)
Then I masked the subject and pulled the exposure up.
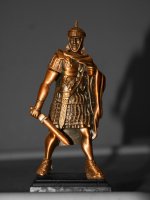
17 08 26 05 Temp only.jpg
Gave this one a De-noise which seemed to take a couple of minutes, unless they just kip the delay on You Tube?
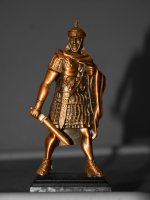
Denoised.jpg

Its very early days and right now I'm just getting a feel for things in bite size chunks.
Subtle changes seem to be the way forward but I am always tempted to go a bit far, so need to be more subtle possibly.
Tonight is about fun so please don't judge too harshly. Getting used to it all before furrowing the brow and doing a serious edit.
 
Last edited:
Started again and this time started by masking the subject before increasing temp which gave me a bronze look I liked.
Then I masked the background and dropped the exposure plus dropped the saturation all the way (could have hit B&W)
Then I masked the subject and pulled the exposure up.
View attachment 490742

This is a very good way to use masking in LR. Done well, it can just make the subject pop a bit more in a very subtle way - even an exposure change of +0.25 for the subject & -0.25 for the background can make a nice difference. This type of masking is probably my most used.

I do have a love/hate with dehaze. I tend to use negative dehaze much more than positive tbh Too much [esp with a sky] can bring really odd colours into the mix and often needs a negative saturation and sometimes a temp adjustment with it. Again, imo :)

But what you are doing is good - the best way to learn.
 
This is a very good way to use masking in LR. Done well, it can just make the subject pop a bit more in a very subtle way - even an exposure change of +0.25 for the subject & -0.25 for the background can make a nice difference. This type of masking is probably my most used.

I do have a love/hate with dehaze. I tend to use negative dehaze much more than positive tbh Too much [esp with a sky] can bring really odd colours into the mix and often needs a negative saturation and sometimes a temp adjustment with it. Again, imo :)

But what you are doing is good - the best way to learn.
Thanks Lee, appreciate the support and advice on dehaze.
 
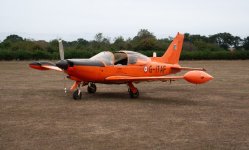
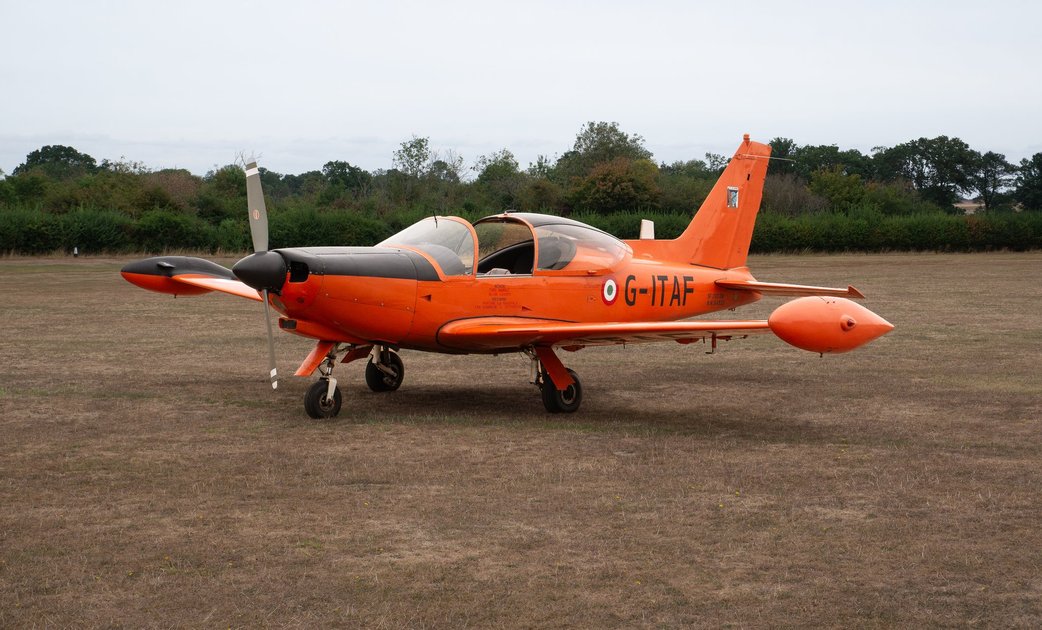
This would have had some subject 'pop' applied - probably some slight clarity, exposure, maybe contrast.... The background would have had the opposite.


*** by Lee, on Flickr

This famous, local tree..... Would have had a foreground linear mask to brighten and warm. A subject/tree mask to add clarity, brighten and warm & possible saturation. It would have had a sky mask to darken slightly too I expect, with a slight chance it was made ever so slightly cooler.


*** [Explored] by Lee, on Flickr

All pretty subtle though - that is the key :) Again, imo :)
 
I've started using Adaptive Colour Profile as an import preset. It does much of which I would wish to do with initial sliders, especially if you add something like a +7 dehaze and +7 vibrance.

Suits me as a good starting point for any further playing about I might want to do. Better than 'Auto', and saves ages.
 
This would have had some subject 'pop' applied - probably some slight clarity, exposure, maybe contrast.... The background would have had the opposite.


*** by Lee, on Flickr

This famous, local tree..... Would have had a foreground linear mask to brighten and warm. A subject/tree mask to add clarity, brighten and warm & possible saturation. It would have had a sky mask to darken slightly too I expect, with a slight chance it was made ever so slightly cooler.


*** [Explored] by Lee, on Flickr

All pretty subtle though - that is the key :) Again, imo :)
Thanks Lee. Yes I have a bad habit of going hard on the sliders, I need to start subtle and not get carried away. Love the car image.
 
I've started using Adaptive Colour Profile as an import preset. It does much of which I would wish to do with initial sliders, especially if you add something like a +7 dehaze and +7 vibrance.

Suits me as a good starting point for any further playing about I might want to do. Better than 'Auto', and saves ages.
Many thanks
 
Thanks Lee. Yes I have a bad habit of going hard on the sliders, I need to start subtle and not get carried away. Love the car image.

Going hard on the sliders is pretty normal tbh Especially when you are experimenting to see what effect they have.

There was always some saying for editing, which went along the lines of, "move the slider to where you think it looks good, and then back it off a bit"

:)
 
Going hard on the sliders is pretty normal tbh Especially when you are experimenting to see what effect they have.

There was always some saying for editing, which went along the lines of, "move the slider to where you think it looks good, and then back it off a bit"

:)
That makes sense to me. I guess when you're looking at an image for a while it loses some of the initial impact it had when you first began to work on it. So the brain and the eyes want to push the enhancement's a bit too far to get the wow factor back.

Whereas to the neutral eye looking at the image for the first time, this could seem over processed and too unnatural and actually take away from the quality.

Maybe it's good to take breaks. I can honestly say that I have noticed myself on occasions that when I'm looking at an image, I can sometimes start to degrade its appeal in my mind. Then I go and make myself a drink or do something for a few minutes and when I come back refreshed, it appeals to me again just the way it is.
 
Maybe it's good to take breaks. I can honestly say that I have noticed myself on occasions that when I'm looking at an image, I can sometimes start to degrade its appeal in my mind. Then I go and make myself a drink or do something for a few minutes and when I come back refreshed, it appeals to me again just the way it is.
I have a habit of overdoing editing so developed a routine years ago to do an initial edit and then walk away for a couple of days before going back to the editing screen. This normally results in me backing off adjustments that have previously increased exposure, clarity and shadows. You just have to figure out what works best for you :giggle:
 
Back
Top