Its a Steep learning curve

Yv

TPer Emerita
Messages
25,725
Name
Yvonne, pronounced Eve...
Edit My Images
Yes
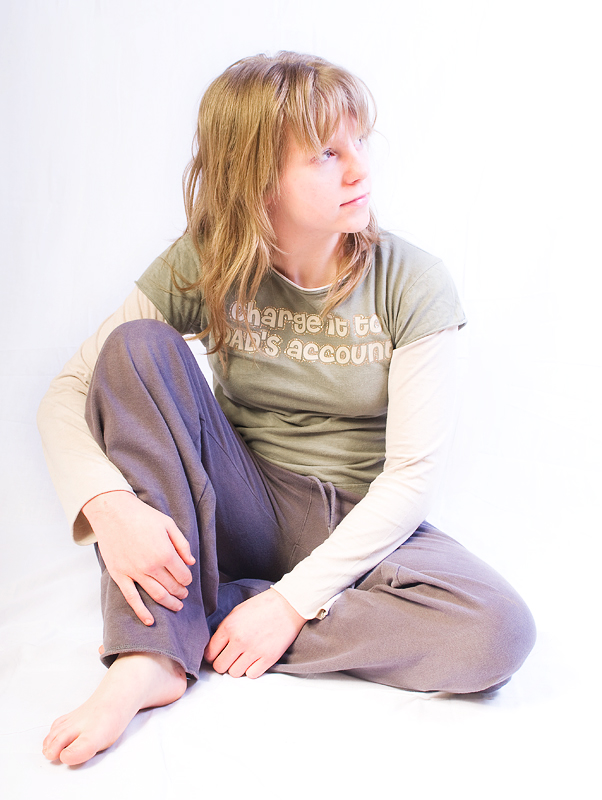
OK, managed to get the new lights out for first time today. Sadly lack of space is a problem here at home, so couldn't necessarily get the lights where I wanted them and the background was about 4ft wide, just draped over a clothes rail. All of these were two lights with either 2 soft boxes, 1 sb and a brolly, plus a reflector thrown in for good measure. I know you can see the background creases, but hard to get rid in a confined space, even with lights turned right down on power.

1
3263211125_bbf0578eb3_o.jpg


2
3264035666_919e53dee9_o.jpg


3
3263210835_4165dc51fa_o.jpg


so, questions, white balance? Slightly different on them all and not sure which is best?
Best way to smooth the background in limited space? Or should I be thinking of deliberately ruffling and gathering and using it as a feature? :shrug:
Should I just use one light perhaps?

Any other advice most welcome to this complete newbie :nuts:
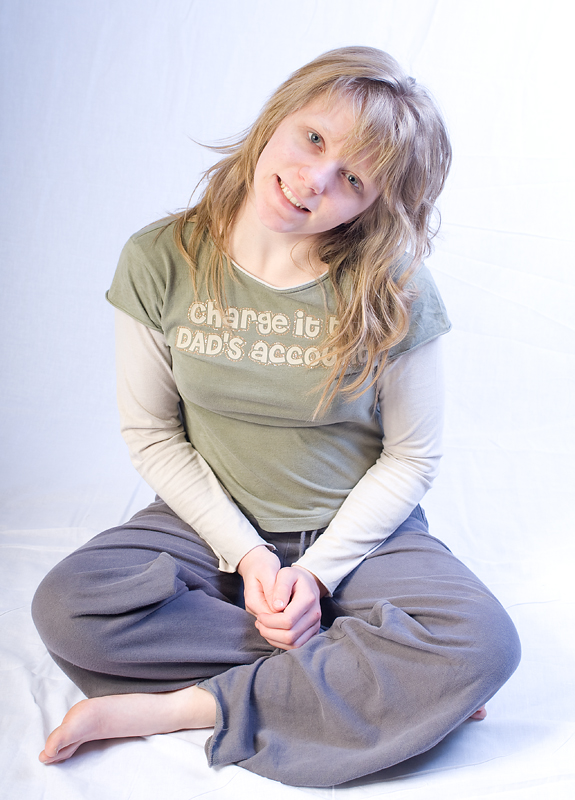
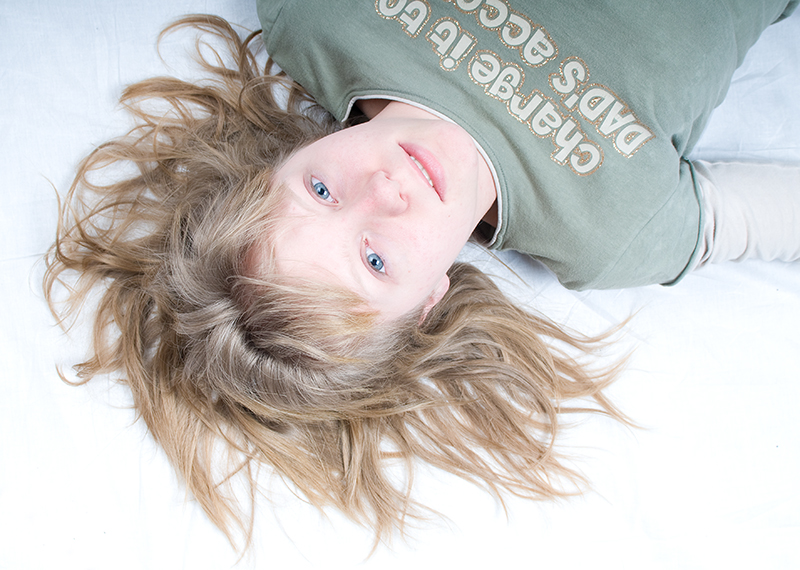
 
Until you get some space sorted you could always have a crack at fixing the backdrop in Photoshop (if you have it).

BTW, I think her eyes in number 3 are stunning.
 
These are lovely Yvonne, agree about the eyes in #3. The creases don't detract too much to my untrained eye.
 
:LOL:


happy days. this takes me back to some good times..

try just doing head shots this will sort out the b/g for you. or try and keep the sheet taut.. then tweak in ps.

this is where i started and i had to learn how to get my shots better in ps .. now i try to do it in camera .."mind you i have space to keep the lights and b/g up all the time which i know helps....

md(y)

hope you dont mind :shrug:
yvonne_WEB.jpg
 
tweaked this .. moved that and the slider. oh and added this and took something else out...

hth..

(y)

ps this edit is a bit rough but you get the idea i'm sure..


md(y)
 
Last edited:
The colours do look a little desaturated, but I assumed that was deliberate. :shrug:
 
For every White Background shot there are two issues... lighting the background and lighting the subject

One Key light on the subject is enough - one on the background MAY be enough. MD has offered a great PP solution, but it's too harsh IMHO as the shadows are too defined and thus unreal

Cloth flooring is often creased and can be a feature of the shot, but creased backgrounds are just too distracting. Forget the subject for now, shoot the background until the upright is white and you're happy with any crumpled foreground

Then introduce the subject and light them separately

Getting it right in-camera minimises PP work = fun, happiness or profit

DD

By Dave will Yv get it right in the camera if the space is at a minimum? Because surely the light from the background will leak onto the subject

That was the problem.... sort of.... If I could just move the TV out of the room.... :naughty:


Basically, Dave is right, and I understand what he is saying, so will try that when I have more room. I did also do some head/shoulder shots which does minimise the impact of the backround.

I have played with MD's pp technique and got a better look pic below], but as he and DD have pointed out, better and less time consuing to do that in camera.


Time for more juggling stuff around. :naughty:

Thankyou for the advice so far, ver very helpful indeed (y)


3263396963_da7fd32cdd_o.jpg


Still some evidence of creases, but getting there... ??
 
some good shots there Yv. Looks like you and me are on the same learning curve at the moment. I hope you're enjoying it as much as I am.:) The pp required is very new to me and as with everything getting right in camera has to be the way to go.

Mark(y)
 
Pete, I actually have a 'studio' area at a friends place, though tbh, its not much bigger than the space I have at home, except its wider and shorter. The home area is quite long, but very narrow which makes position lights limited. Will have to get the set up over there soon and start playing properly but just wanted to get my head round them first.

Mark - definately. Its a very steep curve, but huge fun, even if the daughter is fed up of being my 'muse' :LOL:


so, another question - how effective is lighting from behind the background for minimising 'roughage'? It occurs to me that currently i have no width, but plenty of depth, there is room to put a light behind the backdrop, but will this work. I do appreciate it wont effect the floor.
 
Lighting from behind is great - for head & shoulders, not full length

Remember, so long as your light source's stand for the background is NOT touching your subject it can easily be removed in PP. I've used a 2 light set up for two kids in only a 4ft wide space, okay it's a pain but it is possible. If you get the background to be white you only need a harsh brush to paint out any tripod legs etc. later

Light the background (use your blinkies if not a separate light meter) and light your subject AFTER you've lit your background to minimise PP work

ALSO - DO NOT compose anything in camera. Fill your shot with the subject ONLY and ADD white space as needed later

This guarantees maximum quality in any prints

DD


:clap::clap: learning sooo much today(y):)
 
Lighting from behind is great - for head & shoulders, not full length

Remember, so long as your light source's stand for the background is NOT touching your subject it can easily be removed in PP. I've used a 2 light set up for two kids in only a 4ft wide space, okay it's a pain but it is possible. If you get the background to be white you only need a harsh brush to paint out any tripod legs etc. later

Light the background (use your blinkies if not a separate light meter) and light your subject AFTER you've lit your background to minimise PP work

ALSO - DO NOT compose anything in camera. Fill your shot with the subject ONLY and ADD white space as needed later

This guarantees maximum quality in any prints

DD

:clap: excellent advice, many thanks. I think I am having a serious amount of blond moments....I did clone a stand foot from #3, bottom right...didnt think to do that whilst shooting the others :bonk:

Poor bratney, she is going to be sat on the enormous white 'sheet' again tomorrow night :LOL: Mr Yv wants to know if we can use it on the bed when I have forgot to turbn the tumbledryer on! :bat:
 
Back
Top