Light Tent Tips/Techniques

Messages
1,531
Name
Steven
Edit My Images
Yes
Hi everyone,

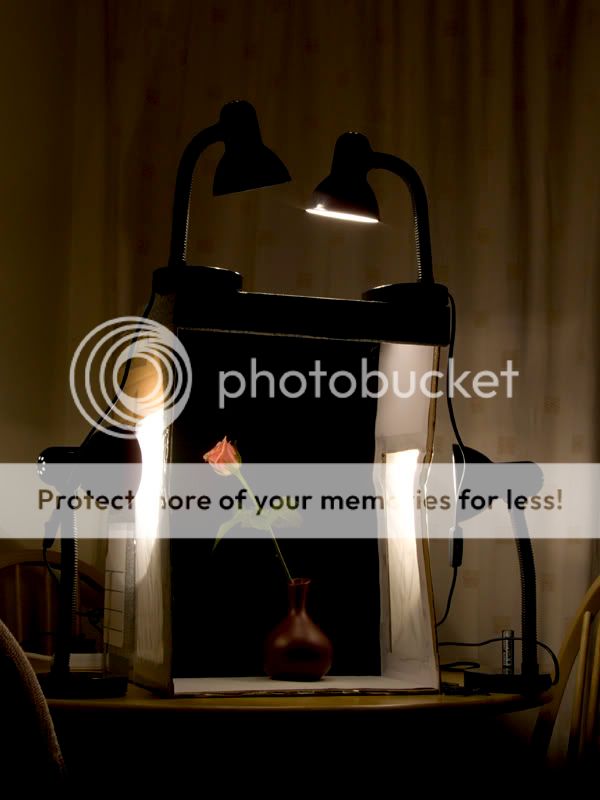
I received my light tent today - 80cm2, so it's pretty big! I currently have it set up with only one light on the right hand side. I'm finding it's pretty dark at the moment, probably due to the wattage of the bulb and the fact that it's not a spot-light type lamp.

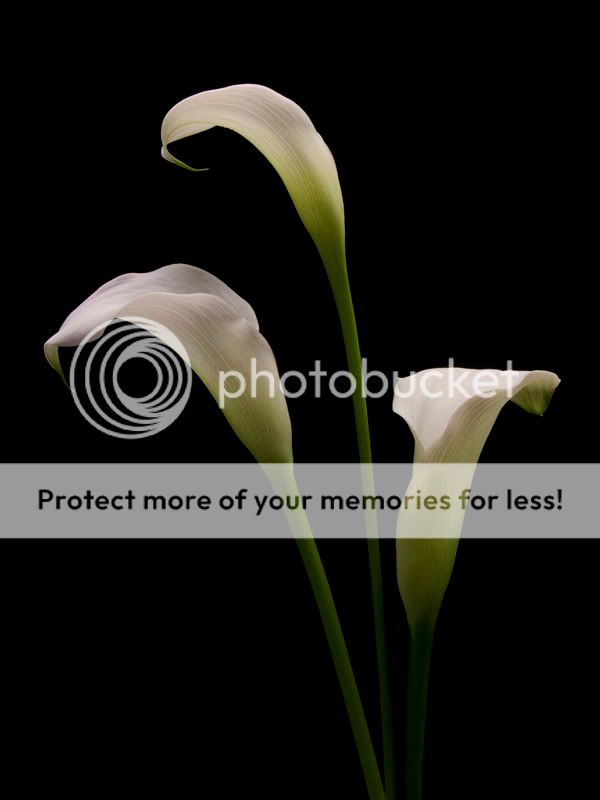
I took a few shots, and this was the best:

2868278940_334c00c612_o.jpg


On a lot of the pictures I took, the black backdrop was visible and it was easy to spot the creases and dust of it. I found that I had to reduce the shutter speed quite a lot of get rid of it and blacken it out.

When taking shots of things which weren't on the ground, I found it very difficult to get rid of the backdrop:

2867459115_f1375b1e13_o.jpg


Or even further away, where it becomes obvious:

2868293322_872edf6e77_o.jpg


Any tips/advice would be greatly appreciated!

Also, I need some lights, so if anyone can recommend anything fairly cheap, that would be awesome!
 
I guess this is the downside of using non-flash lighting, in that it's not as bright and can be more difficult to control.
I got me a couple of these and some angle poise lamps. They give a lovely white light, stay nice and cool, and are good and bright. I use them with some anglepoise lamps, so perhaps with some overhead use and some "barn doors" made from black card to prevent light spilling on to the background you could use a faster shutter speed and keep the background dark to get the desired results.
 
A couple of things for the situation you have here (black background)....

- You need to be able to direct the light somewhat, so that you do illuminate your subject, but not the background, perhaps flagging off light hitting the backdrop;
- You need your black backdrop to be as light absorbent as possible. Black velvet is often exceptionally good at sucking up light. Other materials may be less good.
- If you use a longer lens, with a narrower angle of view, and move back a bit for your framing, you will include less of the background into your shot. A wider angle lens just pulls too much of the rear into the frame and gives you more work to hide the mess at the rear.
- A bit of PP can really help to squeeze the darkest parts of the image into the jet black zone, if that's what you want.

Here's one of my first efforts at shooting against black. A bit of PP to adjust the black clipping point was all I needed to make the background vanish entirely. Shooting in raw made WB adjustment a piece of cake too.

MWSnap%202008-09-19%2C%2009_39_52.jpg


I'm sure you will find more answers or better advice in this thread....

http://photography-on-the.net/forum/showthread.php?t=281524
 
Well I woudl like to thank you for posting this question.

the reason being, I work in an antique shop, one of mu duties is photographing pottery.

I have been thinking in investing in a light tent (well investing my limited work budget) to help reduce glare, but I can see from your picture of the figurine that glare is still an issue.

I currently use some "site" tungsten lights bounced off a wall, and long shutter speeds, then if I get any glare, a bit of Photoshop to remove them.

(boss wont authorise spending money on a decent lighting set up becasue i get good results as it is . /sigh )
 
I use 4 lamps to give a more even coverage of lighting, (two from above, one from the left and one from the right). The other benefit from this is that you can, with more light, shoot at faster shutter speeds which helps with the black background.

Also shoot in RAW to change the light balance as required.

Example:

DSCF4227-800.jpg


Set up:

DSCF4583-800.jpg
 
Back
Top