it's really nice of you to say that Dave... I wouldn't say great, but competent/workmanlike at least...
I guess a good place to start is to link to this thread, kinda details some of my faltering steps along the path...
https://www.talkphotography.co.uk/threads/still-life-something-of-a-learning-curve.649061/
I think you commented in there originally, but the "writeup" of how things were constructed is probably more use than the pictures...
Any Tips...
1 - use the camera like an artists easel. Decide on where you're going to view from, put the camera on the tripod, use liveview (or, shadow the display onto a laptop / monitor / TV - bigger the better, as you're looking for miniscule details and defects that go unnoticed through the viewfinder, but are glaring when you print a metre across...
2 - patience. Some of those pictures in my thread were a month in the making, faffing around, moving something left, right, left again, raising the lighting, dropping it, just experimenting - it's a fascinating way of actually LEARNING to light things - or, more honestly understanding how to play light over things to make them look how you want - not how they do.
3 - find a subject that fascinates you - as above - you're going to be staring at it for hours/days on end - it might as well be something that floats your boat.
4 - i'd start with shooting things with a natural background rather than jumping straight into the black background stuff - it's really hard to pull off well, because you spend so much time NOT lighting some things to get the black background, that you compromise the light on the "objects".
5 - and I realise this isn't going to be popular with most of the forum philistines who are really only interested in buying the latest camera/lens - but still life is ART not craft. Do some research on what you want to shoot - refer to "conventional" art from history and learn what worked in terms of arrangement, composition, lighting, perspective - like small items look better in odd numbered groups, so 3s and 5s. not 4's - that kind of thing.
6 - if you go for a "group" shot - make sure that the items in the group have a reason to be in the shot. For example, in a shot with a fruit-bowl in the background - you could have a pen-knife and half peeled apple on the table before it, and a book to the side on making chutneys. You wouldn't have a bowl of fruit, with a haynes manual and a pair of pliers in the forground... Okay, that's an exageration - but the number of time's i've seen a collection of veg in a trug, left on a cutting board, and I've thought "well - that's going to be a bloody awful meal if they put all that into it" because there was one vegetable that really wouldn't hang together in ANY recipe with the others...
7 - sketch out your idea before even thinking where to get the "props" - if you can't make it work coherently in the sketch, then simplify it until you can. The perfect still life (even the ridiculously ornate ones i've posted at times) is the one where not a single item can be removed from it without detracting from the overall. if in doubt, subtract rather than add.
My approach to any of these pictures is to think of them as almost a single frame from a short film - I want that single frame to tell the story - that way the person looking at the image will hoepfully also look at it and see more than just an instant in time, and they could just be transported into that story that was in my head...
It's addictive, and frustrating, and irritating, and massively massively satisfying when it finally works...
have a think, come up with some ideas, and get stuck in - I look forward to seeing them - and, don't be afraid to ask on here for suggestions as to how to change / improve things


 Pocket Watch by Dave, on Flickr
 18 by Dave, on Flickr
 Pocket Watch by Dave, on Flickr
 Black Dragon by Dave, on Flickr
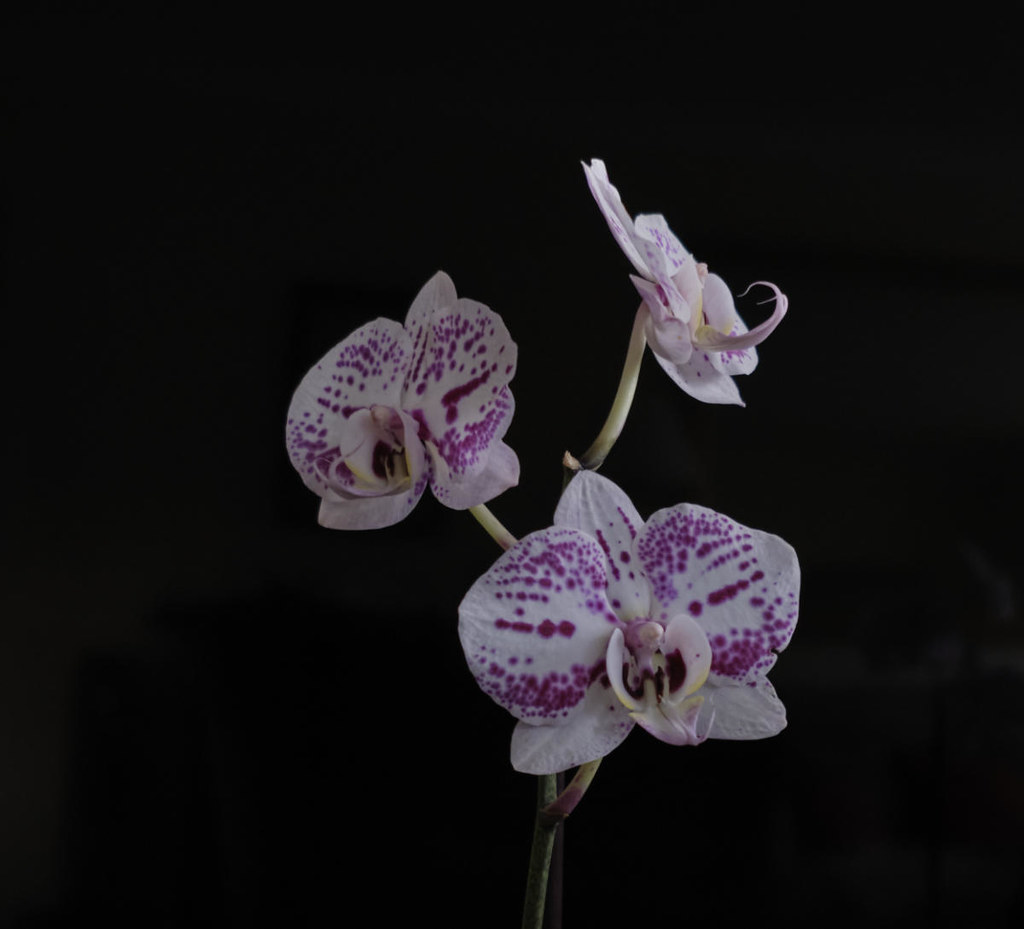 Orchid
 Orchid
 Giraffe
 Family Wander