Beginner People studio setup

Messages
1,166
Name
Jon
Edit My Images
Yes
Hi. I have a portable studio set up, elemental flashes and backdrop. Just wondering if I could get some help in positioning and general setup details.
Using a Nikon D7100 with an 18-200mm lens. I do have a sb400 too..

The room is big enough to have distance between me and subject..

Subject will be family shots and 3 year old individual shots...

Many thanks
 
Something like this
 

Attachments

  • fd4dbbe7847ee3868d5523cfd0498fa2.jpg
    fd4dbbe7847ee3868d5523cfd0498fa2.jpg
    27.1 KB · Views: 80
As Garry has pointed you in the right direction, I'll just add that the secret to successful lighting (like most things in life) is KISS.

Start with the principal, there's one sun, and it's position is what we are used to seeing people look like. That's your keylight.

Anything addditional therefore has to have a specific purpose.

To go back to your example setup, the 'fill light' is just plain wrong, the large keylight won't create deep shadows, so what's it for?
If you do need a fill light, you want it to avoid creating a new set of shadows (the 1 sun principal) so it should be behind the camera.

But for a group shot like that, the inverse square law says the person nearest the light will be a stop brighter than the one furthest away, so you really want to even that out by bringing the keylight nearer the camera position.

It's not the most interesting lighting, but you've set off with a rather uninteresting group shot anyway, the most interesting lighting comes into play where you're lighting each subject individually (easier to start with one subject)
 
Sorry, the attached image is nothing but a sample, nothing to do with me, I pulled it off the Web...
I have not set up anything yet. I know nothing about studio photography and have been asked to photograph about 10 different families for my school nursery....
 
Sorry, the attached image is nothing but a sample, nothing to do with me, I pulled it off the Web...
I have not set up anything yet. I know nothing about studio photography and have been asked to photograph about 10 different families for my school nursery....
It's a good job you shared it here, otherwise you might have thought it was useful ;)
 
It was meant to be a starting point for assistance..... Like I say, I've never shot studio before, but I do have an old set of Elemental Studio Flash Lights and Backdrop....
 
It was meant to be a starting point for assistance..... Like I say, I've never shot studio before, but I do have an old set of Elemental Studio Flash Lights and Backdrop....
That's understood, it's not your fault that the internet is awash with this rubbish.

To add to the excellent advice that Phil has given, and totally ignoring the background for now...

Just set your main (key) light in a place where the light it creates looks natural, so directly above where your subjects are looking - which means that if they are looking directly towards the camera, put the light where the camera is too, and high enough to create shadows that go downwards, just as the sun would do. Typically, this would be a softbox, and the bigger it is then more gentle the shadows will be.

Now, if necessary, reduce the depth (darkness) of those shadows by introducing a fill light. The fill light goes where the lens is, in a perfect world. Now, the lens is already where the light should go, so we usually stick the light behind the camera, with its centre at the same kind of height as the lens. Now, both you and the camera are in the way, so having the light behind will, in theory, create its own shadow - but, the closer the light is behind you, and the bigger it is, the less of an issue this is, and if you have a decent sized umbrella to provide this fill light, you won't see this shadow.

With all lighting, you start with just the key light - don't start off with more than one. If you need the fill light, introduce it after seeing what you have with the key light, and if you do use it then start off with it at the lowest power setting, where it will do very little. Then, by stages, increase the power of the fill light incrementally, until you're happy with the result.

And then finally, add lighting to the background if required.

And that's about it, not as a complete answer but as a starting point. You can tweak things later to suit your own tastes or to cater for different face shapes etc.
 
On Garry's recommendation I bought the Lencarta Smartflash 2 kit (brolly & softbox)

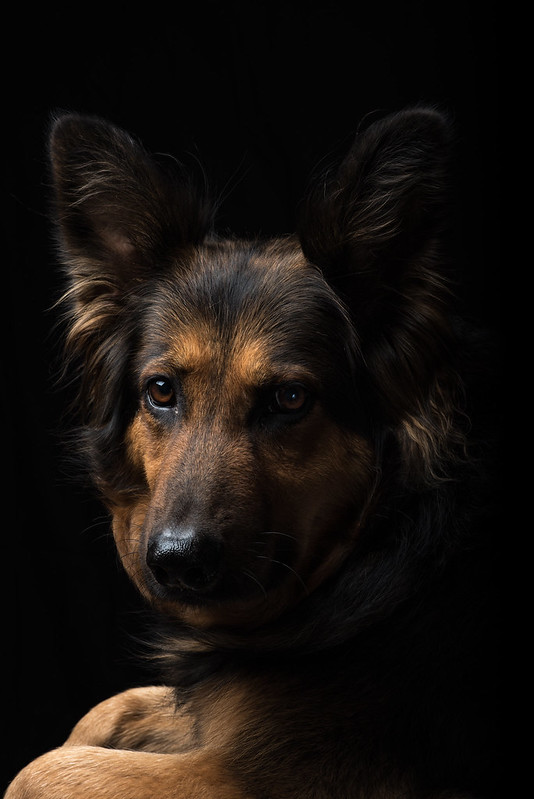
Best thing I've ever done. First session (didn't have a clue) I nearly won DPI (digitally projected Image) of the year at my camera club with the below image (I did tone down the paws for the entry).

And came second in Lencarta's own monthly competition. (I must collect my discount soon).

[url=https://flic.kr/p/LcbHv9]Rosie 2 by Terence Rees, on Flickr[/URL]
 
The above photo was shot using Garry's recommendations above.

1 light, 1 reflector on the right and black muslin background.

Easy peasy.
 
Ok. So. Do I need three lights.. One key, one fill, one on background... I have two plus my sb600... Will this be sufficient

QUOTE="Garry Edwards, post: 7972903, member: 6830"]That's understood, it's not your fault that the internet is awash with this rubbish.

To add to the excellent advice that Phil has given, and totally ignoring the background for now...

Just set your main (key) light in a place where the light it creates looks natural, so directly above where your subjects are looking - which means that if they are looking directly towards the camera, put the light where the camera is too, and high enough to create shadows that go downwards, just as the sun would do. Typically, this would be a softbox, and the bigger it is then more gentle the shadows will be.

Now, if necessary, reduce the depth (darkness) of those shadows by introducing a fill light. The fill light goes where the lens is, in a perfect world. Now, the lens is already where the light should go, so we usually stick the light behind the camera, with its centre at the same kind of height as the lens. Now, both you and the camera are in the way, so having the light behind will, in theory, create its own shadow - but, the closer the light is behind you, and the bigger it is, the less of an issue this is, and if you have a decent sized umbrella to provide this fill light, you won't see this shadow.

With all lighting, you start with just the key light - don't start off with more than one. If you need the fill light, introduce it after seeing what you have with the key light, and if you do use it then start off with it at the lowest power setting, where it will do very little. Then, by stages, increase the power of the fill light incrementally, until you're happy with the result.

And then finally, add lighting to the background if required.

And that's about it, not as a complete answer but as a starting point. You can tweak things later to suit your own tastes or to cater for different face shapes etc.[/QUOTE]
 
How far from the background shout the subjects be? Thanks to all..
 
I have 2 lights and a flash and I hardly ever use the flash to be honest.

Just get a cheap fold up reflector, you can alter the colour of the reflected light then too.
 
How far from the background shout the subjects be? Thanks to all..


Depends if you want the background visible or in focus.

With my black muslin I have the subject around 6 feet from the background to ensure I can't see it and it's not illuminated.

You may want something different.

Read up on inverse square law to start learning about light fall off.
 
Elemental set has, two flash heads, two reflective rings, two umbrellas...

Does anyone have any family portrait images they could share, so I can see what others have done?
Many thanks...
 
Take the glasses off.

Seriously no idea to be honest.

I'd have though either Photoshop or different angle of lighting but others may know better?

@Garry Edwards will probably have the answer.
 
How do I avoid glasses flare?
It's all about the angle of incidence, which equals the angle of reflectance.
So, if the light is high, the reflection bounces off of the glasses at the same angle and goes harmlessly downwards. You can therefore control the reflection by having the light high enough, and if that isn't enough just get your subject to tilt their head down a bit.
Probably the best way though a polarizer can do it too with a bit of trial and error.
 
Key light, about 6 foot high, subjects are most likely to be sitting on a couch...
 
Probably the best way though a polarizer can do it too with a bit of trial and error.

Polarisers are not generally helpful in portraiture, and in most cases reflections in glasses don't happen, or if they do, they're easily fixed with a slight change of position, or angle of the head.

Considering the narrow range of angles where polarising filters reduce reflections (roughly 30-40 degrees to the surface - Brewster's Angle) it's unlikely that they'll often be of use. However, polarisers readily take the natural sheen off skin though, making it look more like putty, so not desirable on that aspect.
 
Back
Top