Photoshop actions for colour negative processing

Messages
3,903
Edit My Images
No
I bought these photoshop actions for inverting negative scans, and am very impressed. They work ‘one click’ 90% of the time and make it easy to colour balance awkward ones that need tweaking.

It also includes an action for automating boosting saturation using the Lab colour space, which is a powerful way to carry this out without clipping channels. Obviously, this is nothing you couldn’t do manually in Photoshop, but it’s a massive time-saver.

Highly recommended.

http://eigakai.ro/ps-action/cn-scan-inversion
 
Are you finding a fair difference between using this action against a normal scanning process (VueScan, SIlverfast, EpsonScan etc)?

I've previously played about with the trial of ColorPerfect but found it added too much time to my workflow, I want to be in and out quickly.

Thanks
 
Interesting... claims to work with Affinity Photo, which I have bought but rarely use. Doesn't say it will work with Elements, so I assume not. At €15 possibly worth a punt... but again, presumably you have to scan as a positive. I suppose scanning as TIFF is not really essential... although extreme colour editing from a JPEG (as this presumably is) might indeed be dodgy.

@FujiLove could you detail your workflow with this a bit? It would be particularly nice if you could show us a "traditional" scan and one done this way...
 
Here's a description of my usual scanning workflow. Note that I use the Adobe RGB colour space for everything.

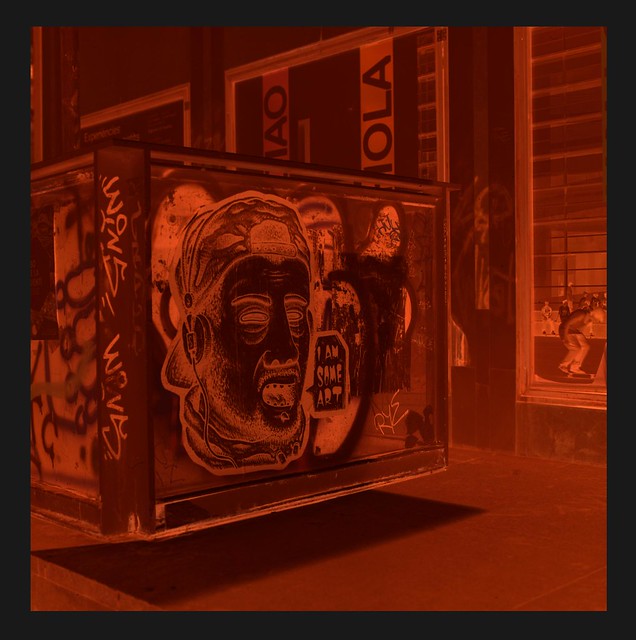
1. I scan to a linear (RAW) tiff using Vuescan (positive scan, with no colour correction). I leave everything as-is, and just set the output colour space of the file to Adobe RGB.

39380946995_7162f0b8f0_z.jpg


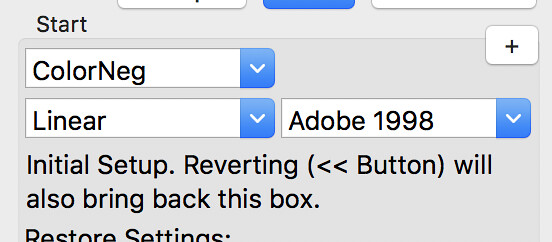
2. Bring the file into Photoshop (which has it's colour space set to Adobe RGB) and invert the negative using ColorPerfect plugin.

Note: ColorPerfect is using its ColorNeg inversion algorithm, it's reading a linear file and is expecting an Adobe RGB image:

25406927997_528e9453f3_z.jpg


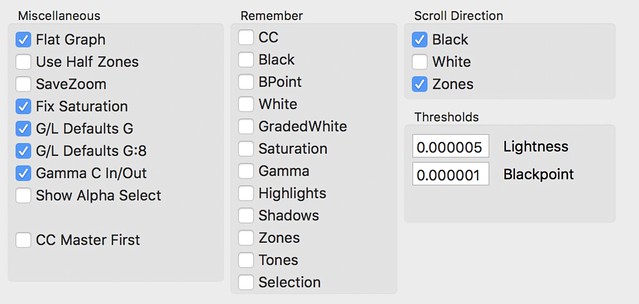
For reference, these are my CP settings (although I think these are the defaults):

39380946895_036a39abac_z.jpg


The important ones are:

Gamma C in/out
Lightness & blackpoint settings (I think these prevent clipping)
 
3. I set the correct film (in this case Portra 400), click around for a while until I find a neutral grey point, maybe push the brightness up a bit and then apply the filter. This takes me back to Photoshop and gives me this:

39566909244_a2eff84a64_z.jpg


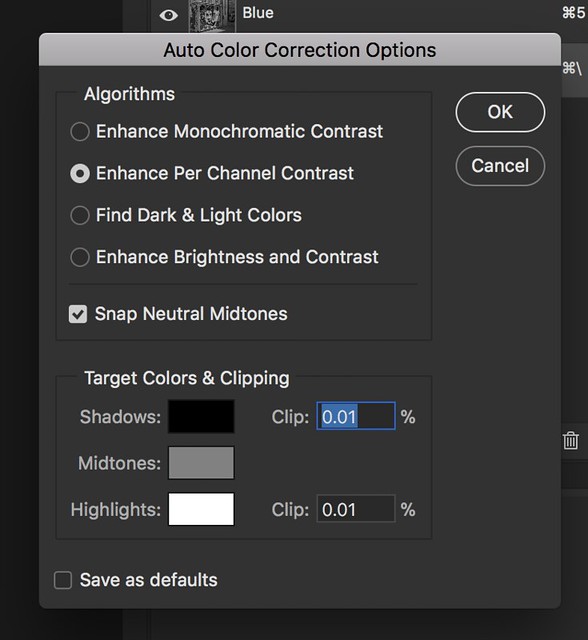
4. Next I add an auto curve adjustment which fine tunes the colour balance, and usually does a good enough job without any manual changes:

39566909174_2db33bd9c2_z.jpg


(Set these as the default auto options so you only have to hit 'auto' next time)

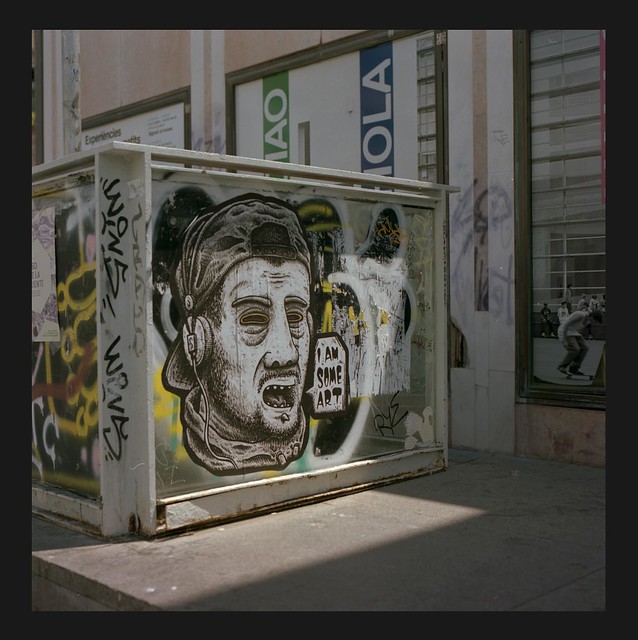
This is the scan so far:

25406928187_d9b7135dae_z.jpg


Not much of a change in this case, but sometimes it makes a big difference, especially if you didn't hit a neutral grey spot in ColorPerfect.
 
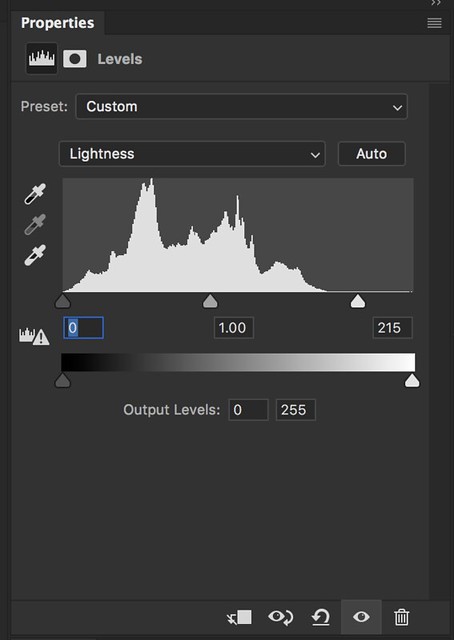
5. Next I add a levels adjustment to compress the data and boost the contrast. Something like this...

25406928147_1f67a7a476_z.jpg


Keeping an eye on the histogram, so you don't end up with a load of clipped highlights or shadows.

38467872360_31216c00cc_z.jpg
 
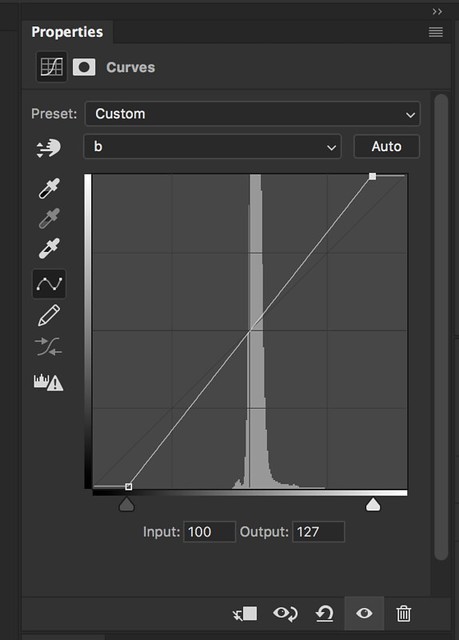
6. The last step in Photoshop is a Lab space saturation adjustment. I usually find my scans lack saturation and the best way to boost it is by changing to the Lab colour space and compressing the output of the 'a' and 'b' channels like this:

25406928077_221fc4ff19_z.jpg


It gives a subtle bump in saturation without the posterisation that can occur with the normal saturation slider. This is probably similar to the way Lightroom handles saturation, but I prefer it because you can keep a closer eye on clipping.

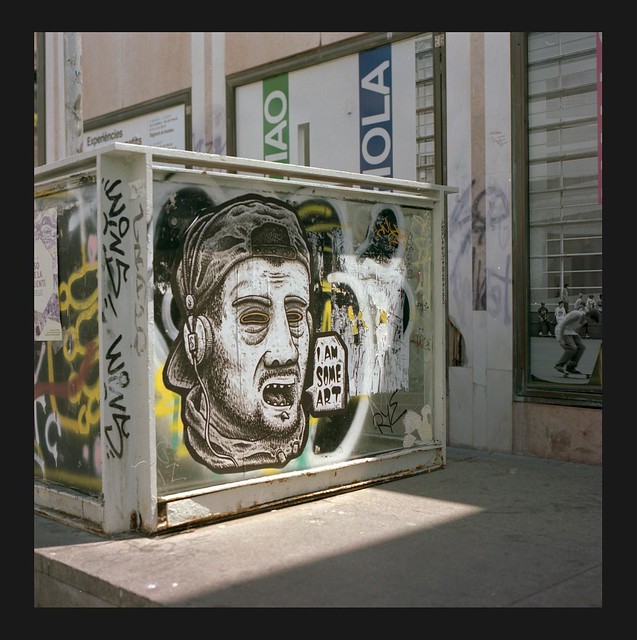
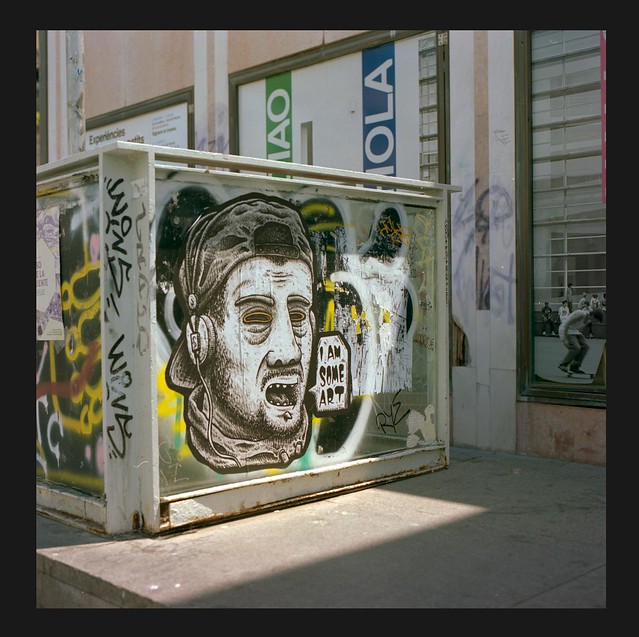
This is the 'final' file that I'll import into Lightroom.

40233279212_a9e8af6b59_z.jpg
 
7. With the file in Lightroom, I'll then make non-destructive crops, deal with the exposure, tweak highlights and shadows, and often make a tiny adjustment to the white balance. Sounds a lot, but probably only 3 or 4 minutes to get it looking right. I'll usually import a whole roll and copy the settings from the first frame to the other ones, then tweak individual files that were shot in different light.

Total time per frame? Maybe 15 minutes?

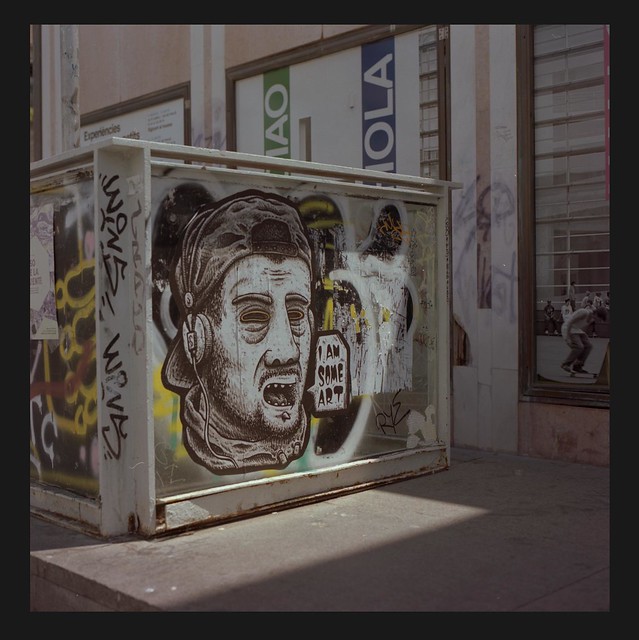
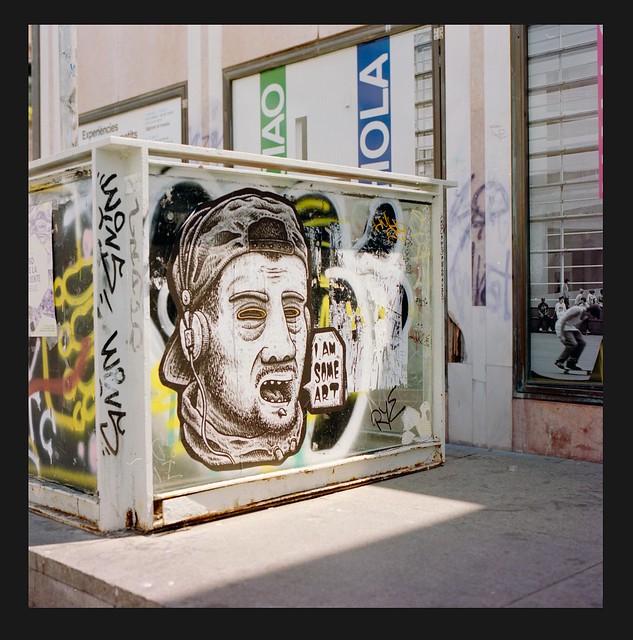
Anyway, here is the same linear file processed with the Adrian's Photoshop actions. This was opened in Photoshop, the orange mask was selected with the colour picker, then the mask cropped away. I clicked once to run the main inversion action, then clicked once again to run the Lab saturation action. I didn't do any other colour balancing:

38467872240_167f559924_z.jpg
 
It doesn't look the same as my manually processed scan, but it's probably close to what I'd finish with in Lightroom after I'd bumped up the exposure and white point a little. It's definitely good enough for sharing online etc.

Total time to process was around 30 seconds, including cropping the file and waiting for the actions to run.
 
I grabbed a copy and it seemes to be working quite well. Although my process was nowhere near as in-depth as FuliLove's, this is a ColorPerfect version of a Portra 400 shot (edited from the un-corrected negative):


FILM - Ninja Turtle?
by fishyfish_arcade, on Flickr

And this is the same shot processed via the Photoshop action:

FILM - Cowabunga dude!.jpg

To my (untrained) eye, the second shot has much more accurate colour. I only ran the action once - I didn't run the lab saturation.

EDIT: Here's one that's had the optional Lab Saturation action run on it too.

Cowabunga dude ls.jpg
 
Last edited:
@FishyFish: The first one looks closer to what I'd expect from Portra when wet printed though.

I'd say the first looks like Portra on Kodak paper (if it didn't have the cyan tint to the sky), and the second looks like Portra on Crystal Archive. A bit cooler and less saturated.
 
To be honest, I'm not an expert on how it should look (especially printed). While the original looked ok at first, it looks overly warm with an slightly unnatural blue sky in comparison with the second shot, which I think has truer-to-life colours

I'm getting to the stage though where I'm thinking of having lab scans of my colour negs just to see what they're actually meant to look like. :D

That’s a good plan, but make sure you send them somewhere where they know one end of a scanner from the other! Canadian Film Lab are the best scanner operators, in my opinion.
 
Still interested in this, but I just spotted the bit where you have to click on the orange base layer. I scan using a Plustek 7500i, and if I align the negative strip correctly there is no orange base visible at all. I think you can always get it with an Epson, but might not work for me.

I'm struggling through another hundred or so envelopes of old negatives from the 80s or thereabouts, some of them are looking decidedly iffy (faded, low contrast, dodgy colour, "grain") but I'm hoping I can fix them up in post if there's anything interesting there...

Could you either mis-load a strip so you can get a bit of the base layer in the scan or, if you've got a strip from the end of the roll with few unexposed frames, scan one of those. You only need to sample once unless each set of negs from the same roll is being scanned with different settings or something.
 
This is very useful information. Thank you guys. I'm just beginning my journey. And I haven't yet mastered the various complex programs. I mean, Photoshop is very complicated for me. I'm just getting to know it a little bit. Can anyone suggest some good free tutorials? Or sites like this https://imglarger.com/enhancer (I use it now for post-processing, as it's very easy to use). Yeah, it's handling my needs so far. For example, I can very easily tweak contrast and do color correction or blur. But I think to move forward I need to learn a more complicated tool.
 
Last edited:
Back
Top