Raynox DCR-250

Thanks once again Nice for all that information.

You are very welcome.

My concern was the magnification on the 250, when using the 55-250 lens would be to high. (if thats possible in the world of macro)

I think it can be too high, at least for those who are new to macros. The 250 is what many people start with, but there's no doubt in my mind that it is more difficult to use than less powerful add-ons. I found it pretty off-putting, so did some others I have come across, including some who gave up. Had I known more about it I would have started with the 150.

It can also be too high for some subjects. A lot of people who are into macros, most perhaps, want as high magnification as they can get, so the 250 is fine for them. My subjects tend to be bigger and the 250 is often too powerful for what I want to do, so the less powerful 150 and less powerful again 500D are essential tools in my kitbag, and they get used much more often than the 250. Horses for courses really.

Obviously from what you have said there will be no issues (fingers crossed).

Hehe. "Taking macros". "No issues". I wish.:D (No, I know what you mean - fingers crossed.:))

The only thing now is practice (can't do that today due to poor weather & very little light inside).

You could practice focusing indoors, so you can get familiar with the distance you need between the subject and the lens (e.g. camera and subject on a table or desk). Doesn't matter what the subject is btw - you're not trying to make nice pictures at this stage, just coming to grips with the mechanics of getting an image in focus. I did that sort of indoors practicing, and even cut pieces of string/bits of wire the length needed for the working distance, so I could offer them up and help me internalise what distance to use.

I know there won't be much light indoors, but with a table-top setup you can use long shutter speeds. Also, you may have an angle-poise or table lamp you can use to throw some light on the subject from pretty close up.

Another thing you might want to experiment with using a table-top setup is comparing manual focus (using the focus ring), rocking focus (not touching the focus ring) and auto-focus.

And another experiment suitable for a table-top setup is seeing the effect on the DOF of changing the aperture.

Much better I think to do this sort of basic practice and comparison experiments indoors with a completely controlled setup - the results will be much simpler to understand if you can cut out a lot of the variation you get out of doors, working hand-held etc. And with a really boring subject you won't be distracted into how best to compose a nice picture etc, leaving you to concentrate on the basic essentials, like "is this in focus" and "how much of it is in focus", "which bits of it are in focus".

Another thing I should have mentioned, I have a very cheap set of macro extension tubes (they do not have the metal contacts for auto features on the lens).
I have only taken them out of the box, inspected them & returned them to the packaging.
Is it worth experimenting with them?

I would have thought so. Even though you won't get autofocus you will be able to see what range of magnification you can get and what range of working distance. You can experiment with both your zoom lenses (and any prime lenses that you have).

The handling will be very different from using the 250. With the 250 the working distance is pretty much fixed, with extension tubes it isn't.

There will presumably be a complication with setting the aperture. This link explains how to do that, along with some other interesting info about extension tubes too. (I just Googled for "adjusting aperture with extension tubes" - may not be the best thing out there. Remember I've never used extension tubes, or a dSLR!)
 
Thanks Nick for all the information once again.
I have another question for you?
Do you do mind reading also :)

I set-up a little table top experiment this afternoon (must have been just before you posted) with an external light (a table top light with a flexible head so the light source can be varied) and started taking some pictures of a compression fitting that I use for water cooled PC's (another hobby).
The fitting is approx 25mm high & I have been practicing getting it in focus.
I have been adjusting the zoom & the distance from the object to get the whole item in focus & given areas (the fitting has a knurled finish & the companies emblem set into the side).
This may not be the most interesting of subjects but it helping with 'rocking' technique.
The big problem I am still getting, is holding the camera still when 'rocking'.
I think the 'rocking' motion is creating an arc & I am going to have to develop the instinct of adjusting for that movement.
 
Thanks Nick for all the information once again.
I have another question for you?
Do you do mind reading also :)

:D

I set-up a little table top experiment this afternoon (must have been just before you posted) with an external light (a table top light with a flexible head so the light source can be varied) and started taking some pictures of a compression fitting that I use for water cooled PC's (another hobby).
The fitting is approx 25mm high & I have been practicing getting it in focus.
I have been adjusting the zoom & the distance from the object to get the whole item in focus & given areas (the fitting has a knurled finish & the companies emblem set into the side).
This may not be the most interesting of subjects but it helping with 'rocking' technique.

Excellent. It all sounds very methodical. Just what is needed at this stage I think.

The big problem I am still getting, is holding the camera still when 'rocking'.

Hold on a moment, you are holding the camera? indoors? Are you actually taking photos or just practising getting focus? Or are you perhaps using flash?

When you say the problem is holding the camera still, presumably it is jigging around, so is that a problem for

(a) getting the picture framed how you want it to look?
(b) getting the subject in focus?
(c) getting a sharp picture?
(d) something else I haven't thought of?

Could be more than one of these of course.

For (a) and (b) a stick or pole with one end on the ground might help.
For (c) I suppose it has to be either use flash or use high ISO and a large aperture to get the fastest shutter speed you can (which still may not be fast enough indoors, or out of doors on a dull day or in a wood/under a bush etc). EDIT: I suppose "If the lens has IS make sure you have it switched on" would be another thing to mention, although from all I've read IS apparently doesn't make a huge difference for macros - unless you get the wonderful Canon 100mm L macro, which does give a couple of stops or so of stabilisation for macros as far as I recall.

I think the 'rocking' motion is creating an arc & I am going to have to develop the instinct of adjusting for that movement.

It makes sense that it would be an arc now you mention it, but why is this a problem?
 
Last edited:
When you say the problem is holding the camera still, presumably it is jigging around, so is that a problem for

(a) getting the picture framed how you want it to look?
(b) getting the subject in focus?
(c) getting a sharp picture?
(d) something else I haven't thought of?

Could be more than one of these of course.

For (a) and (b) a stick or pole with one end on the ground might help.
For (c) I suppose it has to be either use flash or use high ISO and a large aperture to get the fastest shutter speed you can (which still may not be fast enough indoors, or out of doors on a dull day or in a wood/under a bush etc).

It makes sense that it would be an arc now you mention it, but why is this a problem?

I think the problem is I am trying to do all this 'free hand'.
Reminds me of when I started riding a motorbike (both hands & feet have to be coordinated + you require a good sense of balance) :shake:

I am getting the picture I want, correctly framed but the detail is not in the center of the picture.

The whole item shown is only 27mm in length (from flat top to bottom of the threads)


IMG_4594-1.jpg


IMG_4591-1.jpg


IMG_4587-1.jpg


IMG_4592.jpg


It maybe the subject matter, you can see my reflection in the material.
 
some great pics there chaps my camera is away getting fixed but once its back i am going to try more than just bug shots love the screw thing
 
I think the problem is I am trying to do all this 'free hand'.
Reminds me of when I started riding a motorbike (both hands & feet have to be coordinated + you require a good sense of balance) :shake:

I am getting the picture I want, correctly framed but the detail is not in the center of the picture.

The whole item shown is only 27mm in length (from flat top to bottom of the threads)

It maybe the subject matter, you can see my reflection in the material.

OK Paul, it may not seem like it, but this is going well IMO.

Some thoughts.

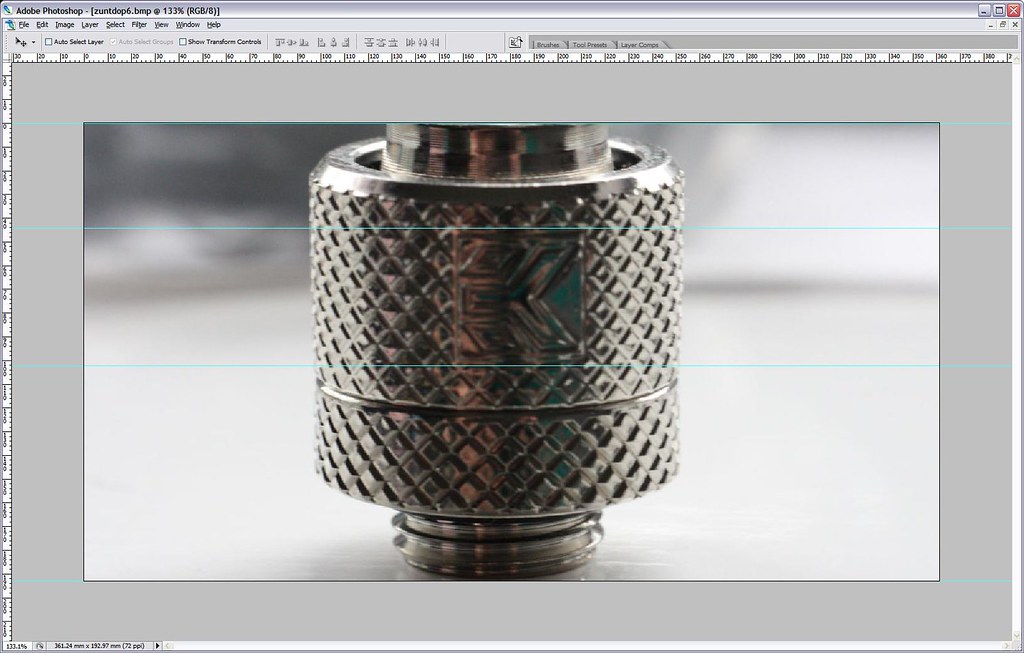
First, sizes. I am reckoning that the 27mm length is what is shown in this crop.


Paul Compression fitting by gardenersassistant, on Flickr

By my calculations that would make the square area shown in the third image about 8mm high. That fills the short side of the third image. Assuming that the third image is not a crop, and given that the image is 3 by 2, that would make the long side of the scene in the third image about 12mm. The third image is at max focal length of 250mm, which equates to 200mm on my camera, and with the 250 at 200mm on my camera I measured a scene width of "11-12ish mm". Excellent.

Now, sharpness of the images.

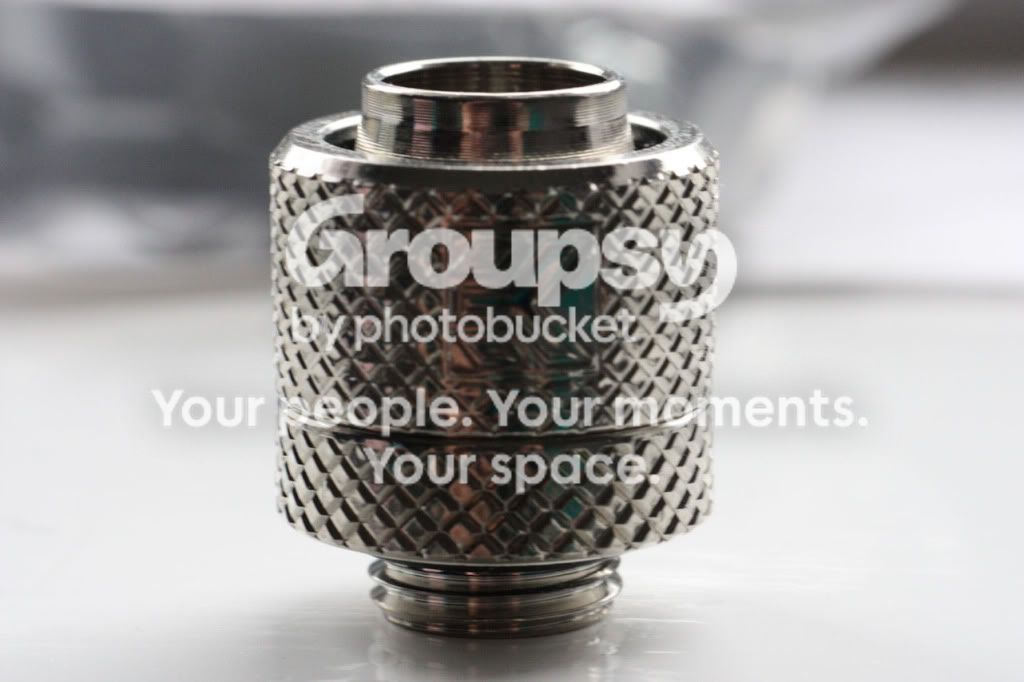
First, just to observe that the first is at minimum zoom of 55mm, the second is at 100mm and the third is at maximum zoom of 250mm. The last one is also at 250mm. Is it a crop? Or did you try moving in closer? If you moved in closer, then given that the third image looks as if it was at the correct distance (because the image width is what I would expect it to be), then the fourth one was bound to be soft/OOF.

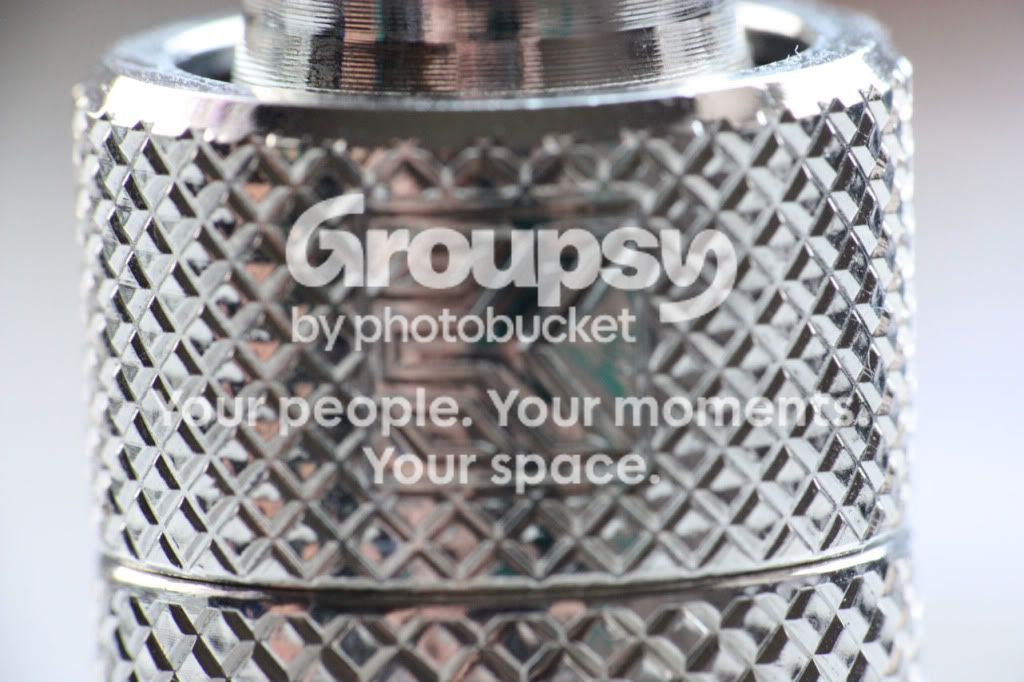
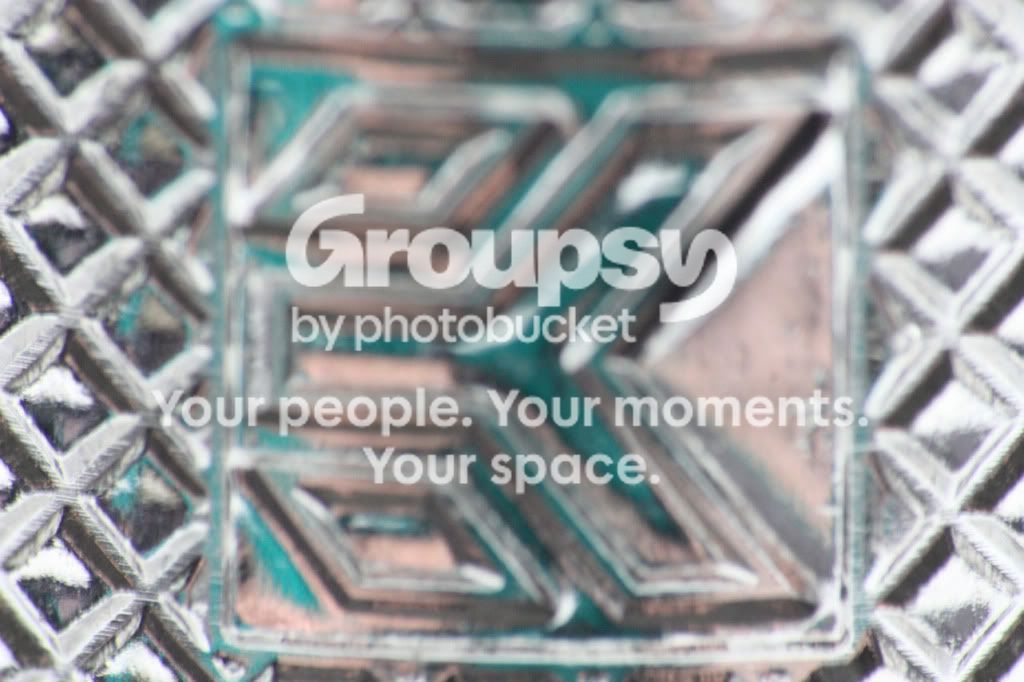
Lets concentrate on the first three images. The good news is that each of them has a plane of sharpness. In the first one it is part way round the smaller diameter parts at the top and bottom, most obviously to my eye to the left of centre at the top. In the second one I can see it at the same place at the top and also on the hatching out towards the edge of the main body. And in the third one you can see what look like machining on the hatching in the bottom left.

So, the issue is how to get the plane of focus where you want it, which in this case was the front I assume.

First thing, were these hand-held? I see ISO 1600, f/16, 1/20 sec and no flash. If you were hand-holding the 250 at max zoom at 1/20 sec then I'm gob-smacked that you did this well in terms of sharpness. In terms of where the DOF falls, if the focus is fixed (e.g. at infinity) and you are rocking, then it suggests a timing issue. If you are taking the shot on the forward rock then you may need to press the shutter button just a fraction sooner so as to avoid overshooting.

If you were hand-holding, then one thing you might want to do is reduce the variables temporarily and set it up with the camera on the table-top, just to convince yourself that the gear is capable of producing sharpness where you want it, and to see what the best case looks like for the amount of DOF you can get at each aperture. You will then have something solid to compare against when you practice on more realistic setups.
 
Nick, thank you very much for spending all this time helping me. (wish I could help you with something) :thumbs:

First, sizes. I am reckoning that the 27mm length is what is shown in this crop.


Paul Compression fitting by gardenersassistant, on Flickr

Yes thats the 27mm length

By my calculations that would make the square area shown in the third image about 8mm high. That fills the short side of the third image.

The dimension of the EK symbol is 8mm square (quick measurement with a plastic rule, can't get my digital calipers as Mrs is in bed).
I think the picture does not show a true size as its a round object.

The last one is also at 250mm. Is it a crop? Or did you try moving in closer?

The last picture is not a crop, I just moved the camera further forward to see what the maximum magnification could be & still get a usable image.

Lets concentrate on the first three images. The good news is that each of them has a plane of sharpness. In the first one it is part way round the smaller diameter parts at the top and bottom, most obviously to my eye to the left of centre at the top. In the second one I can see it at the same place at the top and also on the hatching out towards the edge of the main body. And in the third one you can see what look like machining on the hatching in the bottom left.

I agree with you, when I looked @ the images there are areas that have sharpness.

So, the issue is how to get the plane of focus where you want it, which in this case was the front I assume.

Yes, the part of the image I am attempting to get sharp is the EK symbol.

First thing, were these hand-held? I see ISO 1600, f/16, 1/20 sec and no flash. If you were hand-holding the 250 at max zoom at 1/20 sec then I'm gob-smacked that you did this well in terms of sharpness.

Settings as stated & this was all hand held.

In terms of where the DOF falls, if the focus is fixed (e.g. at infinity) and you are rocking, then it suggests a timing issue.

You could well be right regarding timing. I may also be 'stabbing' at the shutter button, instead of having a smooth pressing action (like pulling the trigger on a gun)

If you were hand-holding, then one thing you might want to do is reduce the variables temporarily and set it up with the camera on the table-top, just to convince yourself that the gear is capable of producing sharpness where you want it, and to see what the best case looks like for the amount of DOF you can get at each aperture. You will then have something solid to compare against when you practice on more realistic setups.

I think this is an excellent idea & gives me the best case scenario to compare everything else to.
 
Back
Top