Right. Im Back and armed with laptop.
So to start with for these particular shots you need a lens that has a biggest aperture of somewhere around the f1.4-f3.5. Camera wise, anything will do, but the better they are at high iso performance then the better the quality (noise wise) of the pics.
So camera settings. You need to use your fast lens at its widest aperture and set the lens manually to infinity. Now this is something that is worth experimenting with during daylight hours as if you don't nail infinity you could end up with soft images but you may not be able to tell on your live view screen and may only become visible once on the PC. By that time they could all be scrap. So have a play during daylight and make a note of exactly where infinity is. A lot of lenses seem to be a good twist back from lock to find it!!
You then need to set a high iso. I usually aim between 3200-6400 but tend to take multiple shots at different iso's of the same composition to cover all eventualities
")
.
White balance. I do tend to set it to fluorescent but fine tune in lightroom afterwards. Most end up somewhere about 3500 temp and +20 for tint.
Now comes the tricky bit of focal length and length of exposure. There is a basic rule that people use and that is the rule of 500. In fact, I tend to use the rule of 600 now as I have found this renders the stars sharper.
Info on this can be found here as its a bit of a mouthful to explain.
http://www.davidkingham.com/blog/2012/11/how-to-avoid-star-trails
So now you have an iso set, lens set to widest aperture and in manual mode with it set to infinity. You also have the exposure time set to coincide with your selected focal length (for example. 25 seconds @14mm)
Your ready to shoot
.
The real skill involves extracting the milky way out of the night sky in your chosen post processing software. If you have a search on youtube, there are stacks of tutorials to suite your processing software but the main things to consider is to only apply clarity locally to the MW (my preference to avoid noise) Also locally apply sharpening and highlights via the brush modes to the MW only. Basically tweak the sliders until you are happy with what you see. It is all down to personal preference obviously and some people like the subtle look whereas someone go for full blown garish. I like to think i'm somewhere in between
. All I can really suggest is to watch plenty of tutorials as there are some great ones on the net and these really will help a lot.
Any more specific questions then feel free to give me a shout

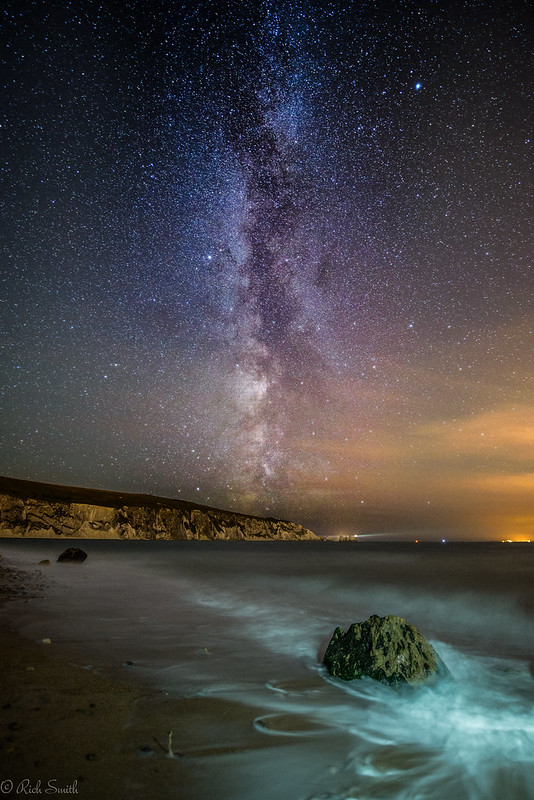 Needles Milky Way (isle of Wight) by evorichie101, on Flickr
 The abondoned galaxy by evorichie101, on Flickr
 The Oratory light painting by evorichie101, on Flickr

