OK, Stu has sent me the RAW file and asked me to put up a tutorial on this shot, apologies if anyone thinks I'm trying to take over this thread. It may be useful, it may not.
Please note, there are 101 ways to do similar things in PP, this is only a suggestion, not supposed to be the definitive and only way. It'd be nice to get some discussion and ideas out of it as I'm by no means an expert.
This probably seems very long winded, but when you get the idea and into a routine its just a couple of minutes in reality. I sometimes do more techy stuff but I've tried to avoid that here. I've had to redo the shot for this so it won't finish exactly the same as my version above
When I choose a shot to process I go with a 5 step plan as follows
1. RAW conversion making sure the colours are neutral and there is as much detail as possible. The RAW will look rubbish straight after conversion
2. Cloning - sometimes not needed, I try to avoid as much as possible, personal taste is a biggie here
3. Details - I work on getting as much detail as possible without affecting colours - explained below
4. Colours - thousands of ways of affecting and boosting colours - the way explained below just affects colour and not detail.
5. Sharpen and noise reduction for the final edit.
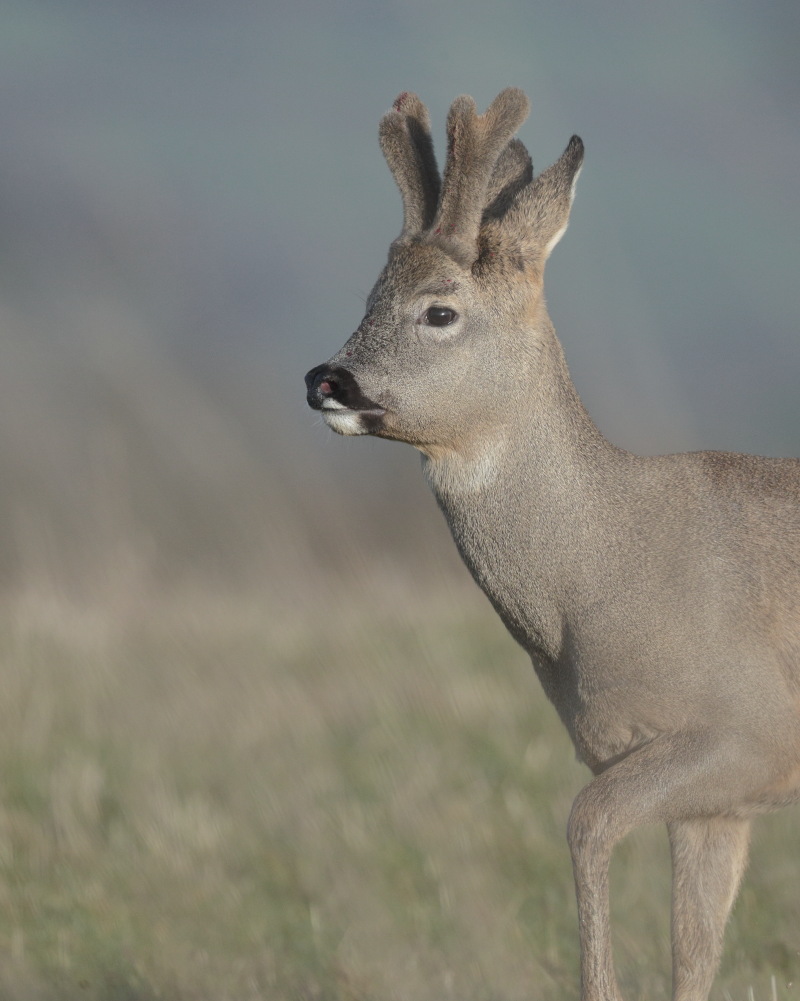
This is the original, just converted to a jpeg to show here - nicely exposed to the right, could have opened up another 1/2 stop but not a big deal in this case.

I use DPP4 for Canon files, so these were the settings for this shot. Style - neutral, Sharpness - 2, Luminosity NR - 0, brightness -0.67. WB taken off the white patch on the top lip.
For lightroom I'd have gone with neutral style, brightness -0.67, kept the sharpness an NR low, same area for WB
That gave me this -

For Stu - this is where I took the WB reading from with the pipette tool -


 _S2I9145 scent portrait sm j by Stuart Philpott, on Flickr
") and cheers again for the help. Ere buddy I know it's an early stage just asked Shaz what she thought simply I just got a roasting......."well why can't you just do that"
and cheers again for the help. Ere buddy I know it's an early stage just asked Shaz what she thought simply I just got a roasting......."well why can't you just do that" ferkin 'eck she saw 6 bl**dy barns owls yesterday her fav................. she could be a little bit grateful .


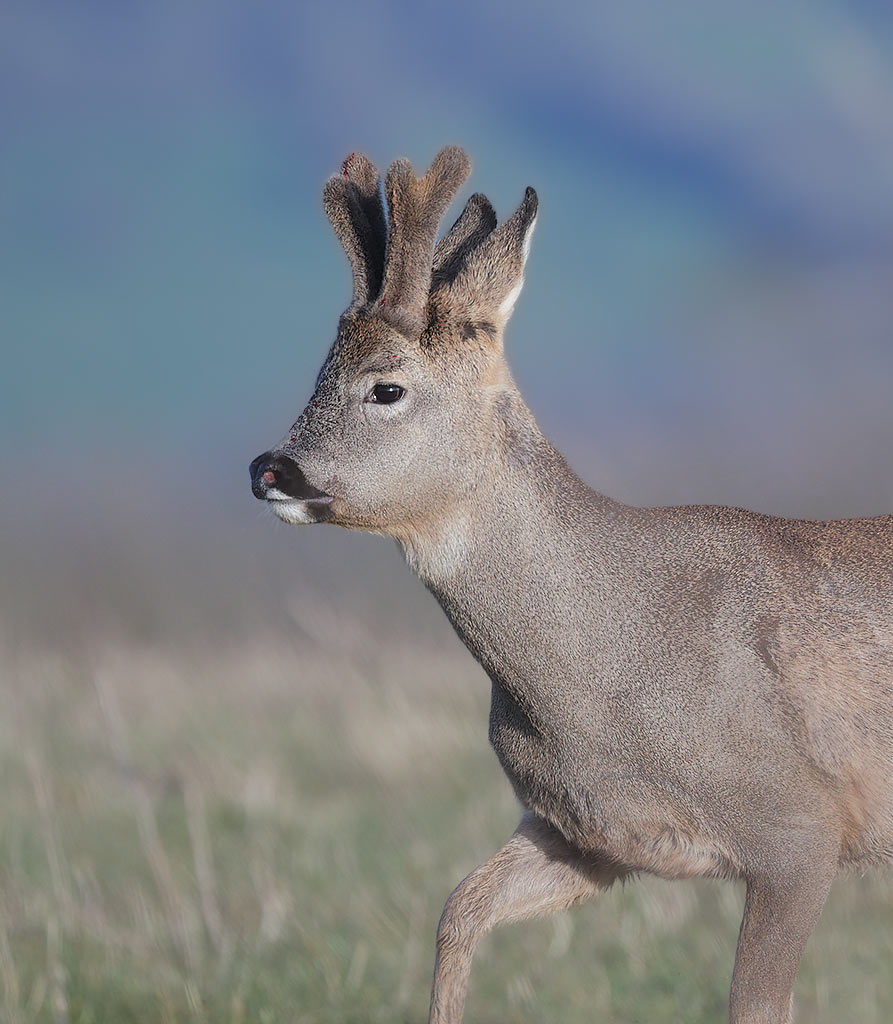 The secnt portrait redit