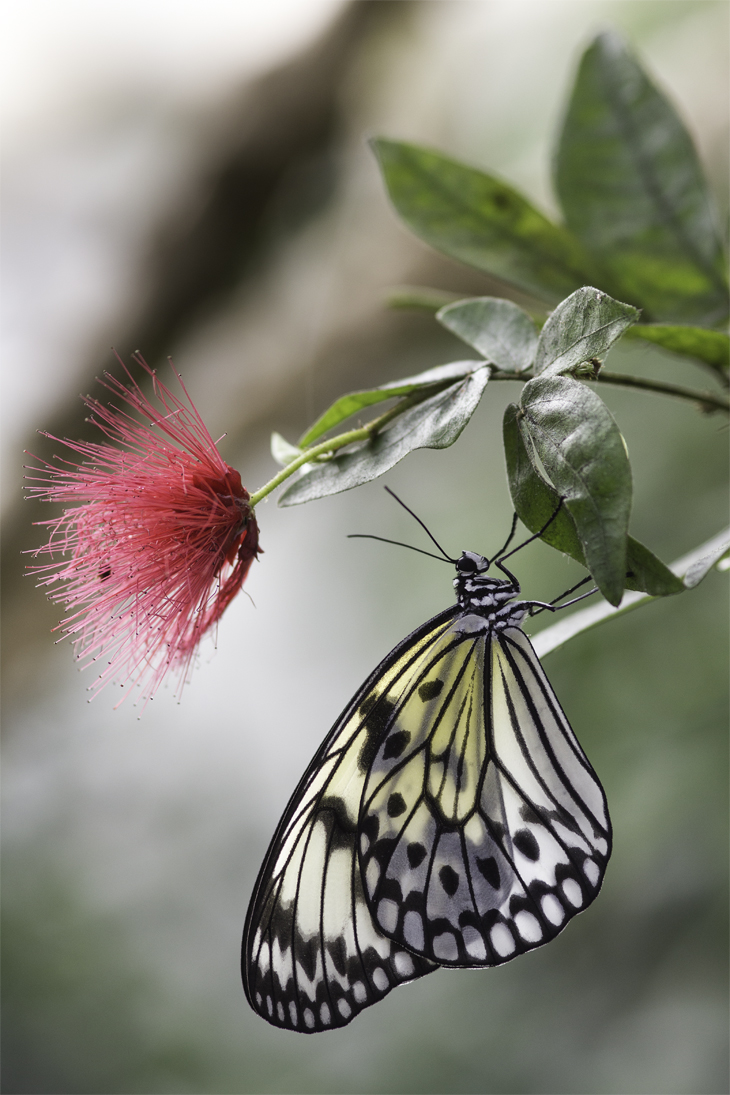
Thanks for letting me work on the RAW version of this very appealing image Pete.
Here is a 100% crop of the area I was looking at. (Click through to Flickr for larger versions as usual.)
It has been imported into Lightroom using the default settings - "As Shot" white balance and as shown here a small amount of input sharpening and colour noise reduction. As you said, it is ok - when I look very carefully at the full size version of this screenshot I can see a hint of a halo along the top edge of the sharper bottom half of the upper antenna, but I can't see it when I look at the whole image.
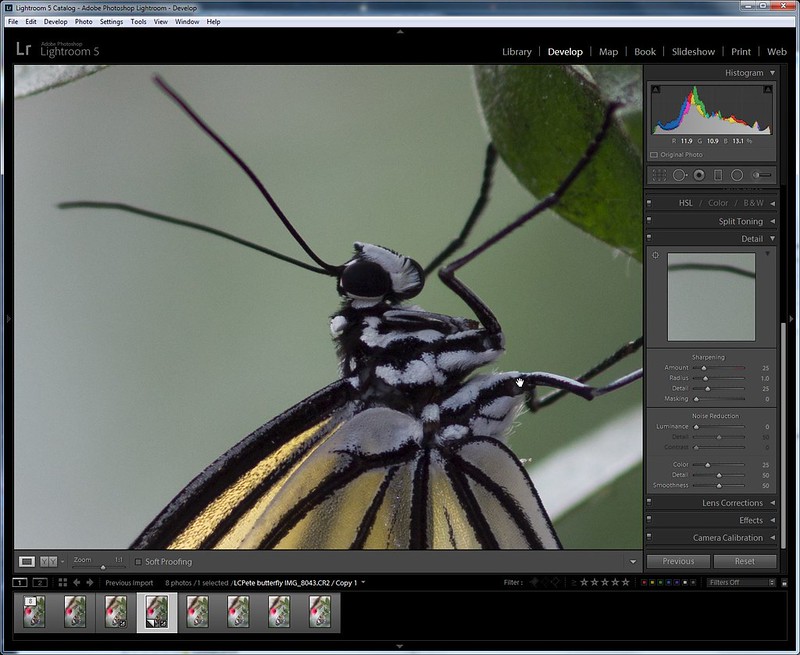
LCPete butterfly at 1 to 1 by
gardenersassistant, on Flickr
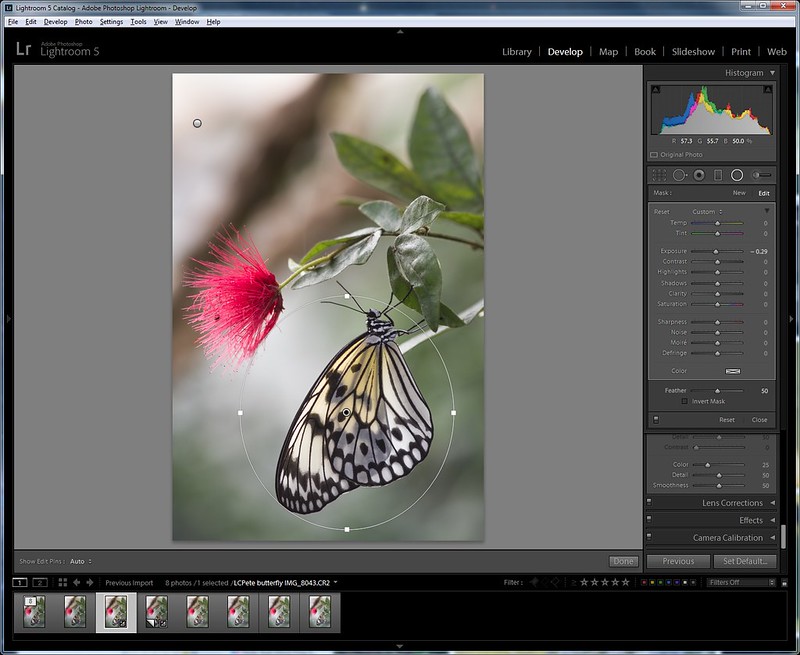
We'll come back to sharpening in a minute. First there is the issue of the level and distribution of light in the image. The sliders over on the right of this "before/after" screen shot illustrate much but not all of what I did on that front.

LCPete butterfly in Lightroom by
gardenersassistant, on Flickr
I turned Exposure up by about half a stop, increased Temp slightly to make the colours slightly warm rather than slightly cold, and made various other adjustments that you can see from the sliders.
The background brightened up along with the butterfly so to make the butterfly stand out a little more I applied a Radial filter. What this did was to decrease the Exposure outside of the circle.
LCPete butterfly Radial filter 1 by
gardenersassistant, on Flickr
The top left of the image was still looking a bit light and desaturated for my taste, so I used another radial filter, this time applying the changes to what was inside the circle rather than what was outside. The changes were a decrease in Exposure of around one stop and an increase in Saturation.

LCPete butterfly Radial filter 2 by
gardenersassistant, on Flickr
Now the sharpening. I sent the image across to CS2 for output sharpening (I can't get as fine control over output sharpening in Lightroom as I can in CS).
I found that it doesn't take much sharpening to create a visible halo when viewing the whole picture. What I did was to duplicate the image as a second layer. Then, on the top layer, I used some sharpening that I thought looked ok for the rest of the image, but which produced a bit of a halo on the antennae. I then used the Eraser to erase the antennae from the top image, revealing the unsharpened antennae in the bottom layer. In fact, that looked a bit too soft, so I reversed the erasing I had done, reduced the opacity of the Eraser a bit, and used the Eraser on the antennae as before. This time what I got was a mixture of the two layers, with an in-between amount of sharpness along the edge of the antennae, with the halo reduced to an almost imperceptible amount.
Here are two versions you might like to download and compare by flicking between them in something that lets you flip back and forth between the versions without taking your eyes off the images. This makes smaller differences visible than you can see by moving your eyes back and forth between two versions.
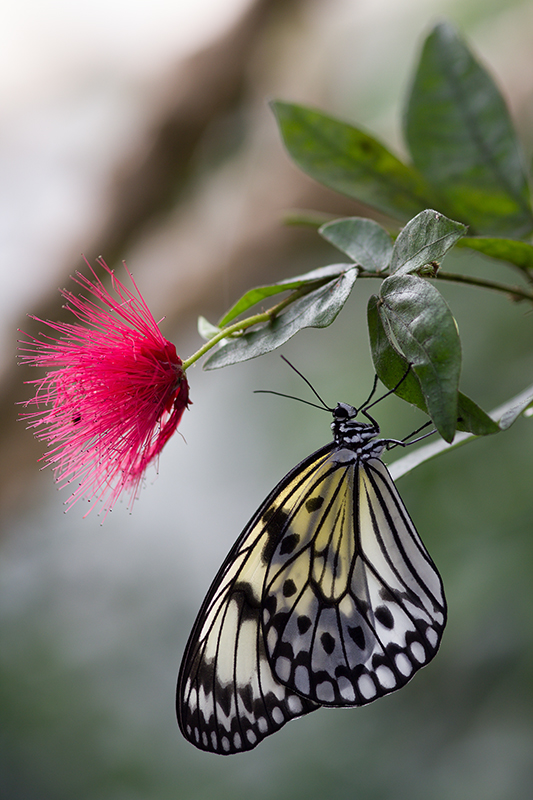
This version is how the image looked after importing into Lightroom. The only other thing I have done to it is to reduce its height to 1100 pixels.

NOT MY IMAGE - LCPete butterfly IMG_8043 resized straight from RAW by
gardenersassistant, on Flickr
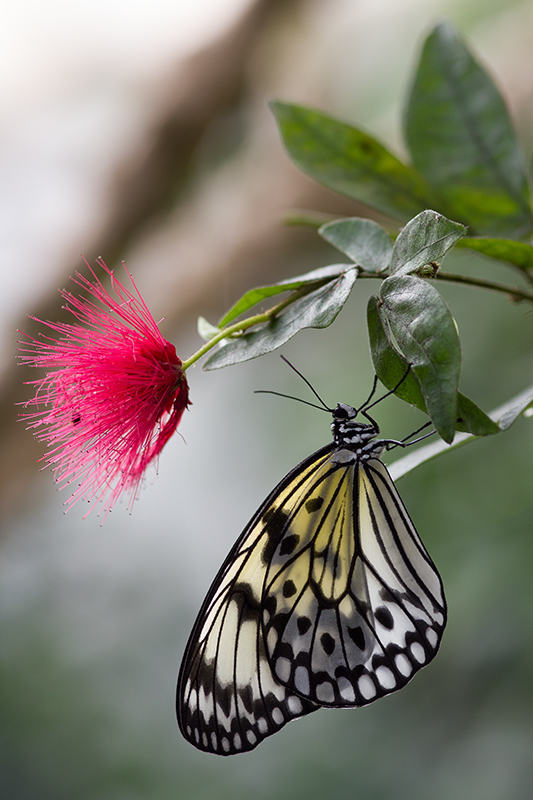
This version is how the image looked after the changes I have described in this post.
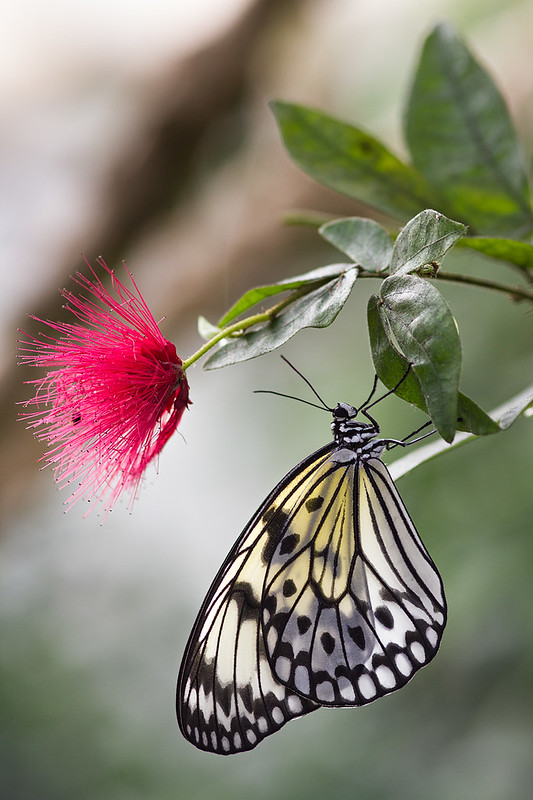
NOT MY IMAGE - LCPete butterfly IMG_8043-Edit-3 PS1 PSS3.63 layer desharpen by
gardenersassistant, on Flickr
Obviously, there are infinite variations you could use. I'm just trying to illustrate the sort of thing that can be done here. It is of course up to you to decide how you would like your images to look.


")