
You are using an out of date browser. It may not display this or other websites correctly.
You should upgrade or use an alternative browser.
You should upgrade or use an alternative browser.
Young Buskers
- Thread starter Graelwyn
- Start date
- Messages
- 5,971
- Edit My Images
- Yes
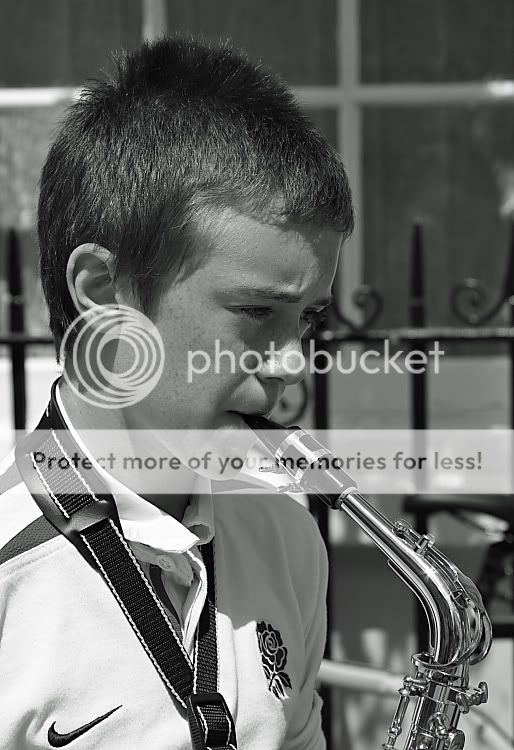
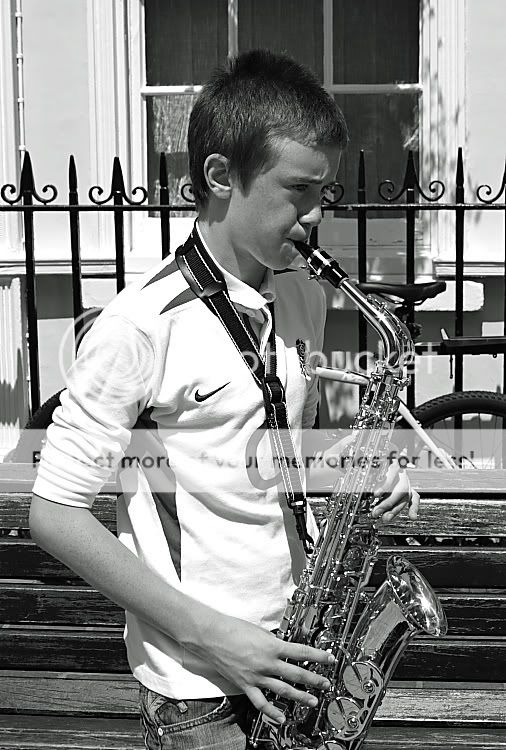
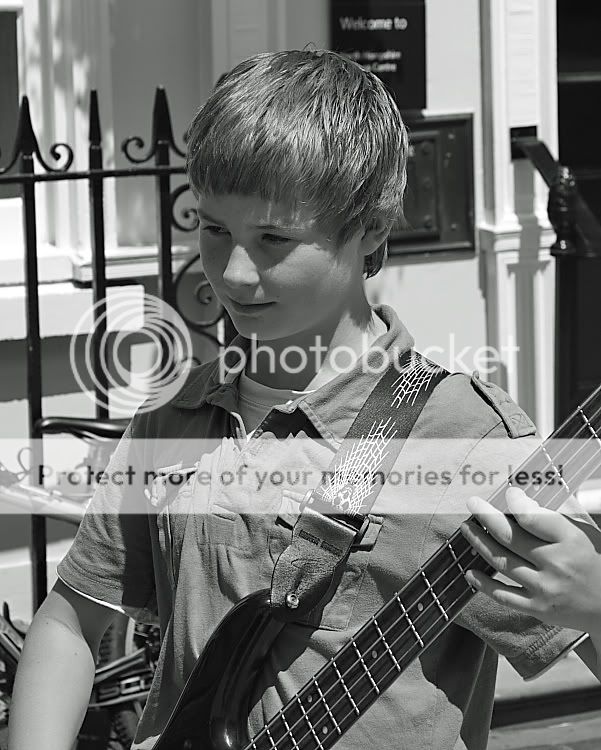
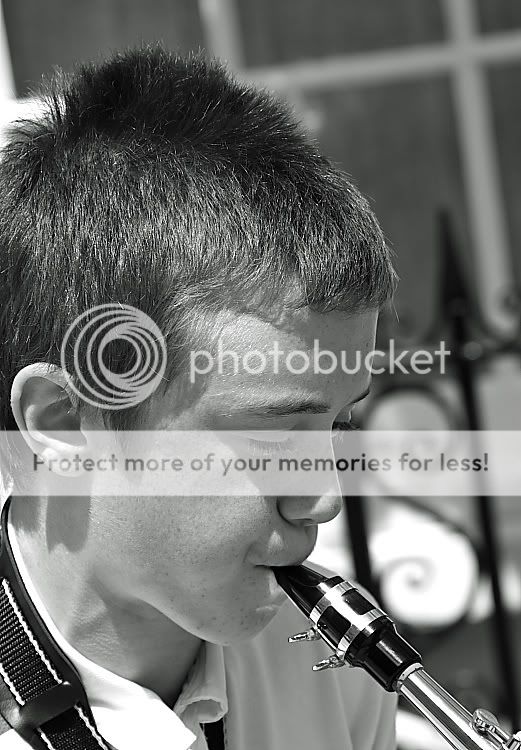
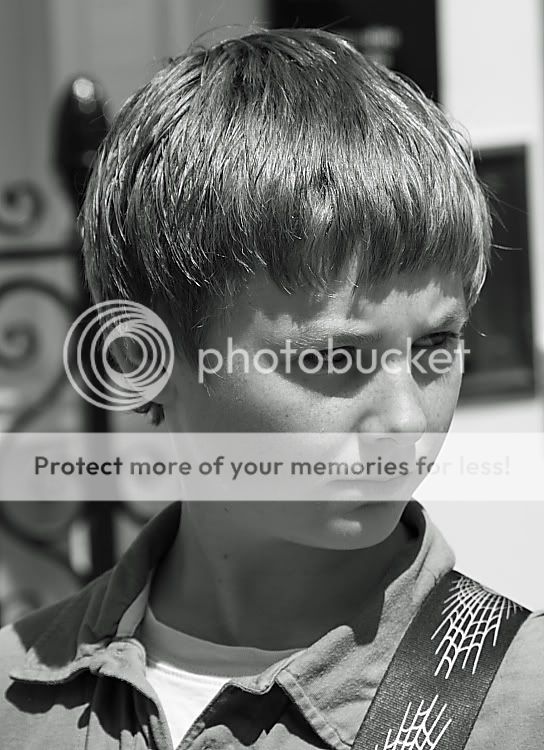
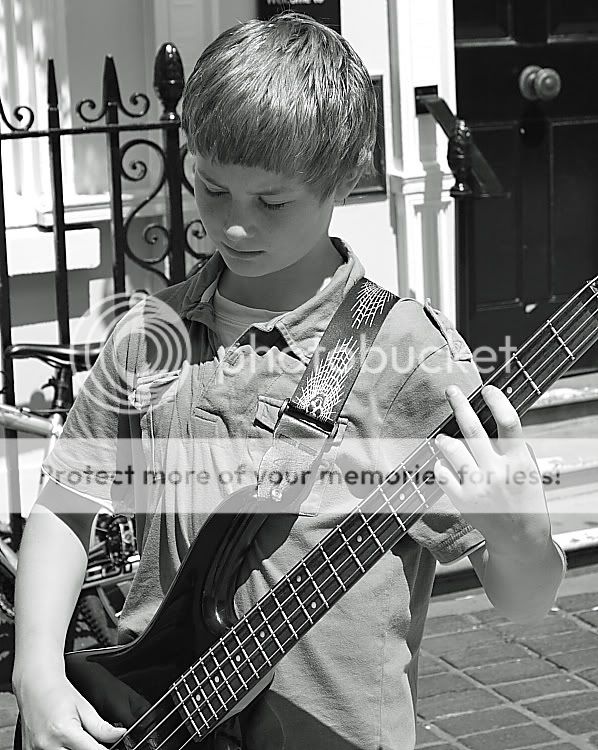
I do like the set with #2 being my favourite. The backgrounds are very busy, with the bike and the railings which do cause a problem in some as they call the perspective into question. The young buskers are great to look at, so a little less distraction would have helped.
I do like the set with #2 being my favourite. The backgrounds are very busy, with the bike and the railings which do cause a problem in some as they call the perspective into question. The young buskers are great to look at, so a little less distraction would have helped.
Yeah, well one doesn't get an option in these things, you know. That is where they chose to busk and that is that. I was hardly going to ask them to move for the benefit of my getting less busy shots. Lol.
- Messages
- 6,253
- Name
- Sean
- Edit My Images
- Yes
I see you were using f/8.
as far as the backgrounds go, it would have been better to use a much higher aperture. f/4 or higher if your lens has that. It would have blurred the backgrounds.
I like them. Contrasty, just the right amount of editing.
Its just a shame the backgrounds are so clear because it makes it difficult to seperate the boys from the background.
I understand the location wasn't easy though, so you've done a very good job")
as far as the backgrounds go, it would have been better to use a much higher aperture. f/4 or higher if your lens has that. It would have blurred the backgrounds.
I like them. Contrasty, just the right amount of editing.
Its just a shame the backgrounds are so clear because it makes it difficult to seperate the boys from the background.
I understand the location wasn't easy though, so you've done a very good job
Thanks, and ok, how do I go about blurring the backgrounds a bit in ps elements? I have read somewhere it can be done. And yes, I don't know why, but I stuck to f8 a lot as I was with someone and didn't want to be messing about too much with settings and being bad company.
- Messages
- 436
- Name
- Hazel
- Edit My Images
- No
Like the contrast and sharpness.
- Messages
- 6,644
- Name
- Tel
- Edit My Images
- No
Thanks, and ok, how do I go about blurring the backgrounds a bit in ps elements?
Which version of photoshop elements are you using ?
Which version of photoshop elements are you using ?
Version 6. Alternatively, anyone with a little time on their hands who wants to have a go themselves is welcome to...
- Messages
- 6,644
- Name
- Tel
- Edit My Images
- No
Version 6. Alternatively, anyone with a little time on their hands who wants to have a go themselves is welcome to...
OK this is the way to do it in Elements 5, I'm fairly sure the same should apply in 6.
Step 1:
Open the photo that you want to apply depth-of-field affect to.
press Control-J to duplicate the background layer to create a new layer that will be named "layer 1"
Step 2:
Go under the filter menu, and under Blur choose Gaussian Blur, when the dialog box appears change the radius to about 5 pixels (this can vary depending how much Blur you want, just play about with it, but remember to much will make it look to unnatural and obvious) then click ok to put a Blur over the entire image.
Step 3
Press the E-key to switch to the eraser tool (or just click on the eraser tool from the tools on the left column) then choose a large soft edged brush from the brush picker (which is found by clicking the brush thumbnail in the options bar) now start erasing over the parts of the image that appear in the foreground (or what you want to make look sharp) erasing on this blurred layer reveals the original unblurred layer image on the background layer, so by leaving these areas sharp and the background areas blurry, it creates a simple depth-of-field effect which can look like it was done with the camera.
Step 4
Go to the top toolbar and select layer, then down the bottom of the drop down menu select flatten image and then save.
On a side note just a word of warning though, make sure you have it how you want before you flatten the image and save, as once the image has been flattened you can't go back on it, so you would have to start all over again, i hope this has helped