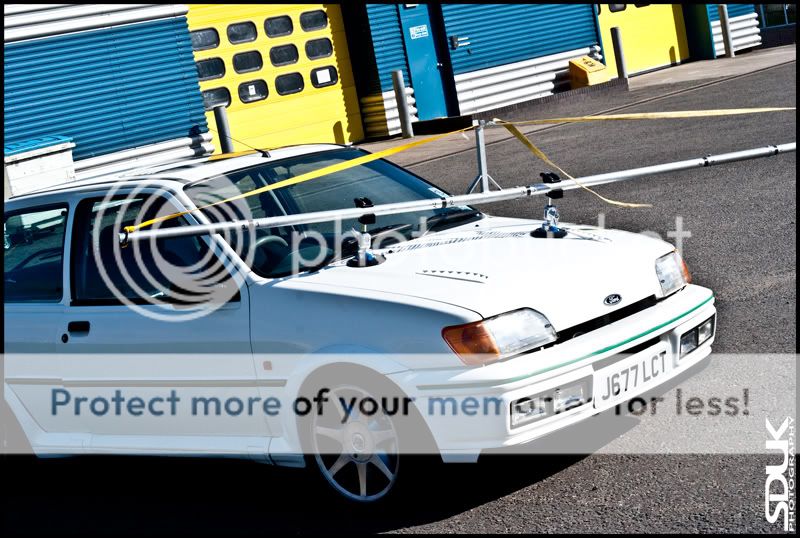
Had quite quite a few requests on detailed info on my rig set up so thought I would try and share as much info as I can.
It really is not complicated or difficult to make!
So here are the details of my current set-up:
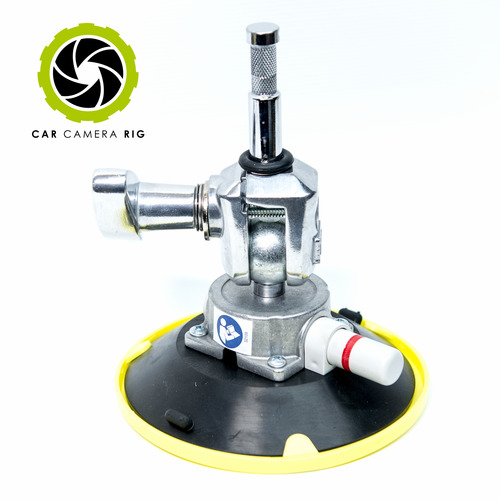
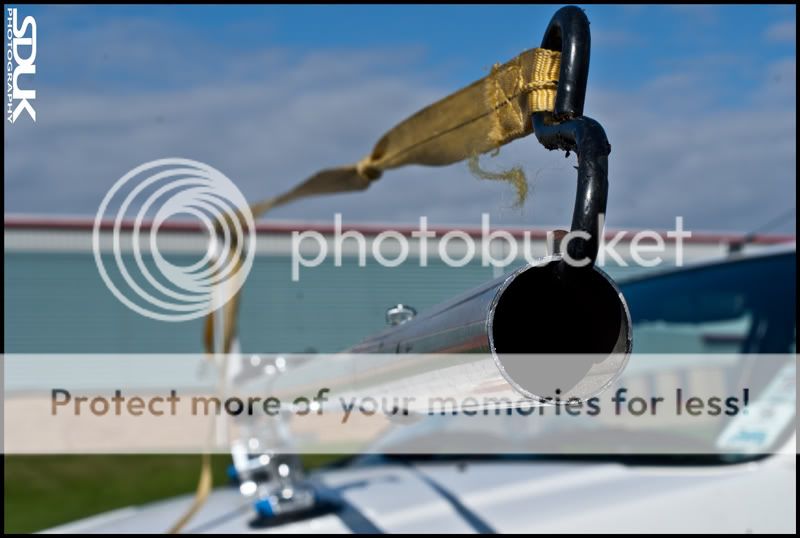
The first parts are 2 x
Manfrotto PUMP CUP WITH 16mm BABY SWIVEL SPIGOT - Avenger F1000
These cost about £58,00 each and I bought these from...
http://www.karlu.com/manfrotto-pump-cup-with-16mm-baby-swivel-spigot-p-9440.html
These "sucker" onto your car and can be used on any flat surface.
Once these are fitted you need
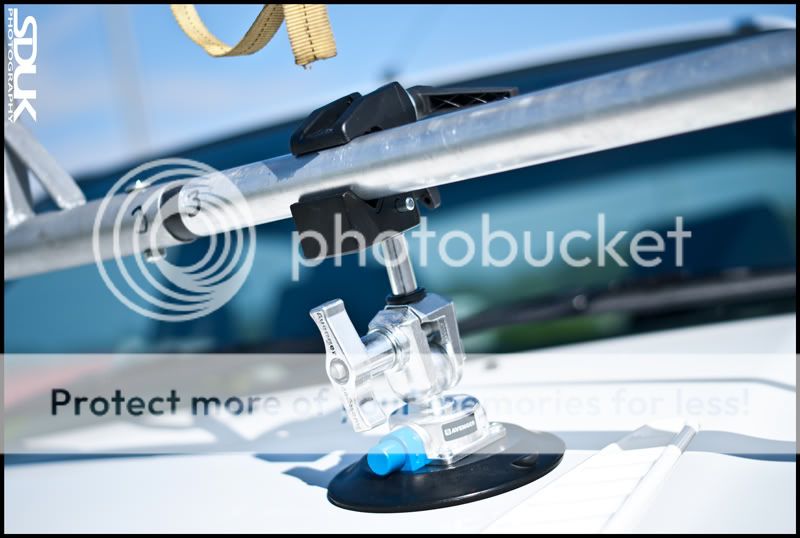
2 x Manfrotto Super Clamp 035
These cost about £22.46 and I bought these from...
http://www.karlu.com/manfrotto-super-clamp-035-p-3934.html
These attach to the manfrotto avengers and have a strong grup for holding onto your beam.
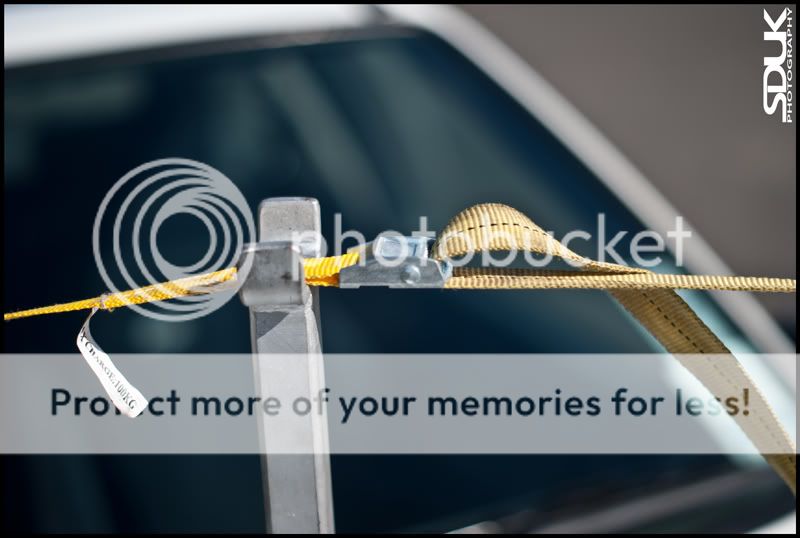
Here are the two parts in use on my rig...
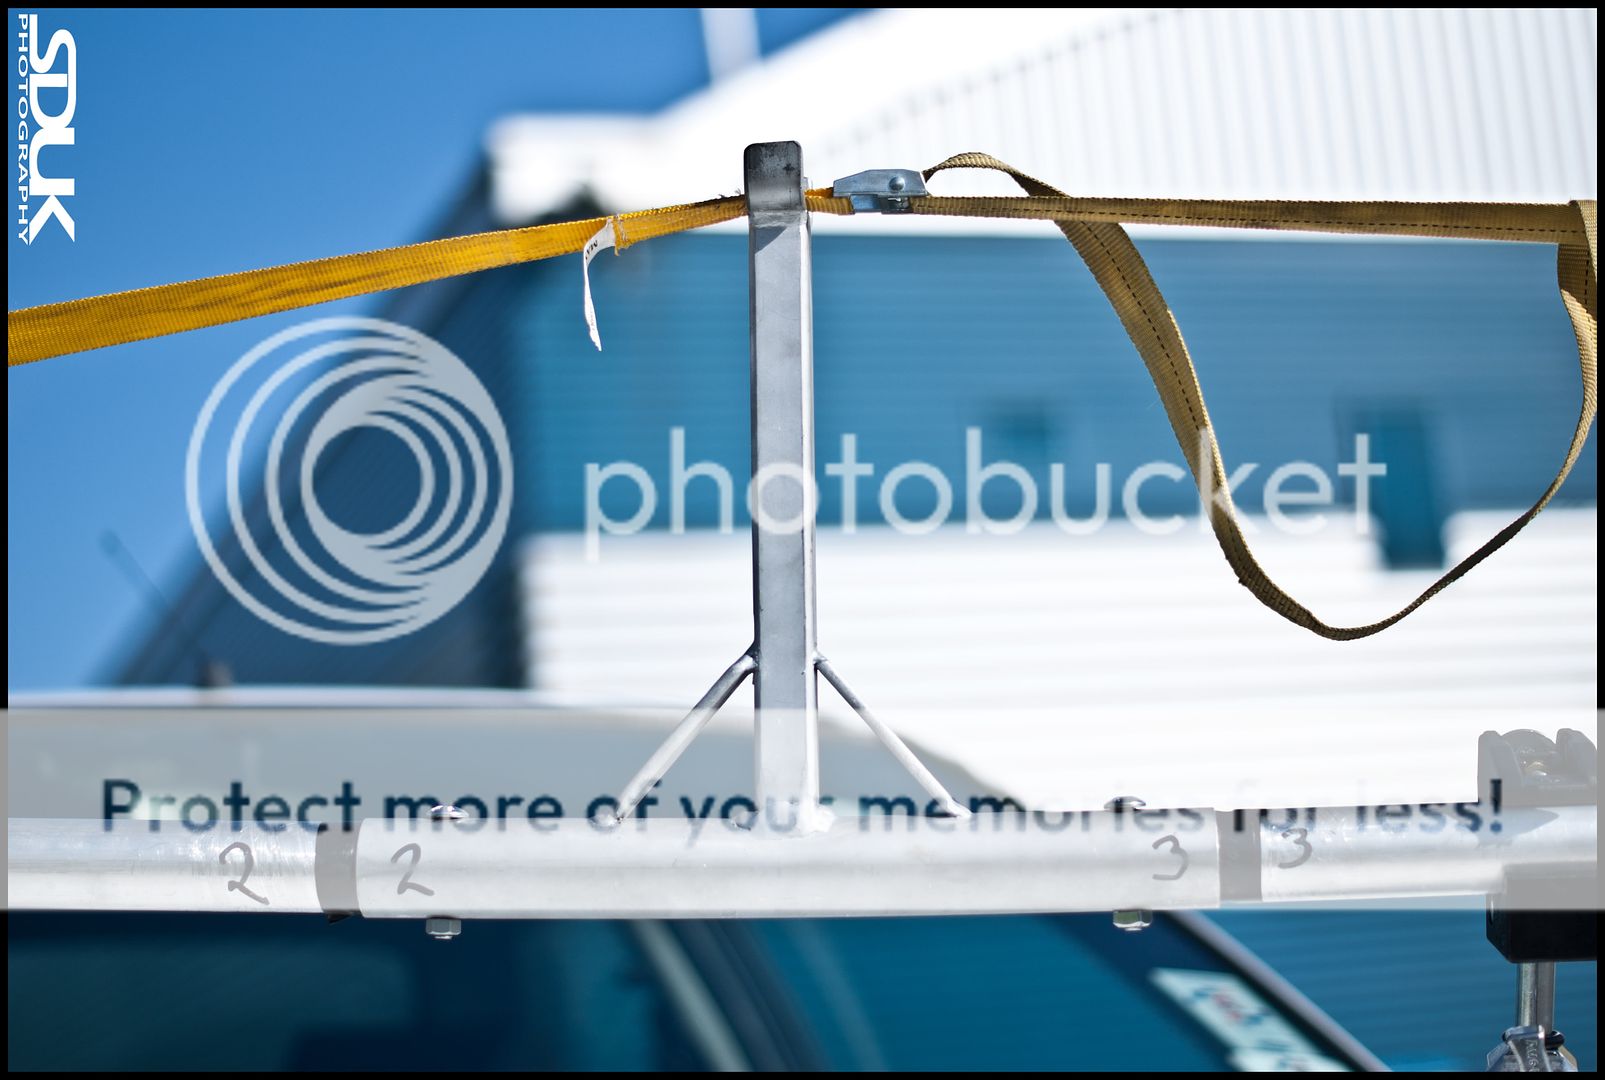
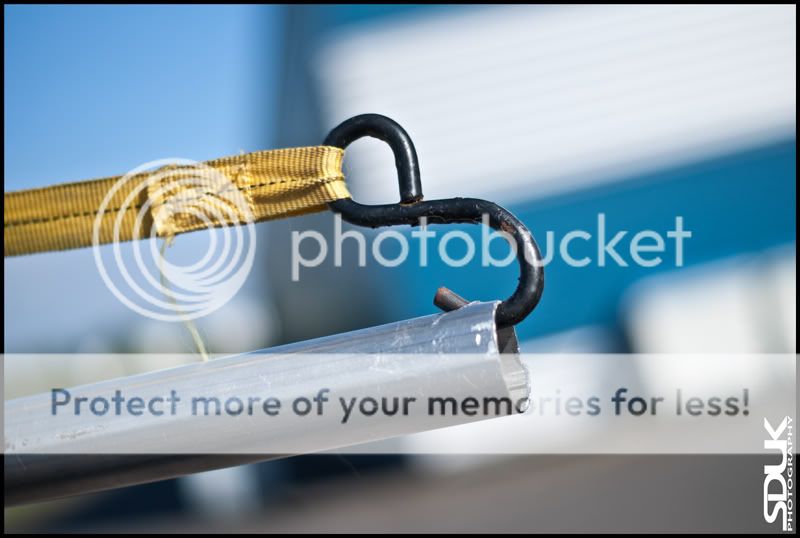
After that you need to sort the main beam of your rig. I went to a motor factor and bought a length of steel pipe and aluminium pipe.
The steel (much stronger) has a slightly larger diameter than the aluminium pipe and can be slid over the top.
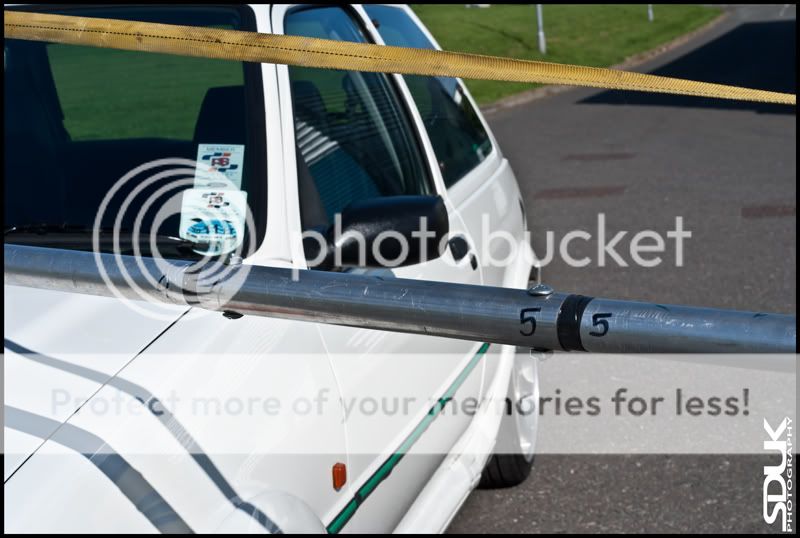
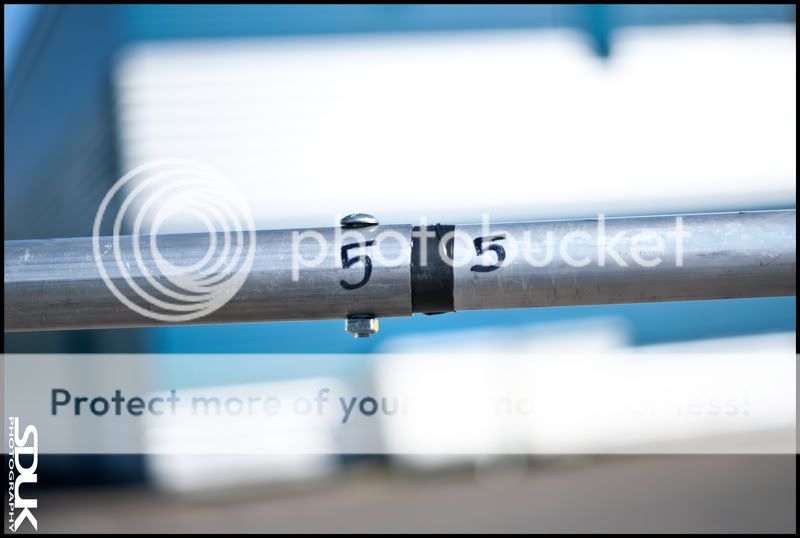
I cut them into three parts each and used the steel pipe as joining sections with the aluminium as the main length sections...
Once connected, I drilled holes through them and fitted bolts to hold it in place. I marked the joining parts with tape and numbered the sections so I know what order to build it once it was dismantles...
Here is a shot showing the thickness of the steel connectors (the aluminium main sections are about the same but slightly smaller in diameter to fit inside...


") have a read through it from the start and there is everything you need to know about what kit to buy
have a read through it from the start and there is everything you need to know about what kit to buy 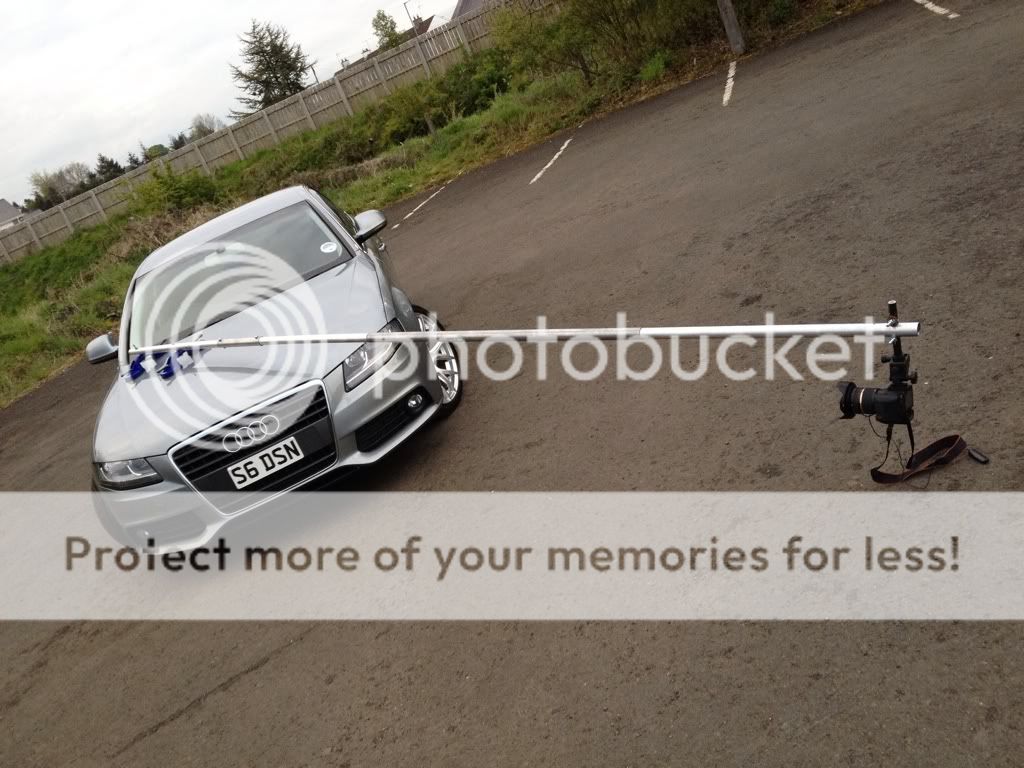


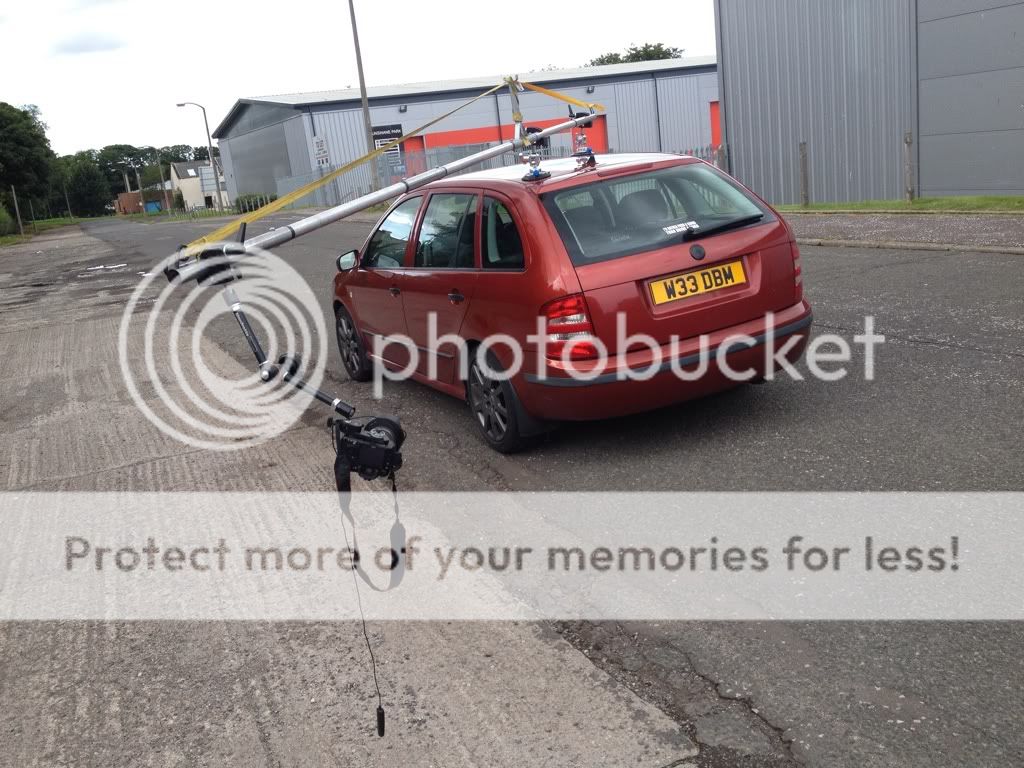

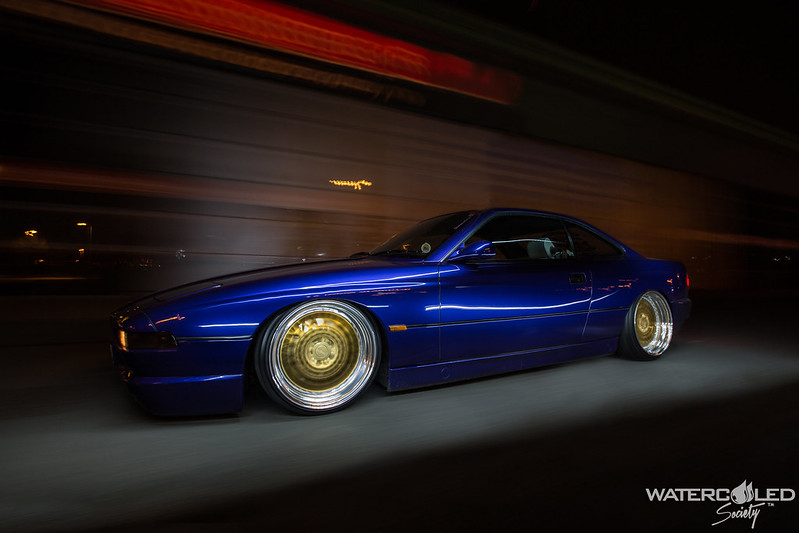
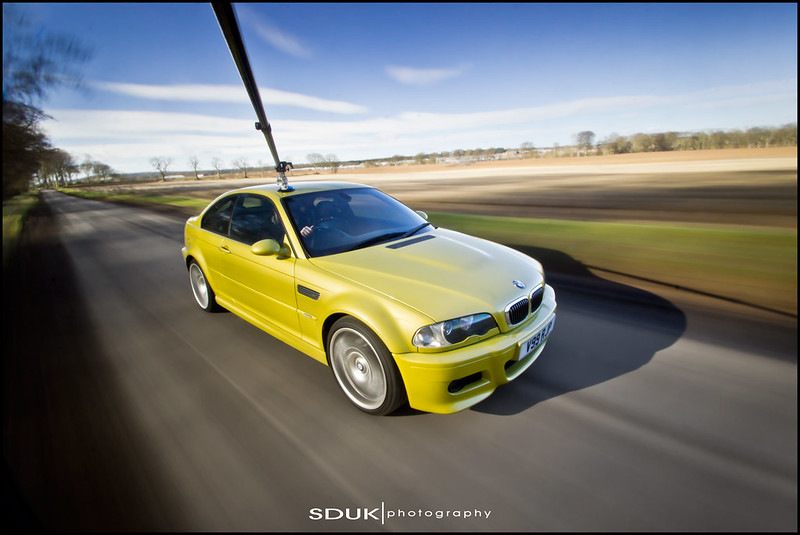 BMW M3 rig shot.
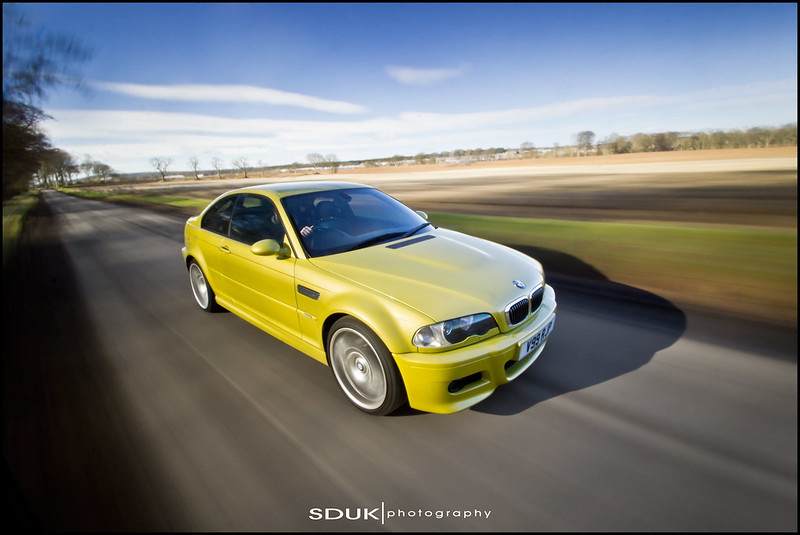 BMW M3 rig shot.
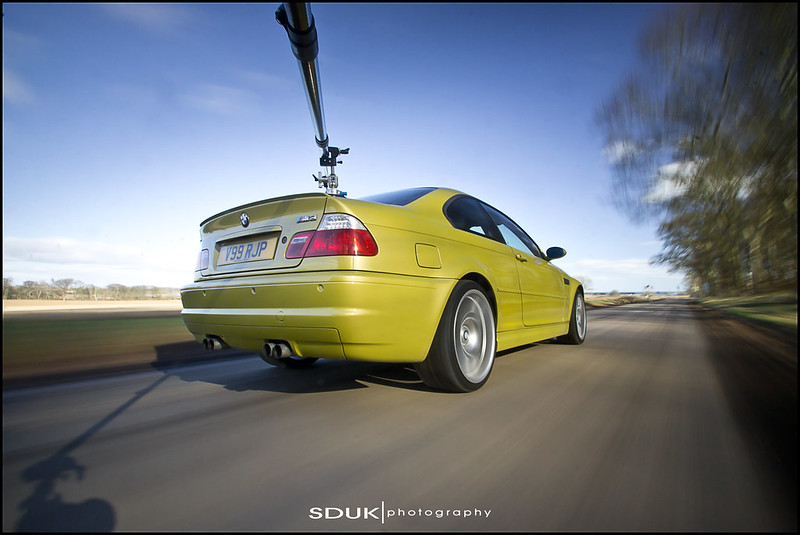 BMW M3 rig shot.
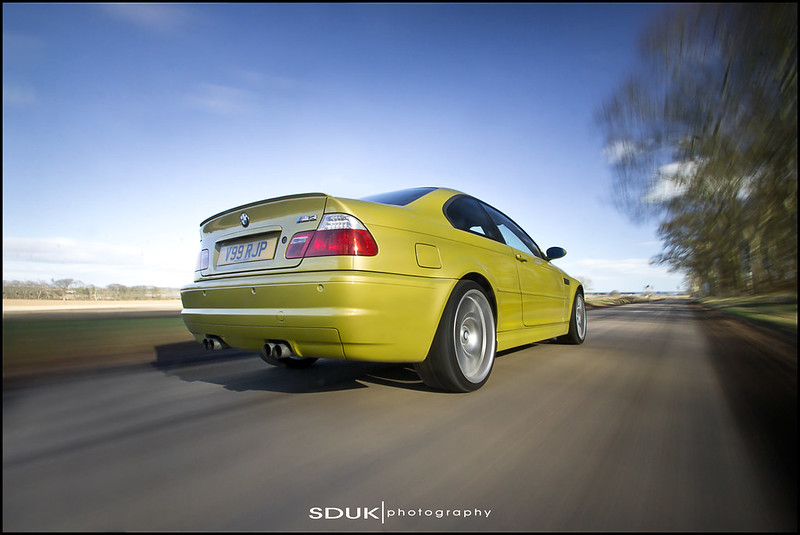 BMW M3 rig shot.
 IMG_1032


 Rally FRP Rigged
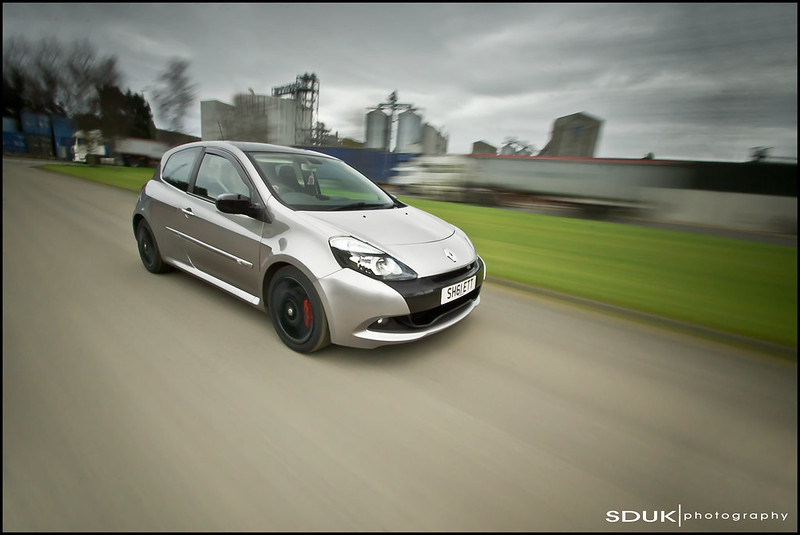 Clio RS Rig Shot
 Clio RS Rig Shot
 Photo by Matt Warren Photography