
- Messages
- 2,529
- Name
- Keith
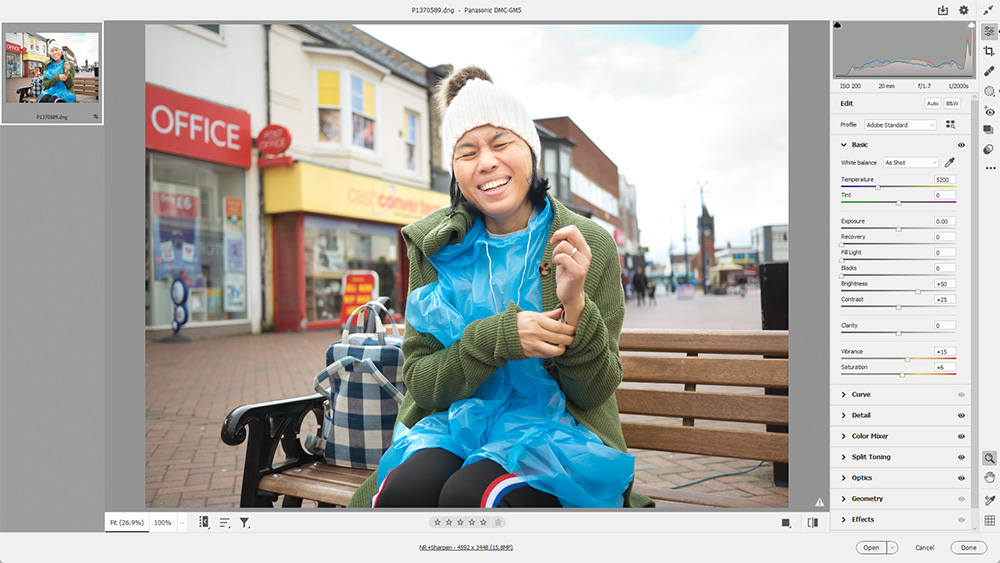
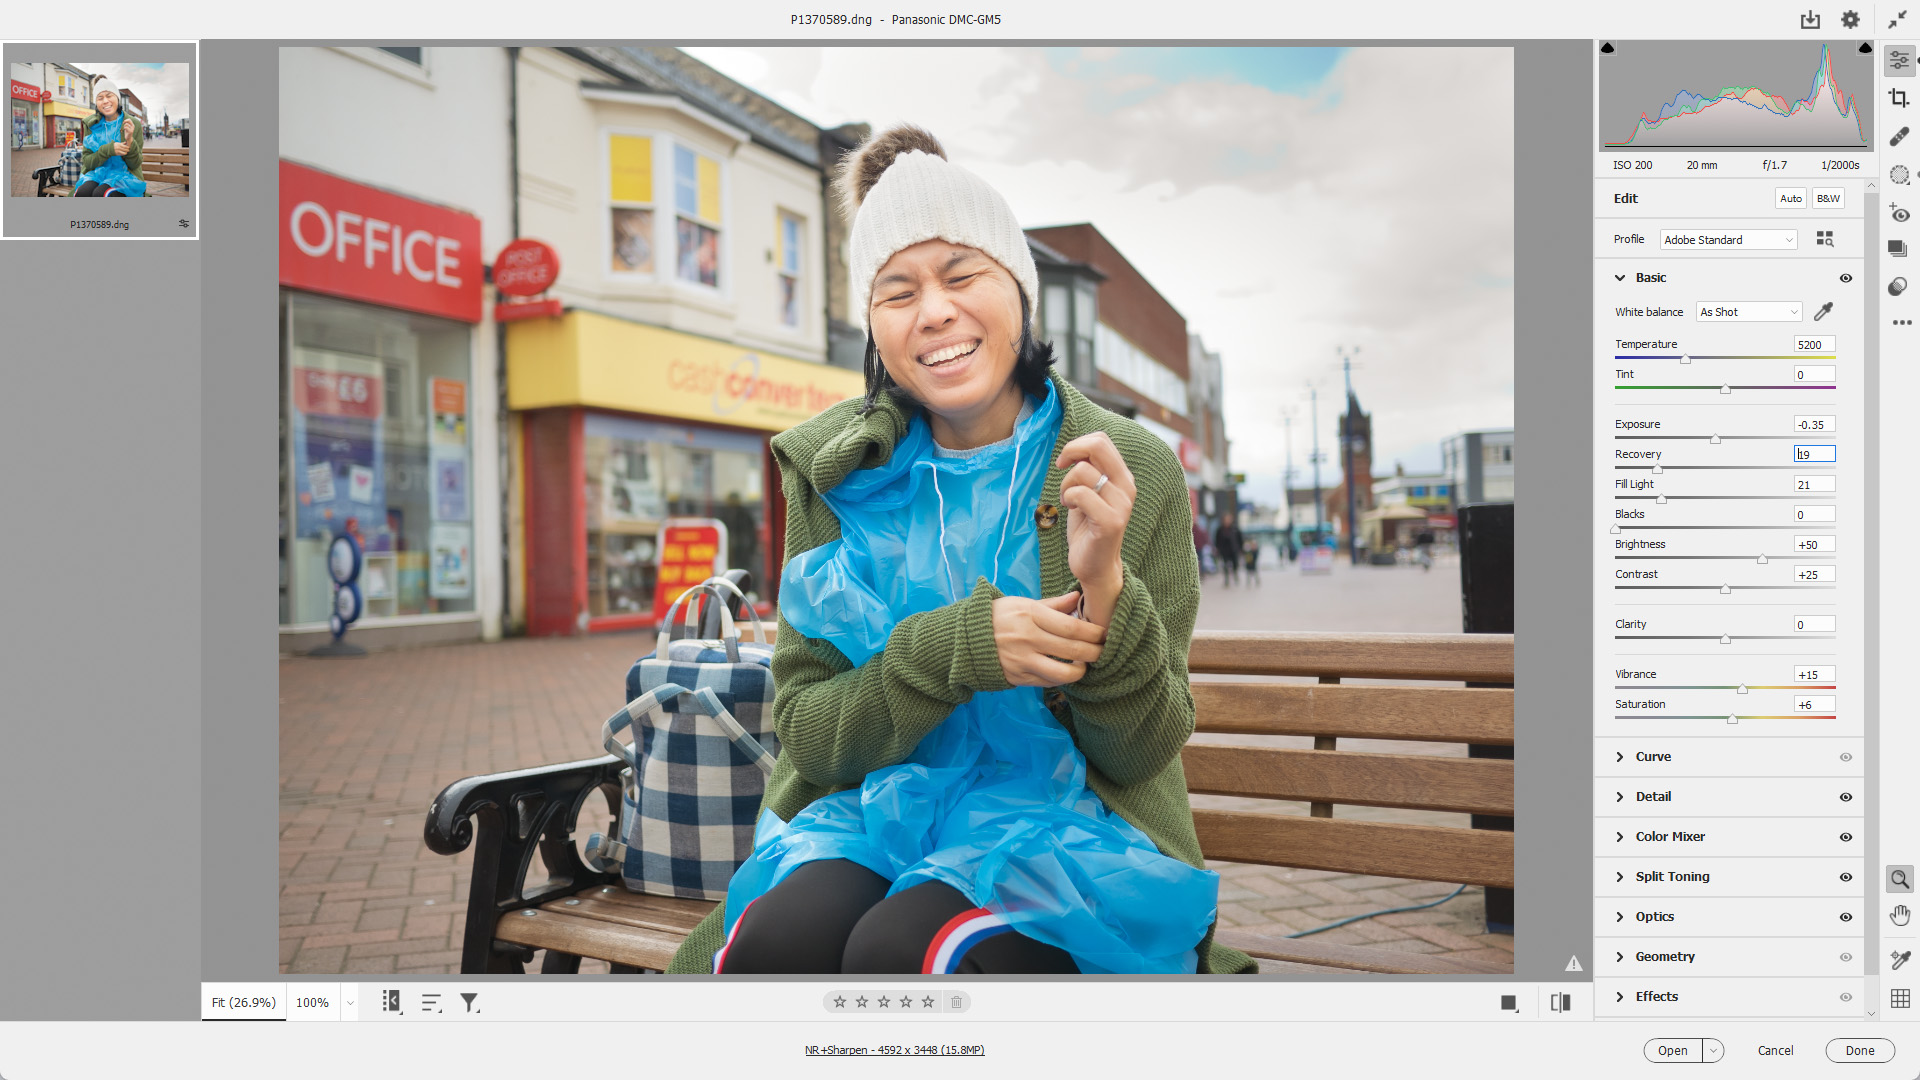
- Edit My Images
- Yes
Here are two pictures taken one after another of the local church,
The first shot had the clouds blown out,
The second shot I dropped the exp comp to -1 and raised the shadows by 30% in post edit to try and re-capture the look.
Is this the best tactic? or is there more I can do? Would paying for a top grade editing software help also?
Image 1 - Aperture priority F3.5 with the clouds blown out.

Image 2 - Aperture priority F3.5, but Exp Comp -1 and then shadows raised 30% in post edit.

The first shot had the clouds blown out,
The second shot I dropped the exp comp to -1 and raised the shadows by 30% in post edit to try and re-capture the look.
Is this the best tactic? or is there more I can do? Would paying for a top grade editing software help also?
Image 1 - Aperture priority F3.5 with the clouds blown out.
Image 2 - Aperture priority F3.5, but Exp Comp -1 and then shadows raised 30% in post edit.
")

