I have modified my camera/lens/software mix a bit. When I was last writing here, for close-up/macro work I was shooting exclusively raw, hand-held, using:
- For medium-sized invertebrates, a Panasonic FZ200 bridge camera with Raynox 150 or less often Raynox 250 close-up lens on an adapter tube with Venus Optics KX800 twin flash with individually diffused flash heads and a separate concave diffuser
- Only occasionally, for smaller invertebrates, a Panasonic G5 micro four thirds camera with the KX800 and 45-175 lens and Raynox 150+250 stacked, Raynox MSN-202 or Raynox MSN-505
- For natural light, for flowers and (occasionally) larger invertebrates, a Canon 70D dSLR with 55-250 STM lens with and without a Canon 500D close-up lens.
For processing I was using (probably, I don't remember the exact timing of the changes) batch processing in DXO Optics Pro 10 using the same settings for all images, exported as TIFF files which were imported into Lightroom 6 for image-specific adjustments and creation of 1300 pixel high JPEG images.
For initial triage (rapidly rejecting obviously unusable images) I was using Faststone Image Viewer or, where the raw files needed an initial boost in brightness, Lightroom.
I was using Faststone Image Viewer for moving files around and renaming files.
And now?
I am still shooting exclusively raw. I am mainly shooting hand-held but I have been experimenting with using a steadying stick some of the time, as described in
this post.
After 101,000 shutter activations the older of my two FZ200s has died. It is repairable. I was going to do the repair myself (having been pointed to a maintenance manual which explains in detail how to replace the non-functioning part) but I could not source the part in the UK. I decided not to pay for a repair as the camera has been heavily used and would quite probably develop another fault before too long. I therefore considered a replacement.
For some time I have been considering trying my close-up lenses with a bridge camera with a 1 inch sensor (much larger than the 1/2.3" sensor in the FZ200). None of the existing 1 inch bridge cameras is suitable (either because they don't have an articulated screen or, in the case of the Pansonic FZ1000, they don't have a small enough minimum aperture). At the time I was deciding what to do next a replacement of the FZ1000 (which might have a suitably small minimum aperture) had not been announced (it has now). The Nikon 24-500 was the other potentially suitable candidate, but this has been delayed for many months and is now rumoured to be not available until next year.
Readers who have been paying close attention to this thread (if there are any!) may wonder why I would consider either of these cameras, as both have extending lenses which change the distance between close-up lens and subject when zoomed (unlike the FZ200 when fitted with an adapter tube or the G5 with its non-extending 45-175). I have previously said how important this is to me, especially at higher magnifications, the main issue being that finding very small subjects at high magnifications is difficult, and is much easier if you can start with a low magnification to find the subject and then zoom in on it without having to move the camera. I have changed my opinion on this.
My preference for retaining a fixed distance to the subject as magnification changes stemmed from when I previously worked with a tripod almost all the time, in which case, even when using a focus rail, moving the camera back and forth to get to the correct working distance is a nuisance. However, after working more and more hand-held I slowly came to realise that this was less important. I started by using the Raynox 150 directly attached to the FZ200 camera lens. I found that moving the camera when changing the magnification was no problem when working hand-held. And, with the FZ200, attaching the close-up lens directly to the camera lens has the great advantage of radically reducing the amount of vignetting and thus allowing a much greater range of magnifications without needing to change to a different close-up lens. This is true for all of my close-up lenses, not just the 150.
I progressively discovered that I could also do this when working hand-held with my more powerful close-up lenses - in order of power Raynox 250, 150+250 stacked, 202 and 505. I think my technique must have improved because when some time ago I tried using the MSN-202 on an expanding lens I found it pretty much impossible to use. I think I probably wrote about that experience some way back in this thread. Successful use at higher magnifications can be much improved by a coordinated combination of zooming (to change magnification) and movement (to keep the working distance somewhat constant). I haven't got that working smoothly at higher magnifications, but (when I do occasionally do higher magnification stuff) I'm working on it, practising.
Framing the shots and gaining good focus, centred exactly where required, does become progressively more difficult as magnification increases. This is where the idea came from for the steadying stick (based on the pole and stick used respectively by two of my macro heroes,
Brian Valentine and
Mark Berkery). Like working hand-held it makes it quick and easy to adjust the distance to the subject, and also to move the camera around to track a moving subject. But like working hands-on with a tripod it damps down hand-shake and makes it easier to frame subjects, track moving subjects and hold positions for multiple shots of a stationary subject.
So, no longer being so concerned about keeping the close-up lenses in a fixed position while changing magnification, my options for other cameras and lenses have opened up.
The FZ200 has proved hugely important to me. It works so well for my purposes I would be seriously bothered if I didn't have something as good, or better, at some point in the future. New FZ200s are still available at the moment, but I didn't know in what numbers and how soon stock might run out. I was nervous about waiting for the (hypothesised) FZ1000 replacement or the Nikon 24-500. This left the FZ200 and the newer FZ330, at about twice the price of the FZ200. The FZ330 has the same lens and quite probably (Panasonic has remained silent on this score) the same sensor as the FZ200. So why pay twice as much for the FZ330?
The FZ200 uses contrast detect focusing. This is more accurate but slower than the phase detect focusing used in most dSLRs. And I use autofocus a lot so this matters to me. The FZ330 still uses contrast detect focusing, but it is enhanced with a "Depth from Defocus" (DFD) technology developed by Panasonic which can work out which way and how far to move the focusing by looking at the out of focus areas of an image. It is said to be much faster than normal contrast detect focusing, and is sometimes claimed to be almost as fast as phase detect focusing.
Faster focusing could be very helpful for my close-up/macro work, especially now I am working more hand-held. This is because the faster the focusing and capture is, the less time there is for the subject to move out of focus before the shot is captured. What I didn't know is whether the DFD focusing on the FZ330 was significantly faster than the FZ200, and no one could tell me with certainty whether DFD focusing would work at all with close-up lenses. I decided to buy an FZ330 to find out. What happened next is described in some detail in
this thread in the Panasonic Compact Cameras forum at dpreview.
It turns out that for my purposes the FZ330 has several advantages over the FZ200 in terms of usability. For example, when using autofocus, which I do most of the time, the focus box can be smaller and positioned more easily and faster than with the FZ200. The manual focus implementation has been improved, so that for example a magnified area of the screen can be seen as a picture in picture so as to aid with the focusing but retaining the whole-frame context for checking the edges. It is easy to move the area of the whole frame covered by the picture in picture so you are not restricted to a magnified view of the centre of the frame. You can also easily change the magnification used for the picture in picture. The FZ330 has focus peaking, and for natural light working it has zebras, both of which I find helpful sometimes. The FZ330 is more configurable than the FZ200 and I have managed to arrange easy (button, wheel, lever) access to just about everything I typically need. The FZ330 is also water and dust sealed, which makes it practical to place it briefly on damp ground while I need both hands to find/adjust other things.
Oh, and the focusing probably is faster too, although that is difficult to pin down given the inherent variability involved in close-up/macro shooting. Whether or not that is the case my early experience is of some quite good success rates and pleasing image quality. There are a few examples in
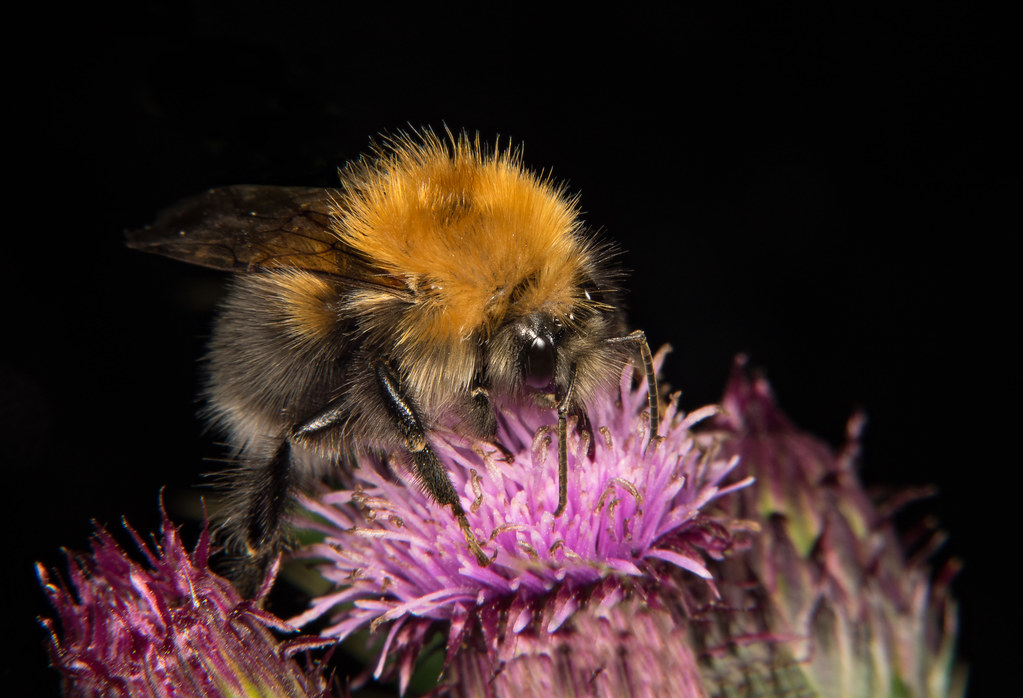
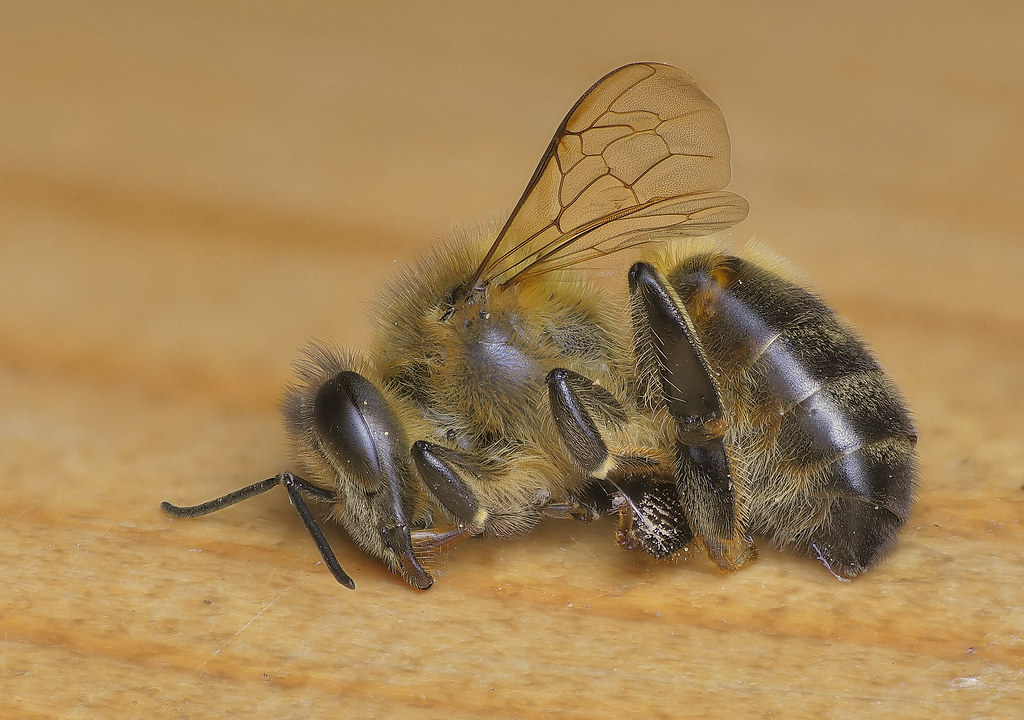
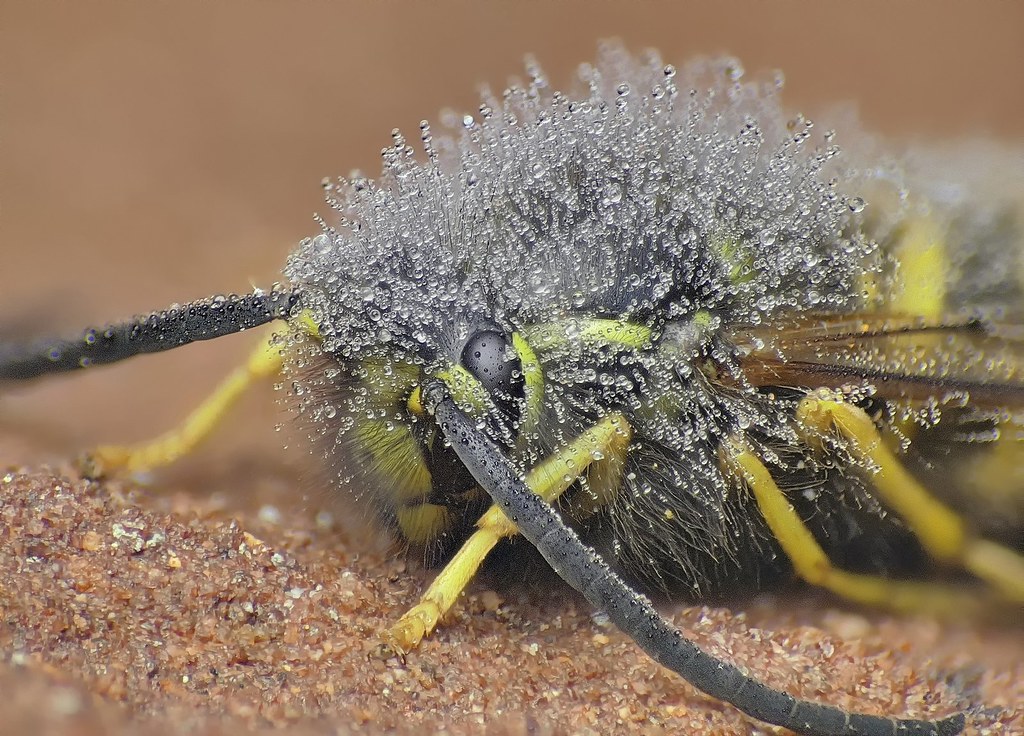
this post in the dpreview thread, which also contains links to five albums at Flickr containing around 250 examples using the FZ330 and close-up lenses. The bee images in
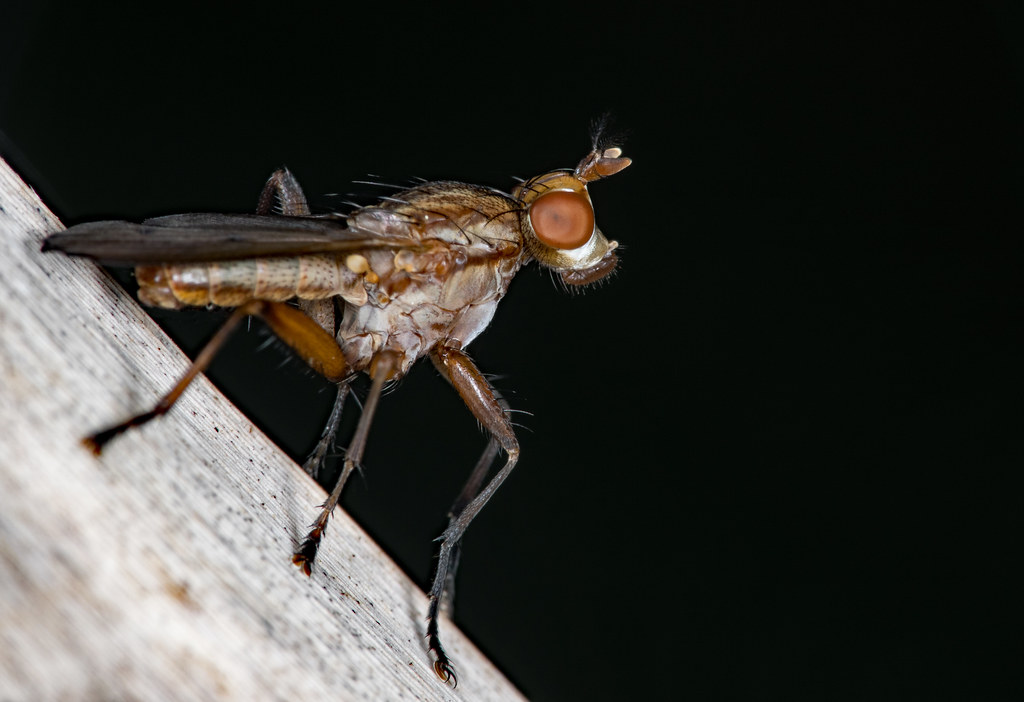
this post in this forum were FZ330 images, and I will be posting more in the forum of course.
My 70D died as well, a little before the FZ200. I had, unusually, taken out an extended warranty on the 70D, and it died within the three year warranty period. I therefore had it mended under warranty. (It needed a new mirror assembly.)
My preferred hardware mix is now looking like this:
- For medium-sized and small invertebrates, a Panasonic FZ330 bridge camera with Raynox 150, 250, 150+250, 202 or 505 close-up lens attached directly to the camera lens, with Venus Optics KX800 twin flash with individually diffused flash heads and a separate concave diffuser, used hand-held or with a steadying stick
- When using the FZ330, for subjects of different size for what I have the FZ330 rigged for, either the FZ200 or 70D, depending on the nature of the subjects I will be looking for/hoping to encounter.
- For natural light, for flowers and (occasionally) larger invertebrates, 70D with 55-250 STM lens with and without a Canon 500D close-up lens, used hand-held.
- For very early morning still air slow exposure natural light shots (I haven't had any of these sessions this year), either the FZ330 or 70D with Raynox 150 or 250, or possibly Canon 500D, using a hands-off tripod approach with cable remote shutter release.
In terms of software, I have had to upgrade to DXO Optics Pro 11 in order to process native FZ330 raw files. I am now exporting from DXO as DNG rather than TIFF because this enables the receiving application to deal with the white balance and (I haven't been able to pin this down) DNG may have another advantage in terms of dynamic range retention. After a lot of experimentation, for close-up/macro I am now importing the DNG files from DXO into Silkypix Developer Pro 7 rather than Lightroom 6 for image-specific adjustments. I find I can reveal more fine detail using Silkypix. I also like the way it deals with colour retention in highlights and prefer the overall look I get with it compared to Lightroom. This isn't always the case though and I do sometimes use Lightroom, although this is more often for non-close-up/macro images.
Rather than exporting from Lightroom as JPEG at my target 1300 pixels high, I am now exporting from Silkypix in TIFF format in case I want to make further adjustments in another editor. One example of this is using Dfine from the now free (Google-owned) NIK collection for easy and rapid reduction of noise/fine-scale artefacts that my agressive use of Silkypix sharpening sometimes creates in plain backgrounds. Cloning in Silkypix is only effective for very small areas and so I use my old copy of Photoshop (CS2) for any more extensive cloning (although I don't do much cloning these days). I occasionally use graduated filters in Lightroom, which handles this better, with more flexibility than Silkypix. I might very occasionally use other editors on the TIFF files.
When I have finished adjusting the TIFF files (which is most often immediately after they come out of Silkypix) I produce 1300 pixel high JPEGs using Faststone Image Viewer, which I also use for renaming files and moving files around.
For initial triage I am still using Faststone Image Viewer whenever possible. That is because Faststone deals with the embedded JPEG files and this makes it really fast to get through the large numbers of images that I still routinely capture. Instead of using Faststone for triage, I can use Lightroom or Silkypix to do bulk (for example) exposure increases to make it easier to see what is going on in my often under-exposed images, but that slows down the triage considerably and complicates the subsequent file handling. I generally find it preferable to use Faststone and, where I can't see enough to know if an image might be usable or not, to leave the image in the set and see how it responds to the initial DXO processing, which levels up the brightness, and then decide in Silkypix (or Lightroom) whether the image is usable or not.
Why not simply start by putting all the images through DXO and then do the triage? Time. DXO Optics Pro Version 11 is a bit faster than Version 10, but even so it takes 30 seconds or so for each FZ200/330 raw file, and longer for 70D raw files. So 600 FZ200/330 raw files (not an exceptional number from a session) would take 5 hours to process in DXO. I could leave them processing overnight, but DXO stresses the PC, using all four processors and the graphics card at full pelt, making the fans whine quite loud. I'd rather not leave that running overnight.


")


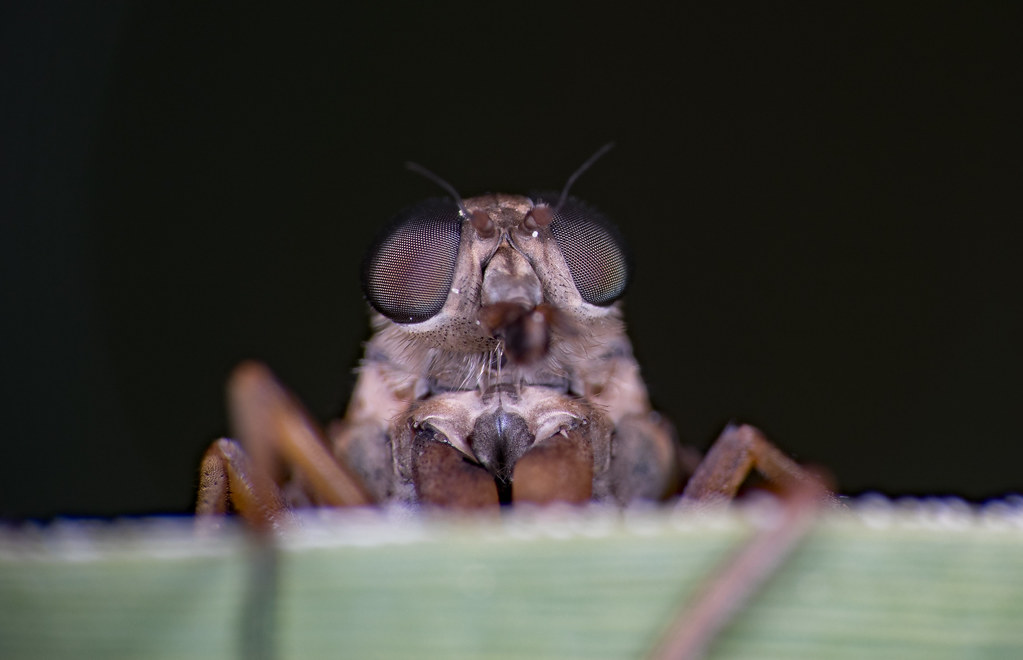 Peek-a-Boo