The basic principle is easy. I have found that in practice it can be more complicated.
A brush may not pick up (all) the dust spots.
It is difficult to brush along the edges of the sensor without going over the edge and possibly dragging dust on to the sensor. Notice also that in the video he did three strokes with the brush. Two may be ok, turning the brush over after the first one, as he did on the video. But a third stroke seems iffy to me. If the brush has picked up dust from the sensor with an earlier pass the third pass may put it back again (quite apart from any dust picked up from beyond the edge of the sensor). And I imagine the first two strokes could discharge the static charge on the hairs, which would make any picked-up dust more likely to be redeposited I would have thought. (Perhaps even just the first stroke discharge it? Don't know.)
I have one of those brushes. It didn't work well for me. I have a battery driven version that spins the brush around before you use it so as to put a static charge on the brush hairs, and LED lights built into it to make it easier to see what you are doing. That didn't work well for me either. In fact it made things considerably worse on at least one occasion, presumably by dragging stuff in from beyond the sensor.
I have swabs (those that I linked to) and cleaning fluid (the sort I linked to). I have had most success with the swabs, but even there I find it can take a number of attempts to get the sensor fully clean. This is partly because some spots are difficult to budge, and partly because of additional spots turning up.
At £50 a throw though, it might be something worth learning to do for yourself. But there is
@ChrisA point about the IBIS. I'd look into that before trying it yourself, if you do decide to go down the do-it-yourself route.
Sorry to be negative. I have read plenty of comments on forums and at Amazon from people who have used one or other method to their complete satisfaction, with very little bother. So perhaps it is just me. But I have had a lot of trouble in this area, both with getting dust on sensors and trying to get rid of it. It may be partly because I use such small apertures, and that is worst case for making spots on the sensor show up in images.


 DSC02758 by mike mountain, on Flickr
 DSC02711 by mike mountain, on Flickr
 DSC02708 by mike mountain, on Flickr
 DSC02738 by mike mountain, on Flickr
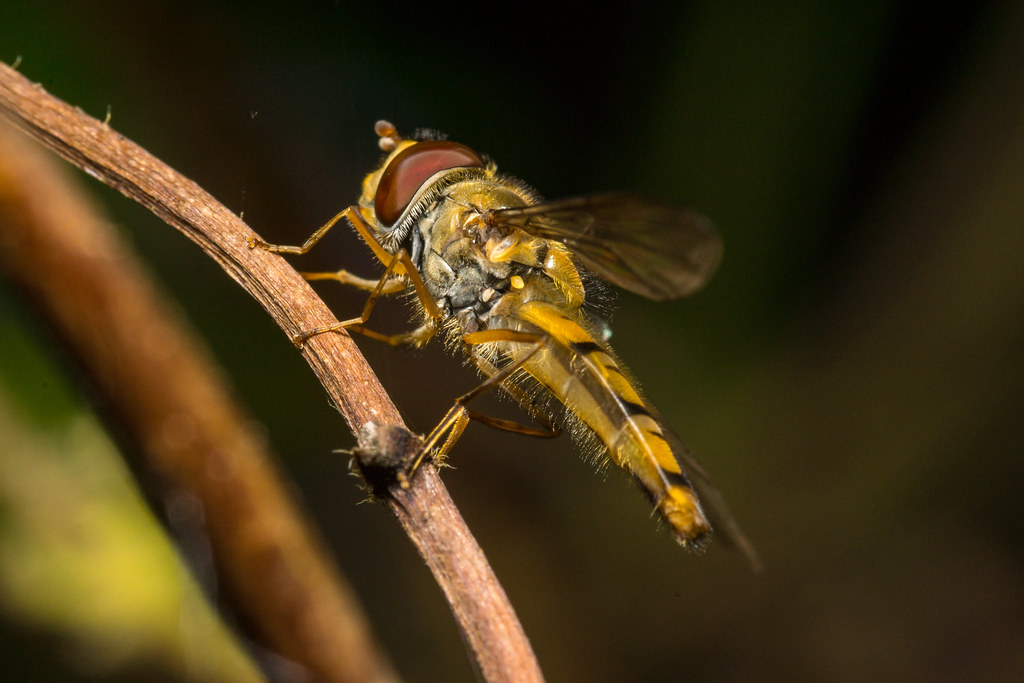 DSC02729 by mike mountain, on Flickr
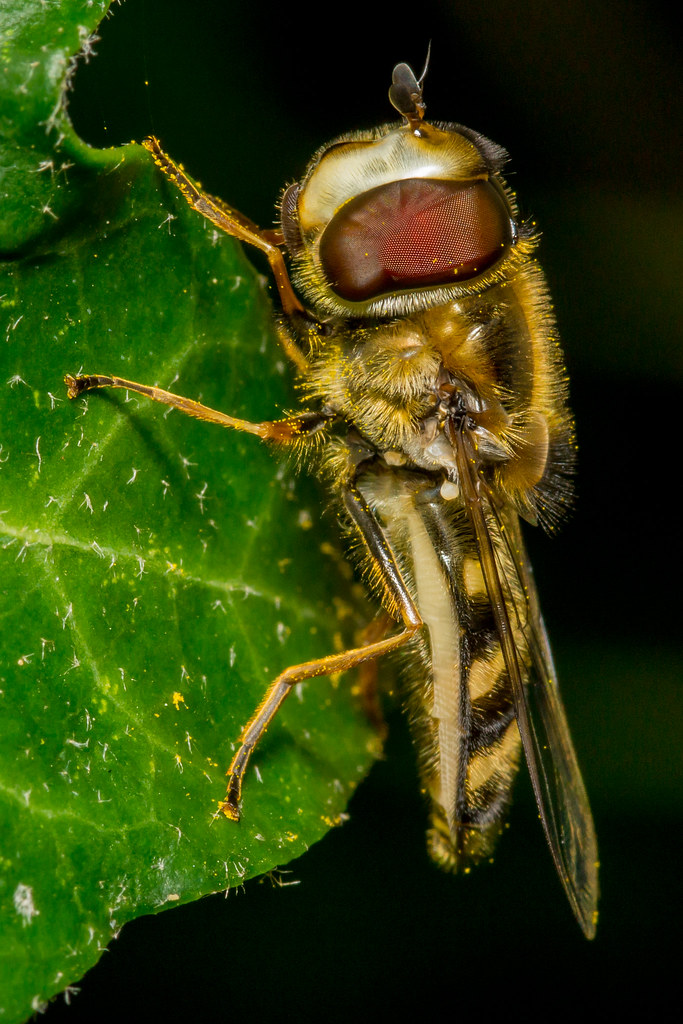 DSC02774 by mike mountain, on Flickr
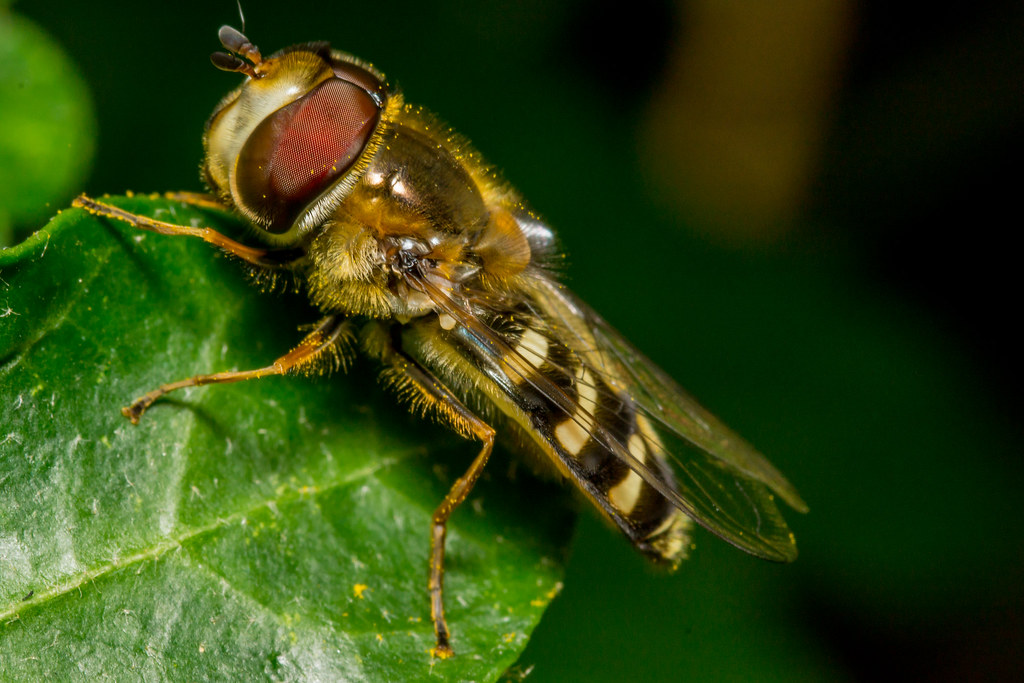 DSC02771 by mike mountain, on Flickr
 DSC02763 by mike mountain, on Flickr
 DSC02751