How to make it look real...

Messages
10
Edit My Images
Yes
Hi there,

Apologies if this has been covered before, I've only just joined this week.

I have a couple of photos with the same problem and would like to know how you can blend the annoying bits into the background without it looking obvious. I currently use Photoshop CS2 and can do the easy bits but this is beyond me:thinking:

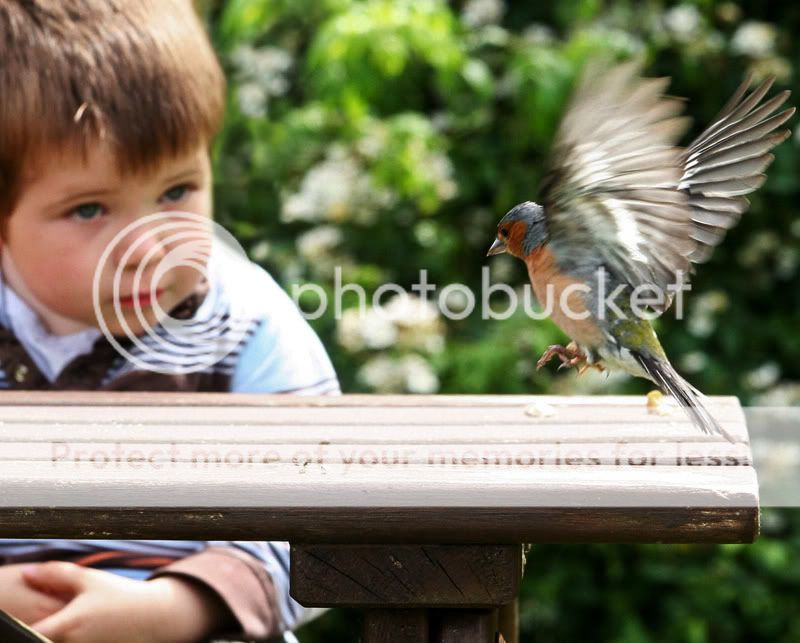
First photo - blend the red jacket into the background, possibly darken it although I'm sure there are better ideas :)
gwd4s.jpg
[/IMG]
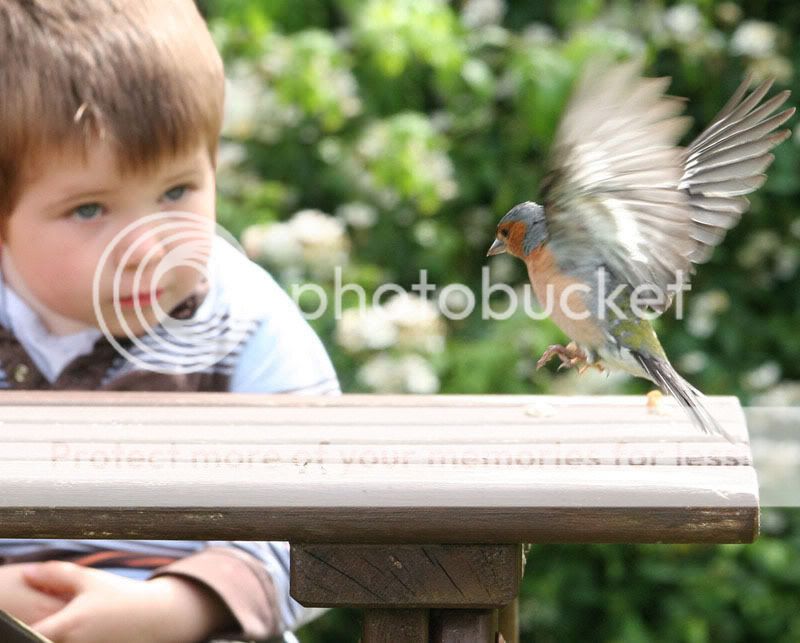
2nd photo - blend the video into the background - possibly a bit trickier since it's also in the bubble :thinking:
gwd3s.jpg


All help, suggestions, comments welcome.

Thanks,

Gary.
 
Hi Gary,
I think I am fairly handy with photoshop but both of those are beyond my skill set.
Just had a crack at the 1st one with no joy.

Sorry mate, for what it's worth I think they are both cracking shots
 
I think the simple answer is that doing the things you want to do isn't going to be simple. I'm sure it could be done by a fairly advanced Photoshop user (which I'm not) but unless you really know what you are doing, or take a long time to do it right then you'll only risk doing a bad job of it.

Having said that, you could try using the burn tool on the red jacket to darken it a little so it doesn't stand out so much. This is something I've tried and failed at but you may be able to do it a lot better than I can. The video I'm assuming will be a lot harder to do as you don't want to affect the bubble. My suggestion would me to increase the bokeh effect behind the bubble with the addition of a little more blur.
 
I had a quick go on the first one and it's definitely not a perfect solution, plus I'm no expert in Photoshop either.

You can still see an outline where the red jacket was.

gwd4s_copy.jpg


The way I did it was to use the Magic Wand to select all of the red jacket. I then did a transform on it and moved it to a section of the background. Accepted the transform then did a copy and paste which created a new layer with the bit of background. I then moved this new layer over the red jacket and added a gaussian blur.

Like I say, it's not perfect, I'm no expert and I did not spend a lot of time on it either. Someone with more skill will probably do better.

P.S. If you want me to remove my edit I will do.
 
The first one doesn't really present that much of a problem, the clone stamp tool can make light work of the red jacket.

If your new to using photoshop then simply google 'clone stamp tool' or visit www.adobe.com for a detailed explanation of how to use it. It's a great tool but sadly can't always save the day. The second pic with the bubble over the VCR player is a good example.

It's possible but would take a very very long time. It would be quicker to take another photo of a bubble against a black background, making sure that the light was coming from the same direction as the photo, clone the VCR out and then using layer masks and blend modes paint in the replacement bubble. Sounds like a pita but that's the only way I can see it being done. Better off trying to capture another moment and be a little more conscientious of the backgrounds, (not always easy I know).

A very quick and dirty example. A contrast adjustment using curves and then cloning out the jacket.
gwd4sedit.jpg


Hope this helps

T.
 
For the second one, you could duplicate the layer and blur it to taste, then add a layer mask and 'paint out' the areas of background you don't want. I had a quick go and it is mostly acceptable.
 
The bubble makes this one difficult. With the original RAW file to work on it would be easier to spend a bit of time on it to get it right but as a quickie this is as good as I can get it.

gwd3s1.jpg
 
The bubble makes this one difficult. With the original RAW file to work on it would be easier to spend a bit of time on it to get it right but as a quickie this is as good as I can get it.

gwd3s1.jpg

Good job And (y)
 
Thank you Tomas. I just wish I'd taken the picture - it's a brilliant capture and just a shame about the background. Sometimes these things are just out of our control.
 
Or you could copy and paste the young fella as a separate layer, then copy and paste (with a feathered edge of 10 pixels or so) a section of the bush onto a separate layer, then slide the copied bush betwixt the "boy layer" and the background. No need for any cloning, erasing or smudging etc. then :)

gwd4s1.jpg
 
Thought I'd have a quick pop at the bubble one using a combination of masking, smudging, dodging, well a bit of allsorts really :LOL:
Like AndyB says though, with the original RAW file and a bit of time you could get somewhere near realistic, editing jpegs that have already been quite highly compressed is a bit of a pain because you have to try to keep the same 'compressed' look to the new bits :)

gwd3s2.jpg
 
I prefer yours to mine Rolf. You've managed to kee the outline of the bubble better than I did.
 
Hi everyone,

Firstly thanks for all the help, I'm impressed by all the feedback and the updated pictures, but even more so by the quick and numerous responses :)
Unfortunately I'm busy at work and I've not had a go at it myself yet. I'm sure I'll have some more detailed questions when I do.
I have tried the clone stamp tool on it before and can get it so-so but my difficulty is getting the edges looking real. Maybe I need to change the aperture down a bit or as mentioned try it on the RAW version.......as I said I'll hopefully try everyone's ideas soon.

Thanks again,

Gary.
 
Back
Top