Arrived. Works. Well worth the money.
It turns out that the 5mm thick one also has three levels of brightness - no switch, just an area at the edge that detects the presence of a finger. I wouldn't say it's hugely bright, but it's bright enough. Dense negs will still look dense. The lower brightness settings seem too dull to be worth using for photography stuff. The supplied USB cable is nice and flexible, and has some sort of mini/micro/small connector at the lightbox end that I don't recognise (could be the latest standard for all I know).
Illumination is pretty even - the light meter app in my phone reckons about 0.5EV variation. Its colour temperature readout varied from 6600K to 6650K.
The top is one surface - the black border is under the layer of acrylic. This means that you can slide a neg over to the side rather than try to get a fingernail under it - nothing at the edge for it to catch on. Haven't tried any of those neg inverter apps yet, but I think it will be fine for viewing at least. In lieu of that, I just tried it using the phone camera and Photoshop...
Straight from the phone, rotated, resized, and a bit of unsharp mask.

A tad blue in the phone camera. The negs are in a Secol archive sheet.
After a quick PP in Photoshop.

Blimey, it's a set of contacts!
Steps were (from the original): Rotate, resize, convert to greyscale, adjust levels left and right to maximise dynamic range, invert, levels middle control to the right to bring the somewhat low contrast images up a bit, a touch of unsharp mask.
I think this thing will work very well as the hybrid photographer's contact frame. The above was
way less hassle than using the V700 scanner - a no-brainer, in fact. So, what I think I'll be doing is develop the negs and get them into the sleeve, do the contact sheet thing, and then select which images to scan properly. Since the phone is quite high res (the above 6x9cm shots were 1100 pixels wide before resizing), it'll be fine for an index image as well. I guess I'd still need to look into an app for inverting colour negs, though.
For the hassle saving factor alone, a definite thumbs-up.

")
 LightBlock-Front
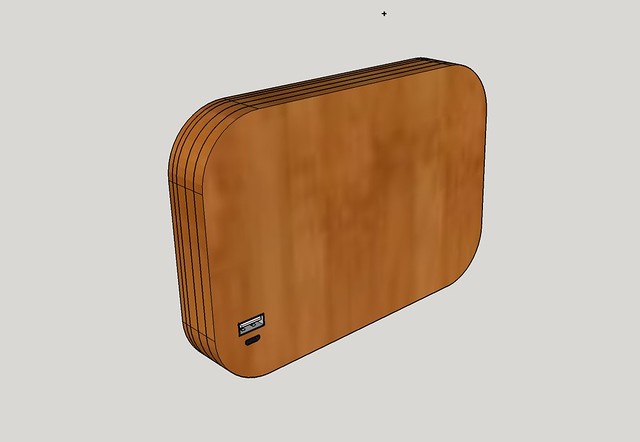 LightBlock-Rear