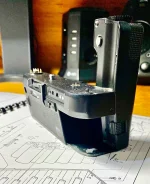
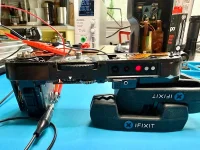
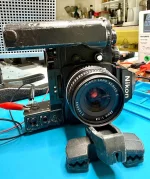
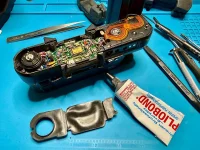
Nikon Motor Drive MD-4 (for Nikon F3): Heavily used, corroded battery contacts cleaned, damaged clutch unit replaced, serviced

Messages
89
Name
Andreas
Edit My Images
No
IMG_9011.webp

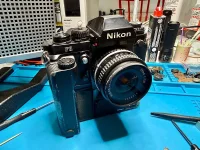
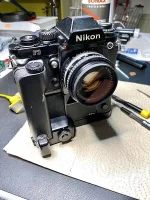
As the next stop on our journey through service and repair for the Nikon F3 system, we'll be looking at the MD-4 motor drive.

Manufactured exclusively for the F3, it's a superlative engine: robust, reliable, ergonomic, versatile, and tailor-made for the F3.

Some say that an F3 is only complete with an MD-4.

In my experience, a working MD-4 requires no service over its lifetime.
IMG_9012.webp

It's well sealed against environmental influences, lubricated for life, and I'm not aware of any typical problems, except for batteries leaking and destroying the circuit board behind them.


Never forget about inserted batteries: Damage from leaking battery electrolyte
IMG_9013.jpeg

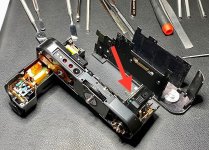
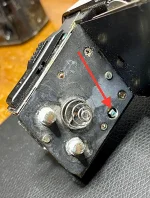
Damage to and behind the battery contact plate in the battery compartment due to leaking battery electrolyte.
IMG_9014.webp

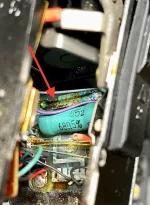
Through this contact, which signals to the MD-4 whether a battery pack or battery holder (different output voltages) is inserted, battery electrolyte got onto the circuit board behind it.
IMG_9015.webp

Severe corrosion occurred, particularly at the contact, which rendered it inactive.

Cleaning is only of limited help here, as the contact is already partially damaged. The entire unit can be replaced (MD-4 for spare parts).

Another MD-4 ...
IMG_9016.webp

IMG_9017.webp

IMG_9018.webp

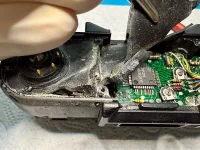
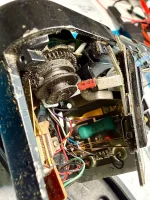
... in which the fumes from the eight leaking batteries apparently had years to wreak havoc on the interior. There's nothing meaningful that can be done here anymore.
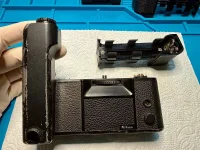
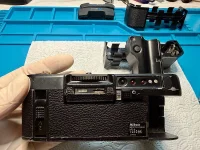
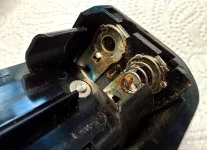
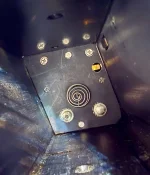
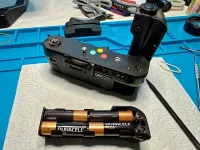
 
Let's take a look at a heavily used MD-4 Motor Drive for the Nikon F3, which has battery contacts corroded by battery electrolyte.
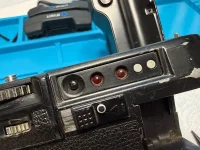
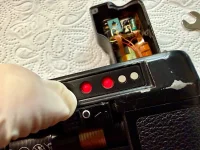
The two LEDs for the battery check aren't lighting up, so a contact problem is obviously present.
Let's see what we can do about it.

IMG_9019.webp

IMG_9020.webp

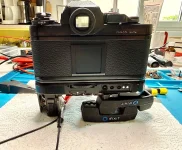
Heavily used and the usual dust over the decades.

No signs of external damage.

IMG_9021.webp

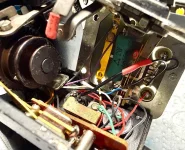
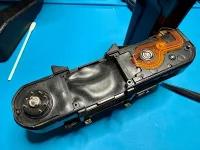
Corrosion caused by leaking battery electrolyte in the battery holder.

This gives us a heads-up that corrosion is also present in the battery compartment at the battery contacts and - in the worst case - behind the battery contact plate.

IMG_9022.webp

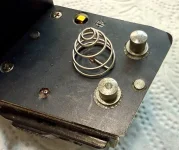
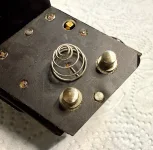
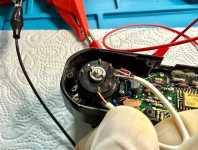
The negative battery contact on the left is corroded.

IMG_9023.webp

IMG_9024.webp

This is also the most likely reason why the two battery indicator LEDs don't light up when I press the button next to them.

The battery contact needs to be cleaned.

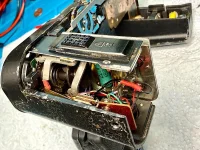
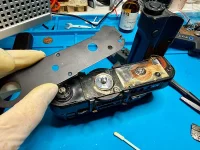
To access it, I'll remove the battery compartment.

IMG_9025.webp

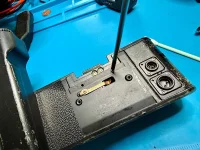
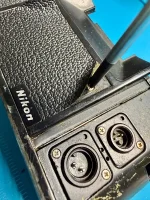
One of the two screws on the rear cover plate for the handle is missing.

This MD-4 has obviously already been worked on.

IMG_9026.webp

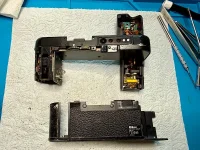
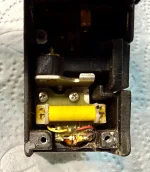
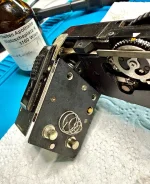
Battery compartment removed.
 
Last edited:
IMG_9028.webp

IMG_9027.webp

IMG_9029.webp

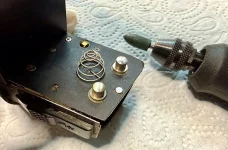
I polish both battery contacts with the hard rubber tip on the Dremel Stylo, a rotary tool for fine precision work.

This is an invasive procedure that removes the corrosion along with the protective coating. While this restores the contact's conductivity, it leaves it susceptible to oxidation afterward.

IMG_9030.webp

IMG_9031.webp

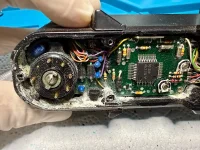
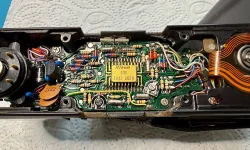
An older version of the circuit with relay on the bottom of the handle.

IMG_9032.webp

After cleaning the battery contacts, the two battery indicator LEDs light up.

The MD-4 has power again.

IMG_9033.webp

IMG_9034.webp

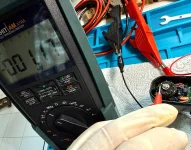
I conduct tests by shorting contacts on the camera connector and measuring voltages. See the SPT Journal for more information.

This allows the MD-4 to be tested for functionality without connecting it to a Nikon F3.
 
Last edited:
A test on the F3 is successful.

However, when presetting the frame counter to a specific number of frames, the motor's automatic stop doesn't work.

The rewind coupler rattles loudly for several seconds until the motor stops.

IMG_9035.jpeg

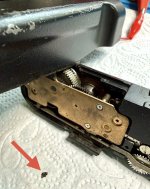
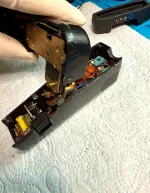
Suddenly, a part falls out of the motor unit.

IMG_9036.webp

IMG_9037.webp

IMG_9038.webp

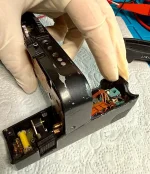
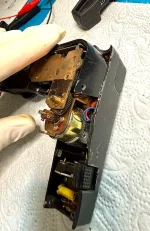
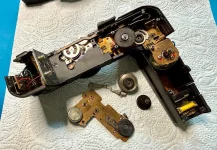
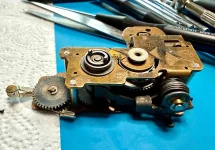
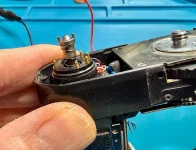
To inspect the motor unit, I remove the handle.

The MD-4 is very easy to service in this regard.

The motor can be placed inside the handle, providing a secure base for working on.

IMG_9039.webp

There is also a screw missing from the cover plate of the motor unit.

IMG_9040.webp

I found genuine replacements for the two screws in my spare parts stash for the MD-4.

IMG_9041.webp

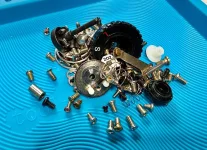
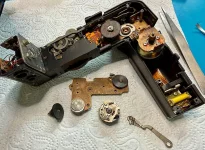
Removal of parts of the motor unit.
 
Last edited:
IMG_9042.webp

IMG_9043.webp

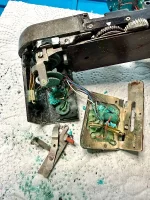
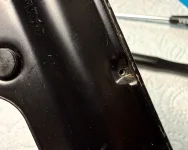
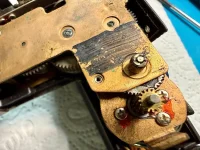
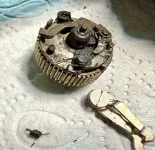
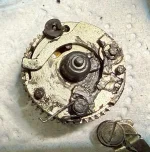
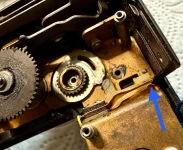
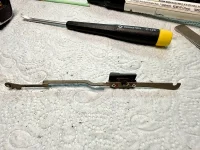
Damage to the underside of the clutch unit, whose job it is to shut off the motor once the cocking cycle on the F3 is complete.

A spring has torn off and part of a hook has broken off.

This piece fell onto my table while testing the MD-4 on the F3.

IMG_9044.webp

Grinding marks can be seen around the base of the clutch unit.

IMG_9045.webp

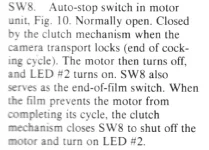
The auto-stop switch (SW8), which is operated via an eccentric around the base of the clutch unit, electrically shuts off the motor.

Its contacts were contaminated with old grease, preventing it from switching.

This explains the MD-4's loud rattling behavior.

The motor only shut down after a few seconds, clearly damaging components with its power.


IMG_9046.webp

Description of SW8 in the SPT Journal.

IMG_9047.webp

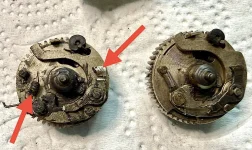
I found a replacement for the damaged clutch unit in an intact motor unit from my spare parts stock for the MD-4.

IMG_9048.webp

For comparison, on the left is the damaged clutch unit with a torn-off spring and broken hook part and on the right is the intact unit.
 
IMG_9049.webp

IMG_9050.webp

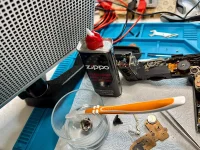
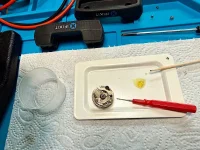
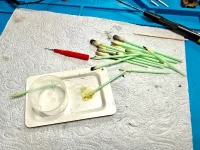
Before assembly, I clean the parts of the motor unit with Zippo lighter fluid.

IMG_9051.webp

Then I sparingly grease the gears and moving parts and oil their axles.

IMG_9052.webp

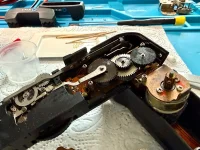
All parts of the motor unit are reinserted, the cover plate is still missing.

IMG_9053.webp

Tested with F3 and power supplied via the lab power supply.

Everything works perfectly. The motor shuts off as intended after the preset number of frames.

Switching to rewind also works.

IMG_9054.webp

IMG_9055.webp

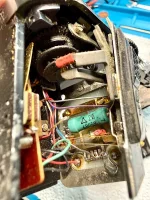
Now I check the back of the battery contact plate for any corrosion caused by battery electrolyte.

Everything is clean.

IMG_9056.webp

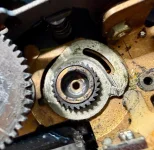
The rewind-connecting lever, which transmits the switching movement from rewind switch #1 to the rewind mechanism, is also cleaned.
 
Last edited:
IMG_9057.webp

Old grease and dirt.

IMG_9058.webp

IMG_9059.webp

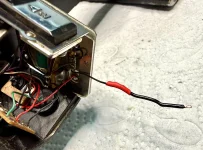
Since the battery-contact plate's wiring is very tight, I'm extending a cable that broke during removal.

This way, I can easily solder it back on because it has more slack.

IMG_9060.webp

IMG_9061.webp

The battery contact plate has been reinserted, the rewind mechanism has been cleaned, lubricated, and oiled.

The coupling of the parts is successful.

IMG_9062.webp

IMG_9063.webp

IMG_9064.webp

Final test of the MD-4 before assembly. Everything works as it should.

The motor noise is now a bit quieter and smoother. The cleaning and relubrication are having an effect.
 
IMG_9065.webp

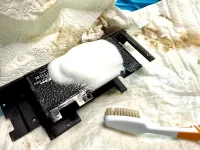
Cleaning the leatherette with cleaning foam and brush.

IMG_9066.webp

A lot of dirt comes off.

As a cover for the table I use a changing mat for babies that is extremely absorbent.

IMG_9067.webp

IMG_9068.webp

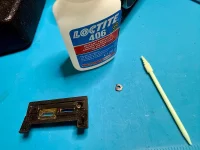
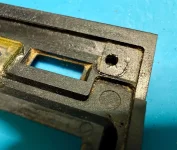
A piece around the right screw on the plastic frame counter guard has broken off.

I'm gluing it back on.

IMG_9069.webp

IMG_9070.webp

Assembly.

IMG_9071.webp

IMG_9072.webp

Reattach the rubber section over the IC board.

Two adhesive dots with Pliobond, an adhesive that can be removed and is also commonly used to attach leatherette.
 
Last edited:
IMG_9073.webp

Upper cover.

IMG_9074.webp

The MD-4 works flawlessly on the F3.

It feels and sounds rejuvenated.

A nice contrast to the heavy wear on the exterior.

The old grease still lubricates, but it has become viscous and is putting strain on the mechanism. Therefore, it is worth removing it and re-lubricating, even if the Motor Drive is still working. More resistance in the transmission puts a greater strain on the batteries.

IMG_9075.webp

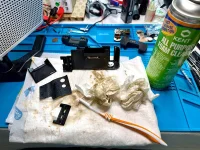
It's important to ensure good ventilation when working with solvents.

I also turn on my soldering fume extractor, which also absorbs solvents via its activated carbon filter.

I spent about eight hours on this project.

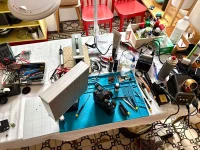
It was a lot of work, and the table quickly became cluttered.

Anyway it was definitely a lot of fun again :)


Service for the Nikon MD-4: first steps but more is needed
  • What we've done so far in terms of service has been to explore the MD-4's structure and determine its cleaning needs and options.
  • We partially disassembled and serviced the motor unit, as well as the area around the rewind claw disc behind the battery-plate unit. This improved motor performance by removing old, sticky grease that was causing resistance, and relubricating and re-oiling it.
  • By replacing the damaged clutch unit, we were also able to successfully carry out a repair.
  • The result is satisfactory but not yet optimal.
  • For a complete service, the entire mechanics must be disassembled as far as possible, cleaned, and lubricated.
This is a lot of work, but it's worth it for MD-4s that are in use. After decades of operation, or even just sitting idle in a closet, a complete service is definitely a good idea.

But as we've already mentioned, the MD-4 Motor Drive doesn't require any maintenance, since it was designed as a heavy-duty workhorse for tough conditions. You should only reach for a screwdriver if there are problems.
 
Last edited:
This project, too

doesn't follow my personal ideas about how to disassemble or repair something, but exclusively the instructions for professional camera repairers.

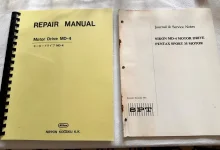
The authoritative sources are SPT Journal, The Camera Craftsman, C & C Electronic Troubleshooting Guides, and the manufacturers' service/repair manuals, most available on Learn Camera Repair.

IMG_9077.webp

Technical documents available for the MD-4.

See:
Many, if not most, of the articles in the SPT Journal are written by Master Larry Lyells, who, among other things, also worked for the renowned National Camera School (NatCam) in the USA.


See also:

Nikon Motor Drive MD-4 (for Nikon F3): Insights and service

+++

⚠️ A word of caution

Please keep in mind that you’ll be using highly flammable solvents for service work, and their fumes are harmful to your health. Soldering also produces fumes that should not be inhaled. Dangerous high voltages can be present when handling electronics, especially in conjunction with electronic flash units and mains. Therefore, familiarize yourself with the safety regulations beforehand and ensure your safety. Depending on the activity, protective gear may be advisable.

All information is provided without guarantee. Any action you take upon the information in this report is strictly at your own risk.

This report describes my personal experience and approach; it does not constitute a professional or certified repair instruction. I am not liable for any property damage or personal injury resulting from actions taken based on the information provided in this report.

Acknowledgments

Without the work of Master Larry Lyells, in particular, we wouldn’t have the detailed technical information we need today for service/repair of electromechanical SLRs.

The SPT Journal and The Camera Craftsman, which he helped shape significantly as an author, and which contain all the necessary information and instructions are available for a fee through Learn Camera Repair.

We owe our access to them to Eugene Pate, the founder of Learn Camera Repair.

As a Shodan in Jiu-Jitsu, I view camera repair as part of my Do, the Way. I am grateful to my revered Grandmaster, Erich Ebetshuber, 10th Dan in Jiu-Jitsu, for everything I have been privileged to learn from him.
 
Last edited:
And what about professional service and repair options?

Not everyone wants to tackle the problem themselves when their—once very expensive—MD-4 Motor Drive for the Nikon F3 malfunctions.

Since Nikon stopped supporting its older equipment long ago, the only options left are camera repair shops—many of which, as long-established businesses, are closing down because the owners are retiring, and being replaced by just a few new ones. Wait times there are long, and I don’t know of any shop that accepts a motor drive or winder for an SLR.

The reasons for this are specialization in specific models and the high labor costs that must be charged.

Spare parts are another issue; they’re almost never available new from old inventories. They must be salvaged from discarded units of the same type, which involves additional effort.

As a result, defective accessories like the MD-4 are either discarded or sold as spare-part units. A used MD-4 in good working condition should be available for under EUR 100. That's far less than what a repair shop charges for hours of work.

However, since old photographic equipment is no longer manufactured, supplies are limited, and the fewer units available on the used market, the higher the prices.

For these reasons, DIY is the only way to help preserve these wonderful pieces of equipment.
 
Last edited:
  • Like
Reactions: nog
Back
Top