Being a bit cheeky here, I’ve merged them, If this is not allowed I apologise and withdraw it from the competition.
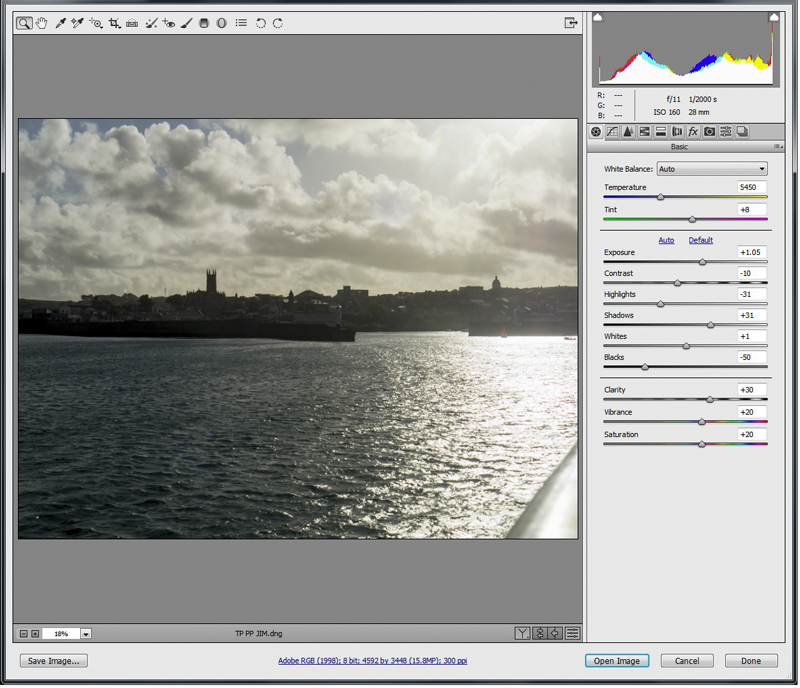
Opened both in ACR see screen grabs.
Opened both in PS,CC.
Dragged Paul’s picture onto Jim’s, resized to match.
Jim’s is now background layer and Paul’s is layer 1.
Working on layer 1, make quick selection of the subject and the part of the wall above.
With the selection still active add a layer mast (click the icon at the bottom of the layers pallet; it’s a white square with a hole in it.)
Tidy up the selection using a black brush to remove and white to replace/correct.
SAVE.
Now double click the mask, on the panel that pops up where it says refine click “Mask Edge”
The refine edge panel shows.
Select the refine edge tool (brush), tick smart radius, enter 8 in contrast and +1 in the shift edge.
Zoom in and paint around the edges of the selection, press and hold Alt to change the brush to minus to correct any excess.
OK when happy.
SAVE.
Now to make the coat fringe and hair a bit moor realistic I first made a brush…
File, new…. 500px X 500px. 300 ppi. With a small 3px black brush put half a dozen black spots in close proximity to each other in the middle of the square.
Edit, define new brush preset, name it hairbrush, ok.
Close the document, no need to save the new brush is installed as the last one in the brush drop down list.
Now on layer 1 click in the image, (not the mask) and with the smudge tool (It look like a pointing finger) selected a strength of 100% and the new hairbrush selected from the brush drop down.
Click and drag out from the hair and fur to add extra strands.
SAVE.
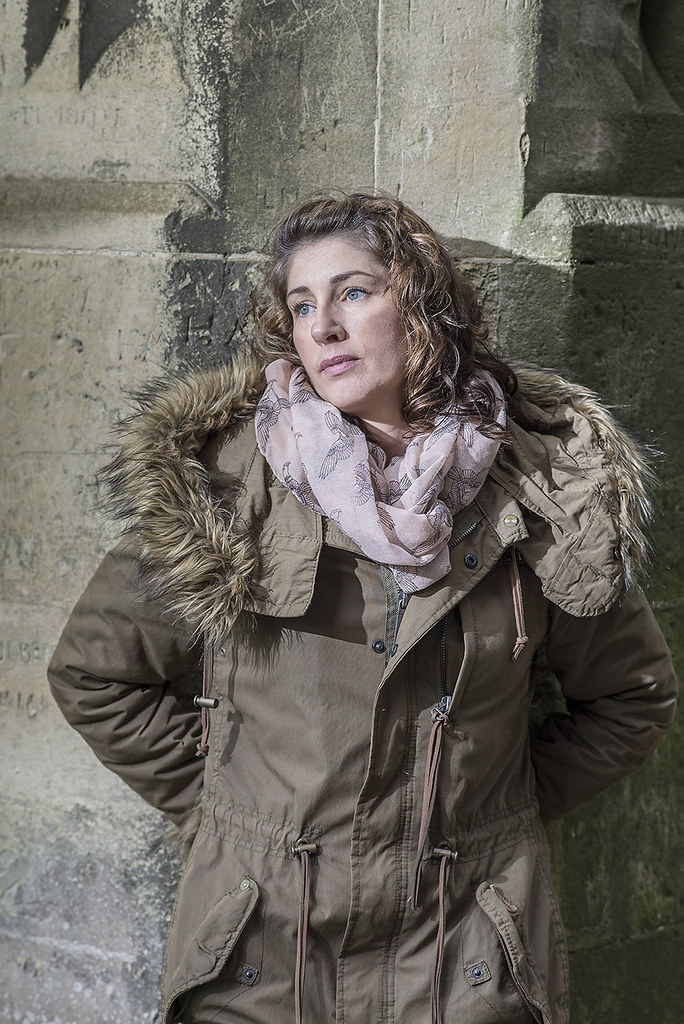
Now to move the lady to the other side as the light is coming from the wrong direction, this was a simple horizontal flip in Edit transform.
The lady was further edited with the spot healing tool for the removal of spots “dur”
")
.
The smudge tool to remove the small highlights in the eyes.
SAVE
A 50% grey layer was added above layer 1 to apply “burning in” of the skin tones to the highlights on the face.
The tones where selected from the face and lips and painted in using low value soft round brushes.
SAVE
A 50% grey layer was also used to apply dodging and burning to the background layer.
SAVE
When I was satisfied with the look and blend of the layers’ the layers were flattened and cropped.
A border was added with the stroke command.
SAVE.
Save for the web.
If you can understand that lot your a better man than I Gunga Din.
.
 CLICK IMAGE FOR BIG AND CLICK AGAIN TO ZOOM.
Rhodese.


.
 kerry_titchfield_D600-6456
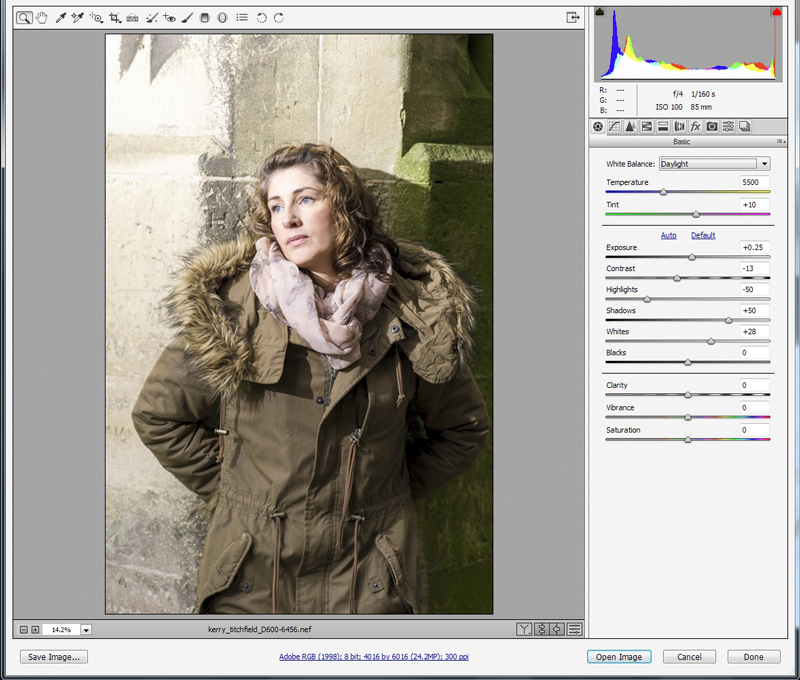

 kerry_titchfield_D600-6456
 not_mine-1020293
 halloween
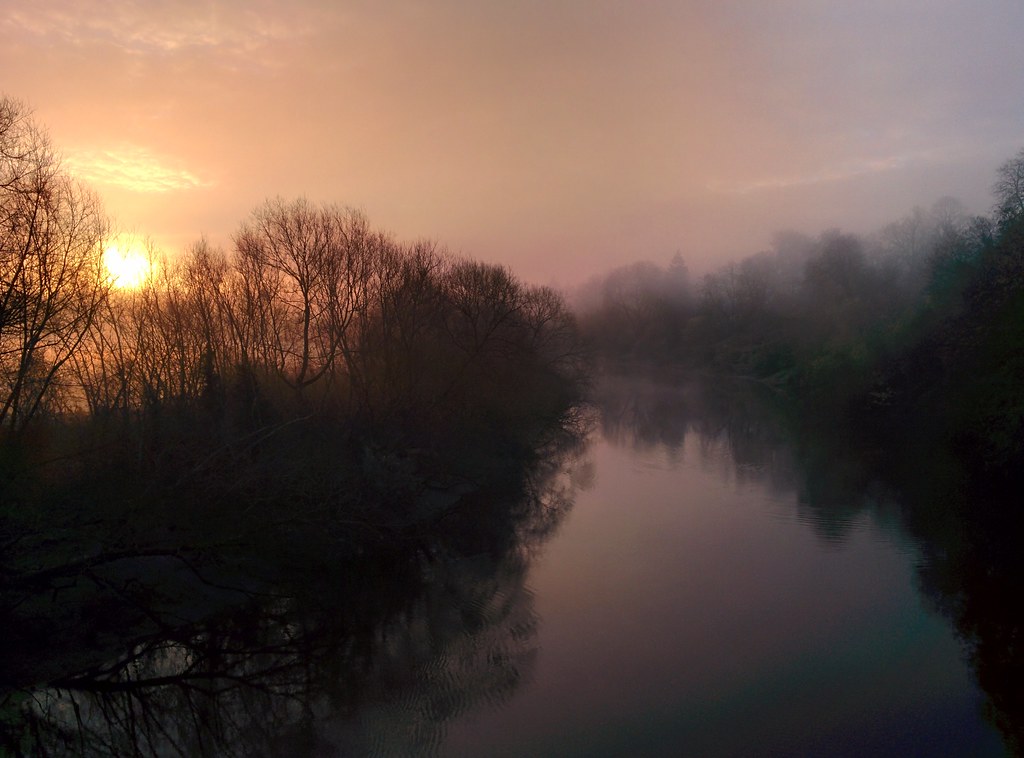


 River Dee edit