and the site receives a small commission
You are using an out of date browser. It may not display this or other websites correctly.
You should upgrade or use an alternative browser.
You should upgrade or use an alternative browser.
The Ultimate Car Rig Photography Thread!
- Thread starter sduk
- Start date
- Messages
- 1,005
- Name
- Sammy
- Edit My Images
- Yes
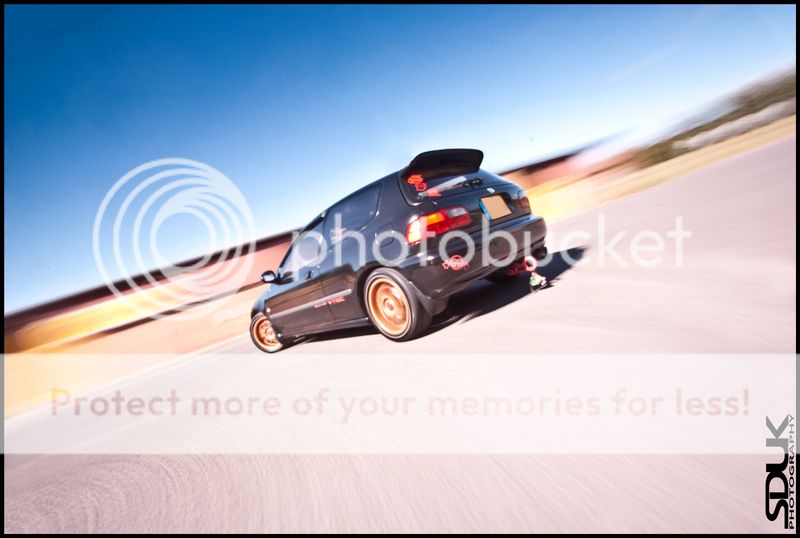
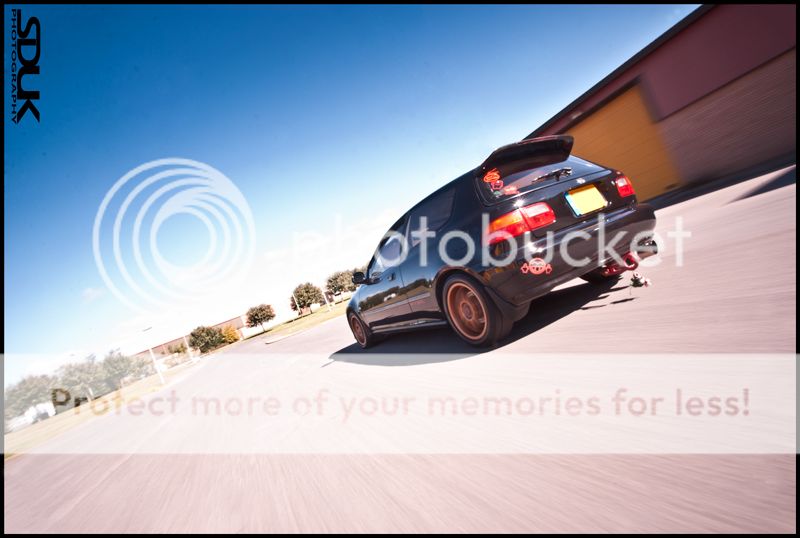
Well today I had my first proper go with the rig, new tensioner and wireless remote!
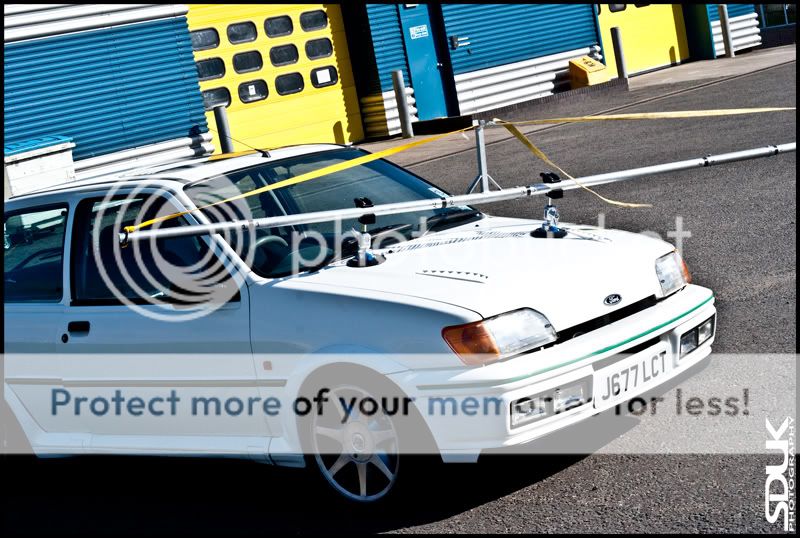
These were taken during a shoot I did today of a Ford Fiesta RS Turbo...


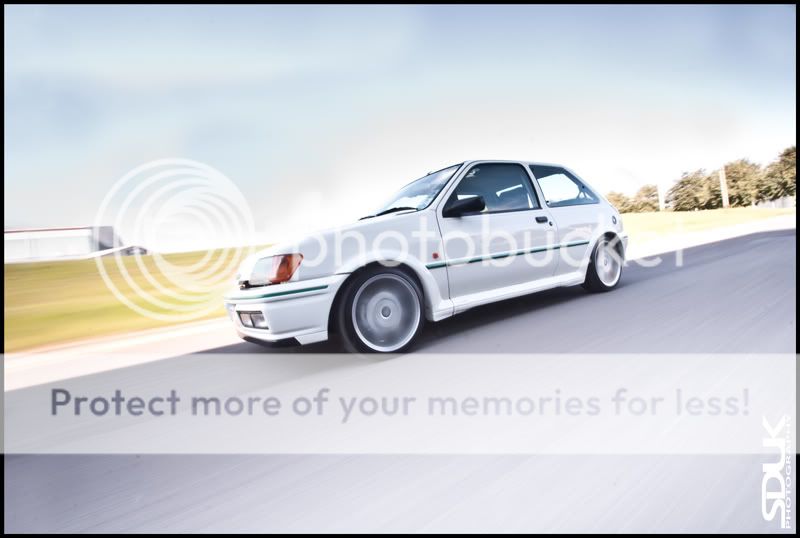

tried more "normal" angles as have had a few negative comments on the angles of my rig shots.
Also took some shots of my rig set up so tomorrow I will post a detailed description of what I use
Sammy
These were taken during a shoot I did today of a Ford Fiesta RS Turbo...


tried more "normal" angles as have had a few negative comments on the angles of my rig shots.
Also took some shots of my rig set up so tomorrow I will post a detailed description of what I use
Sammy
Last edited:
- Messages
- 1,005
- Name
- Sammy
- Edit My Images
- Yes
Had quite quite a few requests on detailed info on my rig set up so thought I would try and share as much info as I can.
It really is not complicated or difficult to make!
So here are the details of my current set-up:
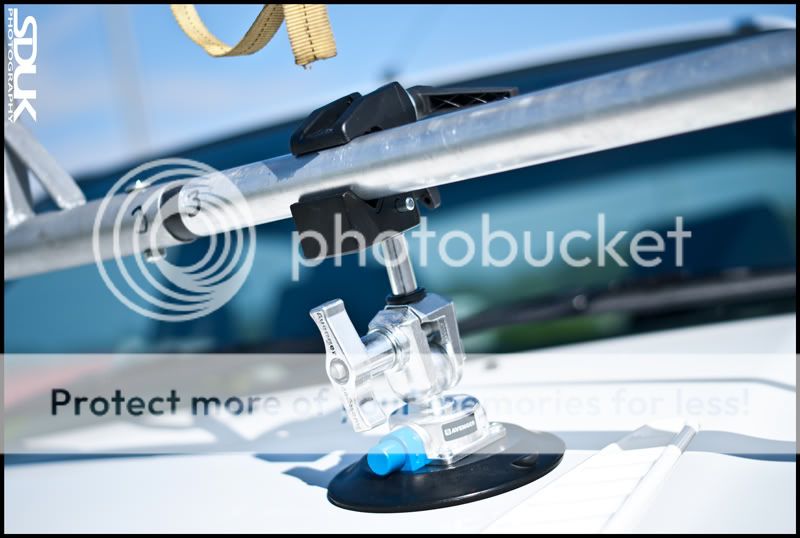
The first parts are 2 x Manfrotto PUMP CUP WITH 16mm BABY SWIVEL SPIGOT - Avenger F1000
These cost about £58,00 each and I bought these from...
http://www.karlu.com/manfrotto-pump-cup-with-16mm-baby-swivel-spigot-p-9440.html
These "sucker" onto your car and can be used on any flat surface.
Once these are fitted you need 2 x Manfrotto Super Clamp 035
These cost about £22.46 and I bought these from...
http://www.karlu.com/manfrotto-super-clamp-035-p-3934.html
These attach to the manfrotto avengers and have a strong grup for holding onto your beam.
Here are the two parts in use on my rig...
After that you need to sort the main beam of your rig. I went to a motor factor and bought a length of steel pipe and aluminium pipe.
The steel (much stronger) has a slightly larger diameter than the aluminium pipe and can be slid over the top.
I cut them into three parts each and used the steel pipe as joining sections with the aluminium as the main length sections...
Once connected, I drilled holes through them and fitted bolts to hold it in place. I marked the joining parts with tape and numbered the sections so I know what order to build it once it was dismantles...
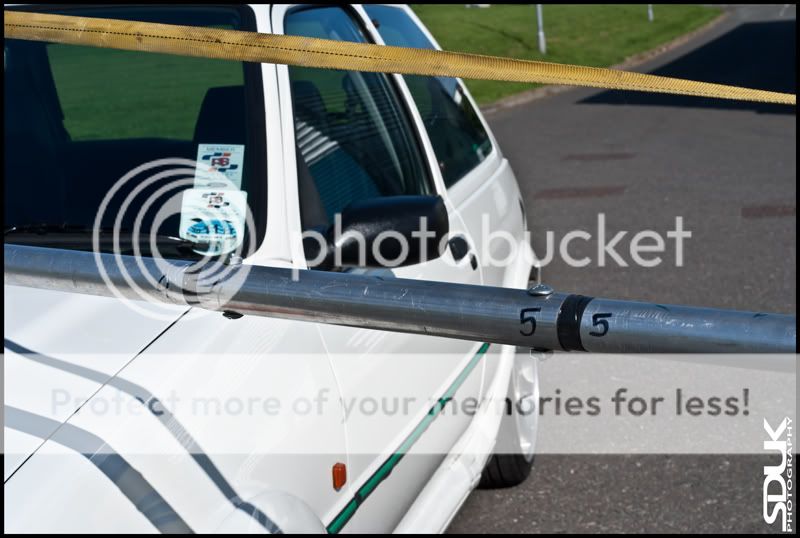
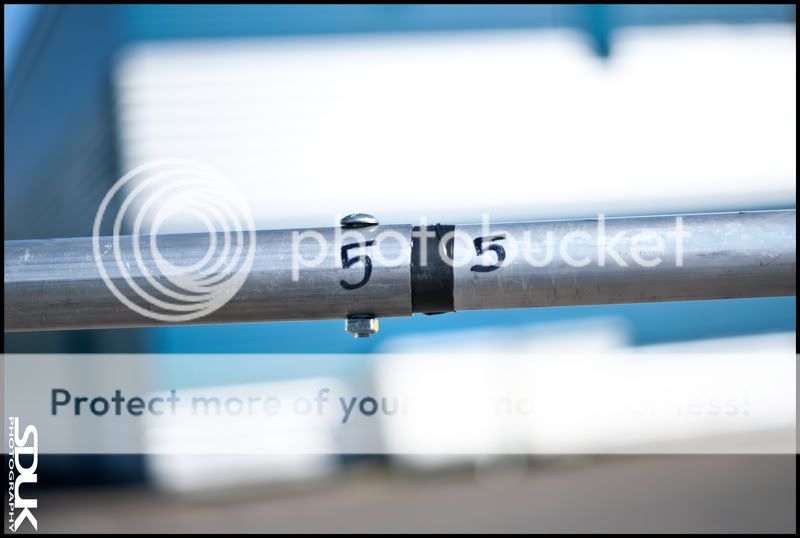
Here is a shot showing the thickness of the steel connectors (the aluminium main sections are about the same but slightly smaller in diameter to fit inside...
It really is not complicated or difficult to make!
So here are the details of my current set-up:
The first parts are 2 x Manfrotto PUMP CUP WITH 16mm BABY SWIVEL SPIGOT - Avenger F1000
These cost about £58,00 each and I bought these from...
http://www.karlu.com/manfrotto-pump-cup-with-16mm-baby-swivel-spigot-p-9440.html
These "sucker" onto your car and can be used on any flat surface.
Once these are fitted you need 2 x Manfrotto Super Clamp 035
These cost about £22.46 and I bought these from...
http://www.karlu.com/manfrotto-super-clamp-035-p-3934.html
These attach to the manfrotto avengers and have a strong grup for holding onto your beam.
Here are the two parts in use on my rig...

After that you need to sort the main beam of your rig. I went to a motor factor and bought a length of steel pipe and aluminium pipe.
The steel (much stronger) has a slightly larger diameter than the aluminium pipe and can be slid over the top.
I cut them into three parts each and used the steel pipe as joining sections with the aluminium as the main length sections...
Once connected, I drilled holes through them and fitted bolts to hold it in place. I marked the joining parts with tape and numbered the sections so I know what order to build it once it was dismantles...


Here is a shot showing the thickness of the steel connectors (the aluminium main sections are about the same but slightly smaller in diameter to fit inside...

Last edited:
- Messages
- 1,005
- Name
- Sammy
- Edit My Images
- Yes
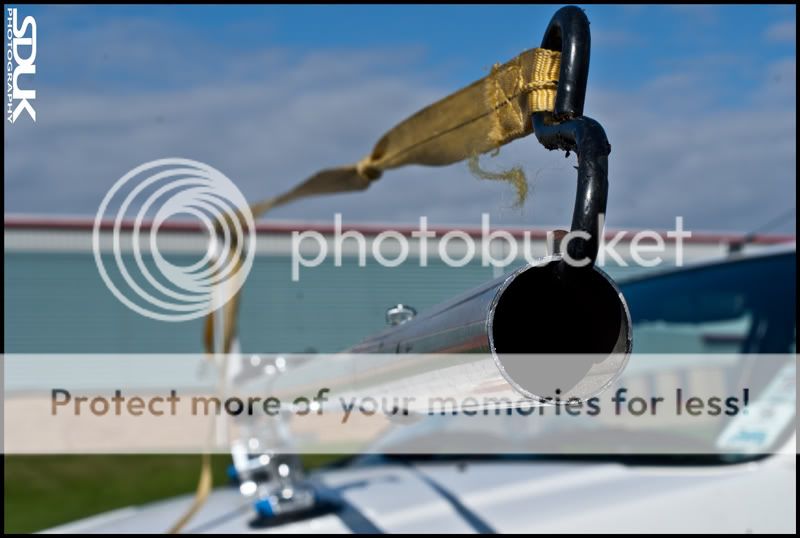
I found that even though the pipes were rigid, the bounce once under load was huge! To counter this I had a friend make a "T" piece out of one of the steel connecting pipes...
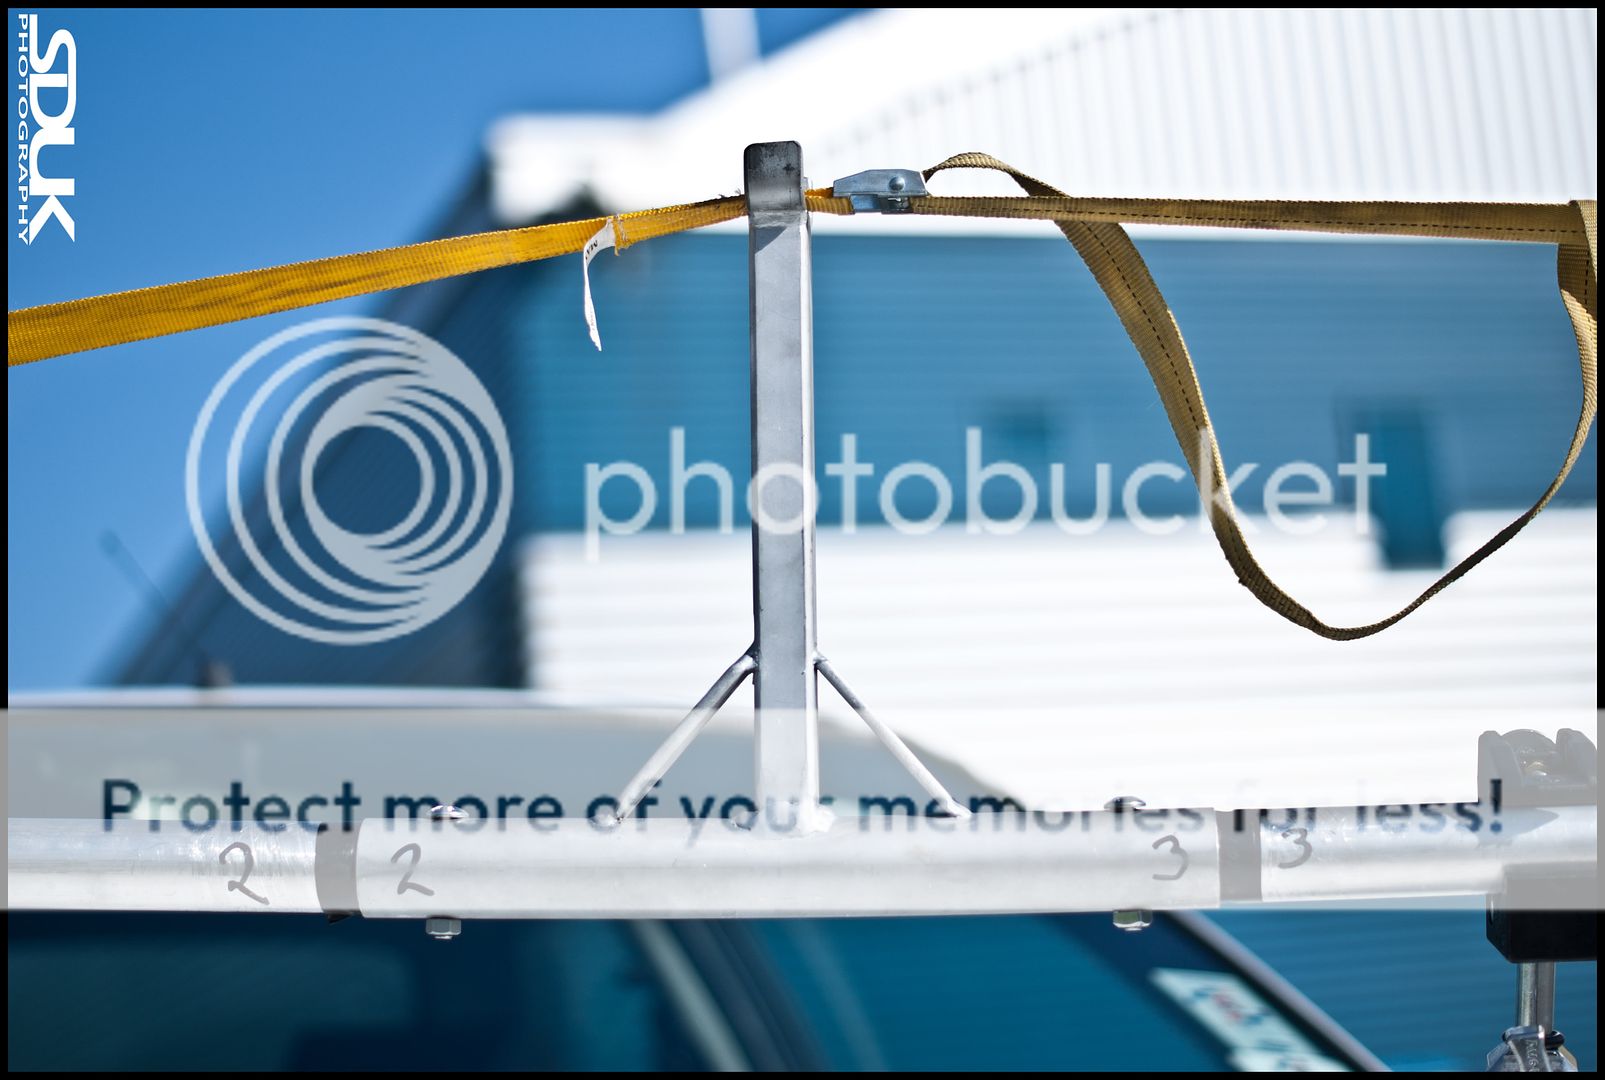
I then used a strap as a tensioner and attached it to each end of the rig, passing it over the "T" piece...

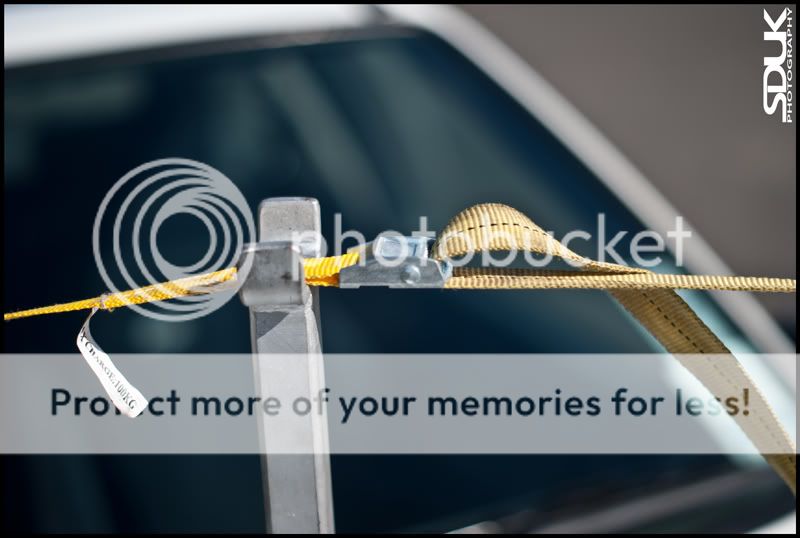
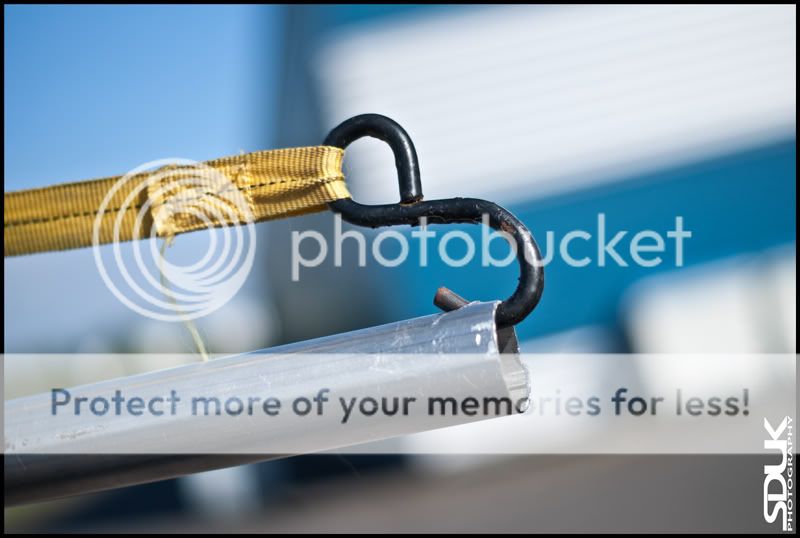
This reduced the bounce massively and also didn't increase the weight of the rig too much.
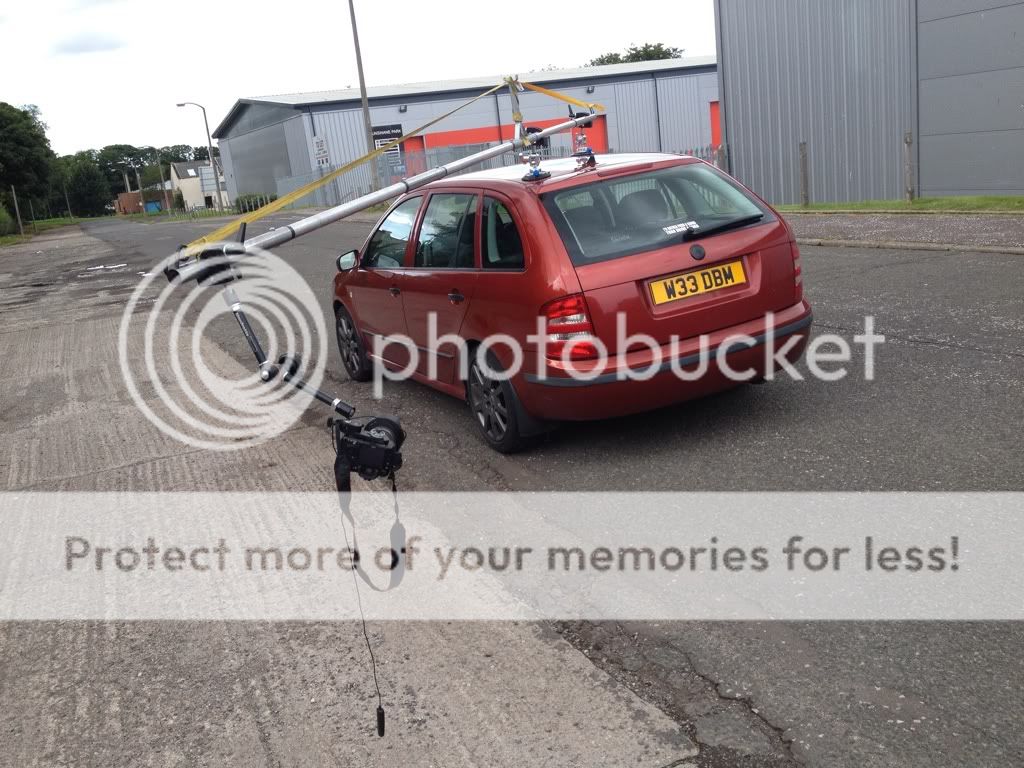
To attach the camera to the rig I bought a Manfrotto Magic Arm with Camera Bracket.
This cost £89.96 and I got it from here
http://www.karlu.com/manfrotto-magic-arm-with-camera-bracket-p-9394.html
Then I bought another Manfrotto Superclamp (as above) and used this to attach to the beam.
The camera then attaches to the magic arm and can easily be positioned for the rig shot...
I think that is everything.
I have just been trying it out with trial and error and I am starting to get the hang of it.
It is good fun and you get some ace shots!
hope that helps those who were asking,
Sammy

I then used a strap as a tensioner and attached it to each end of the rig, passing it over the "T" piece...


This reduced the bounce massively and also didn't increase the weight of the rig too much.
To attach the camera to the rig I bought a Manfrotto Magic Arm with Camera Bracket.
This cost £89.96 and I got it from here
http://www.karlu.com/manfrotto-magic-arm-with-camera-bracket-p-9394.html
Then I bought another Manfrotto Superclamp (as above) and used this to attach to the beam.
The camera then attaches to the magic arm and can easily be positioned for the rig shot...

I think that is everything.
I have just been trying it out with trial and error and I am starting to get the hang of it.
It is good fun and you get some ace shots!
hope that helps those who were asking,
Sammy
- Messages
- 1,005
- Name
- Sammy
- Edit My Images
- Yes
today I went out for another practice with the rig. The sunlight was mega bright and really intense!
I decided to stack my ND filters and used an ND8 and ND4 (making ND12).
The shots were about 3 second exposures and even with the bright sunlight the ND filters did their job!
The only downside today was it was quite windy and this affected the rig greatly.
Here are a few different angled shots I tried out....






Sammy
I decided to stack my ND filters and used an ND8 and ND4 (making ND12).
The shots were about 3 second exposures and even with the bright sunlight the ND filters did their job!
The only downside today was it was quite windy and this affected the rig greatly.
Here are a few different angled shots I tried out....


Sammy
Last edited:
- Messages
- 1,360
- Name
- GF
- Edit My Images
- No
- Messages
- 21,341
- Edit My Images
- Yes
Reev said:The colours in the Alfa shots look a bit weird, was that added in PP or is it colour cast from the filters?
I'm guessing he's used cokin filters. These have a bad magenta colour cast, muc worse whe you stack them. It's possible to get rid off in post, so it's much better to get a decent nd10
Wow I can't believe some of these pictures they really are incredible! What a massive inspiration to me - I am very much into car photography and would LOVE to do this.
Total newbie with it all though, any chance of someone explaining in detail how I would go about doing this? Setting the camera up etc..
Are there rigs you can buy and if not how easy are they to make (be honest now! )
)
Sorry for dumb questions, haven't a clue how to do this though.
Thanks in advance, Lauren
Total newbie with it all though, any chance of someone explaining in detail how I would go about doing this? Setting the camera up etc..
Are there rigs you can buy and if not how easy are they to make (be honest now!
Sorry for dumb questions, haven't a clue how to do this though.
Thanks in advance, Lauren
lk12p said:Wow I can't believe some of these pictures they really are incredible! What a massive inspiration to me - I am very much into car photography and would LOVE to do this.
Total newbie with it all though, any chance of someone explaining in detail how I would go about doing this? Setting the camera up etc..
Are there rigs you can buy and if not how easy are they to make (be honest now!)
Sorry for dumb questions, haven't a clue how to do this though.
Thanks in advance, Lauren
If you read all pages from the first post should be plenty of info inc shooting mode ect to think on.
As from what I've seen its cheaper to "create" your own but there is some d.i.y i.e cutting the pole into sections for easyer transportation.
There plenty of info here and plenty of help!
- Messages
- 1,005
- Name
- Sammy
- Edit My Images
- Yes
I'm guessing he's used cokin filters. These have a bad magenta colour cast, muc worse whe you stack them. It's possible to get rid off in post, so it's much better to get a decent nd10
do you mean its impossible? or possible?
I will be getting a better set of ND filters, just cant justify the money on them just now
Wow I can't believe some of these pictures they really are incredible! What a massive inspiration to me - I am very much into car photography and would LOVE to do this.
Total newbie with it all though, any chance of someone explaining in detail how I would go about doing this? Setting the camera up etc..
Are there rigs you can buy and if not how easy are they to make (be honest now!)
Sorry for dumb questions, haven't a clue how to do this though.
Thanks in advance, Lauren
yeah read through all my posts in the thread mate, I have tried to put up as much info as I can
any more questions fire them in here and we will try and help. That's why I set this thread up!
Dal
Is always right
- Messages
- 2,636
- Name
- Darren
- Edit My Images
- Yes
Last edited:
Thanks very much guys, really appreciate the help. I'll sit and read through it all properly when I'm home from work this evening and see what I make of it all!
Some stuff on here really is amazing, pics are great! I have a lot to learn for sure
Some stuff on here really is amazing, pics are great! I have a lot to learn for sure
- Messages
- 21,341
- Edit My Images
- Yes
do you mean its impossible? or possible?
I will be getting a better set of ND filters, just cant justify the money on them just now
Sorry - dodgy app on iphone and my fat fingers
- Messages
- 1,005
- Name
- Sammy
- Edit My Images
- Yes
Sorry - dodgy app on iphone and my fat fingersYup really hard/impossible to get rid of the magenta cast with stacked cokin ND filters. I bought a decent 10 stop and use that instead in bright sunshine. Don't forget a circular polariser for getting rid of glare on bodywork/windows. That adds 2/3 to a stop as well.
yeah I see that now, will get a decent ND filter once funds allow. I just bought the cheap set to allow me to practice and use the rig during the day
I have a CP for my 50mm lens but need to get a 77mm one for my 10-24mm lens that I use on the rig
thanks for the advice
- Messages
- 1,005
- Name
- Sammy
- Edit My Images
- Yes
So tonight I waited until it was starting to get dark and went out with the rig!
Had been wanting to try this for ages! Was hoping that the low light would remove the need for the ND filters.
So set up the rig and with a few willing volunteer cars I tried out a few different shots.
The first shots were taken just before sunset....
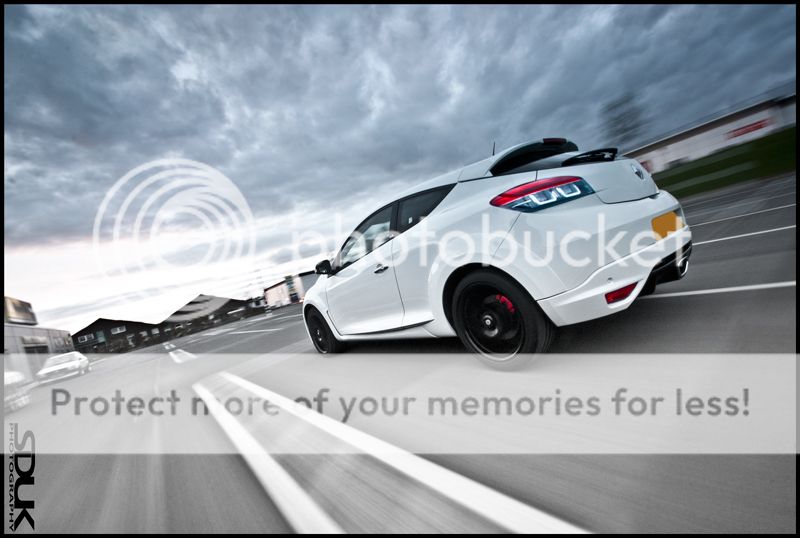
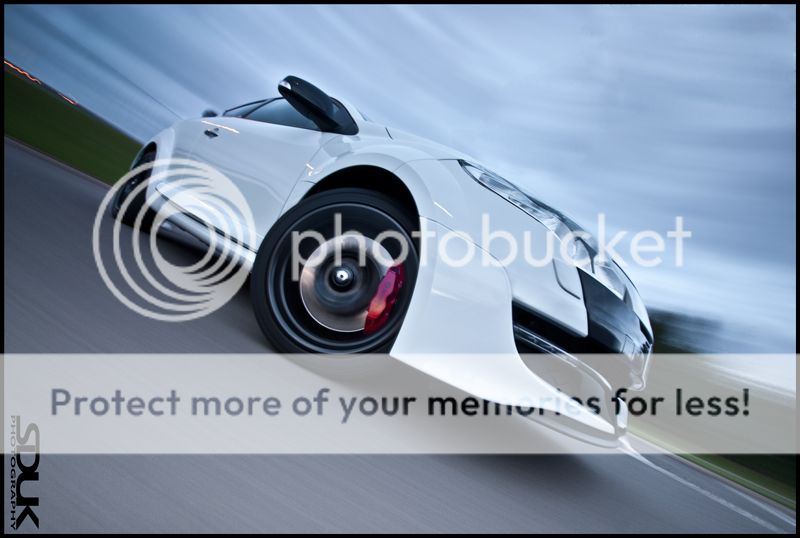
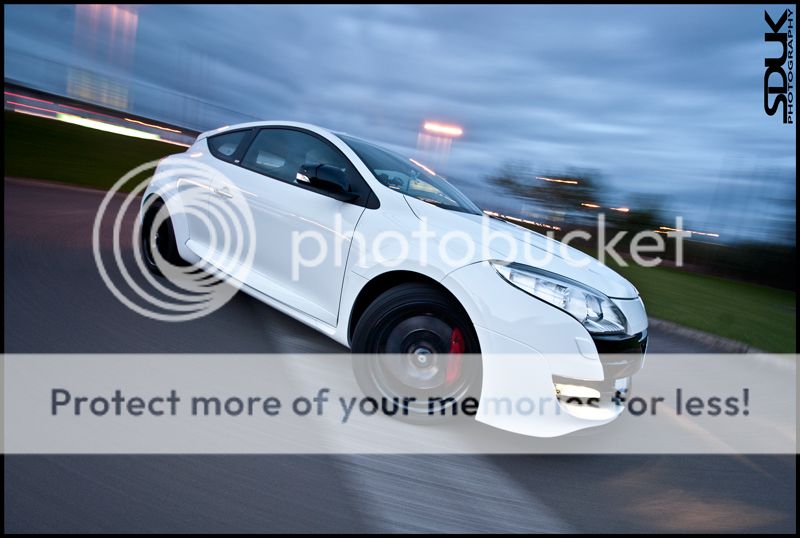
Then it was the Nova's turn, by this point it was dark and I had to use another car's headlights to focus the camera
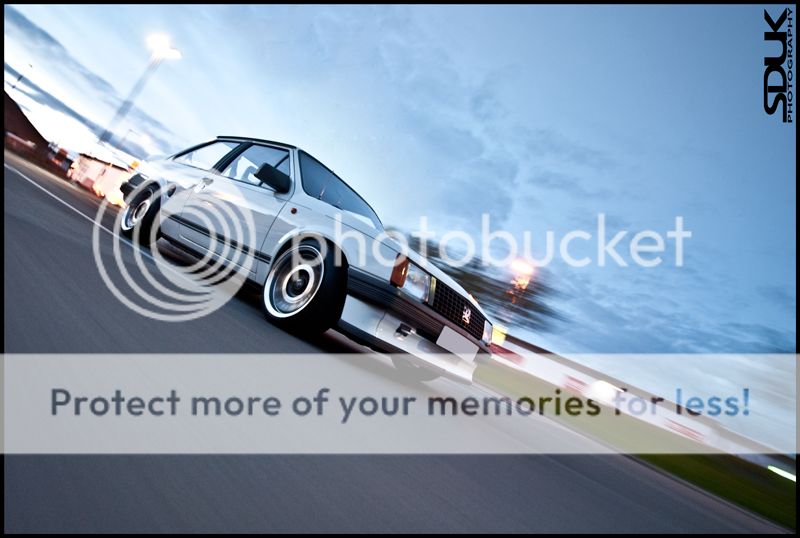
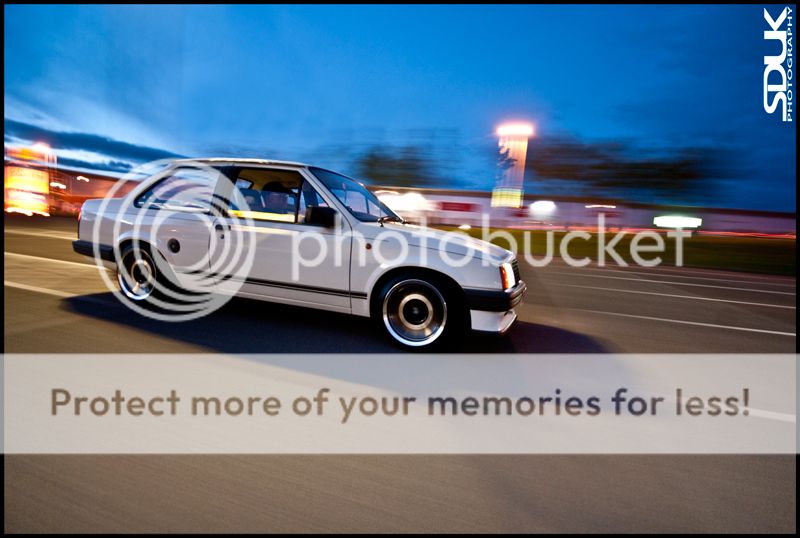
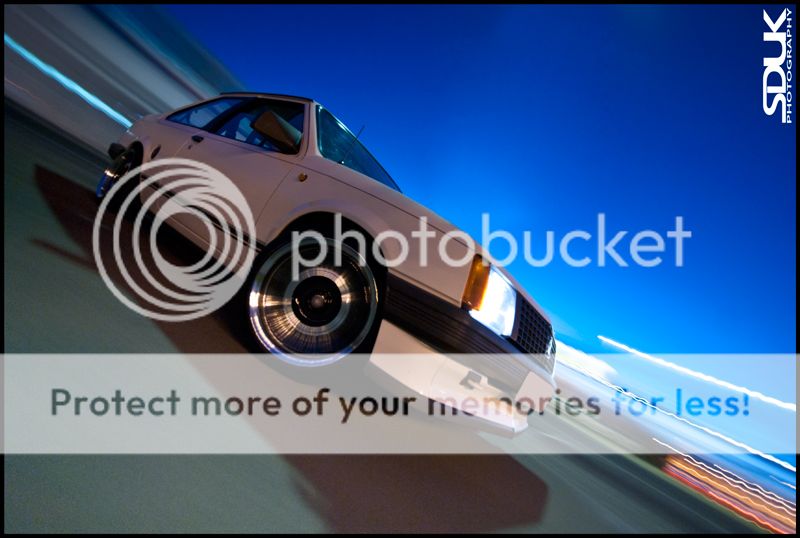
Really happy, these varied in exposure times, some were 2 others 5. I just experimented!
Sammy
Had been wanting to try this for ages! Was hoping that the low light would remove the need for the ND filters.
So set up the rig and with a few willing volunteer cars I tried out a few different shots.
The first shots were taken just before sunset....


Then it was the Nova's turn, by this point it was dark and I had to use another car's headlights to focus the camera


Really happy, these varied in exposure times, some were 2 others 5. I just experimented!
Sammy
Great thread, and some fantastic pictures. The saloon Nova is a car that you dont see much of these days... man Im showing my age.
Anyways, wondered if you can explain the advantage (if any ?? ) of using the Manfrotto Pump cups with the 16mm swivel spigot instead of just using a fixed spigot. Only asking as I noticed that these were slightly cheap from the Karlu Photographic link you posted with all the information on the rig. Im trying to create something similar but with 2nd hand ebay bits.
Im quite new to photography, but once I get a rig in place I plan on doing some shots of my P1.
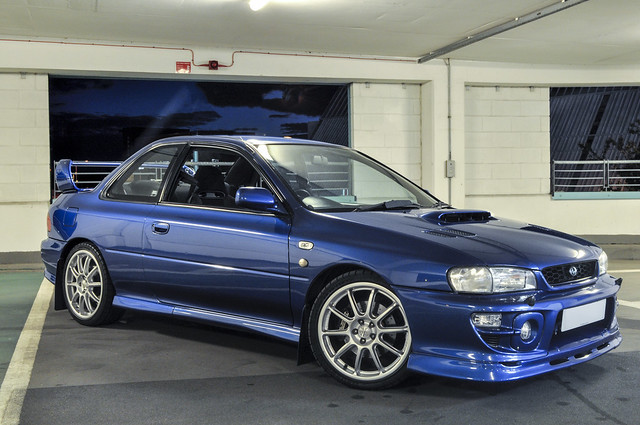
Chris.
Anyways, wondered if you can explain the advantage (if any ?? ) of using the Manfrotto Pump cups with the 16mm swivel spigot instead of just using a fixed spigot. Only asking as I noticed that these were slightly cheap from the Karlu Photographic link you posted with all the information on the rig. Im trying to create something similar but with 2nd hand ebay bits.
Im quite new to photography, but once I get a rig in place I plan on doing some shots of my P1.

Chris.
Last edited:
- Messages
- 28
- Name
- Darren
- Edit My Images
- No
Wow! Really amazing works!
- Messages
- 21,341
- Edit My Images
- Yes
Great thread, and some fantastic pictures. The saloon Nova is a car that you dont see much of these days... man Im showing my age.
Anyways, wondered if you can explain the advantage (if any ?? ) of using the Manfrotto Pump cups with the 16mm swivel spigot instead of just using a fixed spigot. Only asking as I noticed that these were slightly cheap from the Karlu Photographic link you posted with all the information on the rig. Im trying to create something similar but with 2nd hand ebay bits.
Im quite new to photography, but once I get a rig in place I plan on doing some shots of my P1.

Chris.
Great car
I've got this setup
http://www.cameragrip.co.uk/acatalog/hague_sm11_car_suction_mount.html
With thick posts coming from the mounts and it allows lots of adjustment with the height of the posts from the sucker mounts. However the pole, whilst very sturdy and stiff, isn't that long. You just use double superclamps to go from post to pole. I'm planning on trying something longer later, or adding a magic arm for that extra reach.
Thanks. I do love my P1.
That looks quite a good setup, price wise its very close to buying all the parts on their own and at least it includes a pole. I have a extendable pole at work which is I believe is a boom for using a mic, might have to have a look and see how sturdy it is and how long it goes to.
Whats the length of the pole in that package ?
- Messages
- 327
- Name
- Michael
- Edit My Images
- Yes
Finally got all the bits for my rig last week so gave it a quick try. I tried it in the worst conditions. Strong winds, gravel road and driving the car ( i have a knee injury so pushing is out of the question). Reasonably happy with it but may make a tesion wire to help some of the flex.
1 1/2" aerial pipe with 1 3/8" connectors. Have done a build log which you can get from my blog.
http://mickyphotography.wordpress.com/2012/09/11/rig-build/
Few of the rig

Rig finished by Micky Photography, on Flickr

BTS by Micky Photography, on Flickr
Video of the rig bouncing in the wind
http://www.flickr.com/photos/micky_photography/7976499417/in/photostream
Final product, Need a bit more practice with editing .

First test of the new rig by Micky Photography, on Flickr
1 1/2" aerial pipe with 1 3/8" connectors. Have done a build log which you can get from my blog.
http://mickyphotography.wordpress.com/2012/09/11/rig-build/
Few of the rig

Rig finished by Micky Photography, on Flickr

BTS by Micky Photography, on Flickr
Video of the rig bouncing in the wind
http://www.flickr.com/photos/micky_photography/7976499417/in/photostream
Final product, Need a bit more practice with editing .

First test of the new rig by Micky Photography, on Flickr
- Messages
- 21,341
- Edit My Images
- Yes
Ovv said:Thanks. I do love my P1.
That looks quite a good setup, price wise its very close to buying all the parts on their own and at least it includes a pole. I have a extendable pole at work which is I believe is a boom for using a mic, might have to have a look and see how sturdy it is and how long it goes to.
Whats the length of the pole in that package ?
The pole isn't huge. I'll measure it tomorrow but 6 -7 foot or so.
There's a link earlier to an eBay seller whose got carbon wash systems with poles really cheaply. Once I get my car back that'll be the next thing to play with.
The reason I liked the setup was all the right bits plus the poles on the suckers for the adjusting. It's really sturdy to.
- Messages
- 327
- Name
- Michael
- Edit My Images
- Yes
Thanks Sammy. I used a visico cpl and a hadia slim nd 64. They are farily cheap for filters but seem good enough quality.
Camera was 450d with a sigma 10-20mm.
EXIF
Exposure 1.6
Aperture f/14.0
Focal Length 10 mm
ISO Speed 200
I also found a good tip form photo answers. Get a carrier bag with more carrier bags inside and hook it over the camera. Soft landing incase it falls.
4:45 http://www.youtube.com/watch?v=CMgl1IrkdAs
- Messages
- 1,005
- Name
- Sammy
- Edit My Images
- Yes
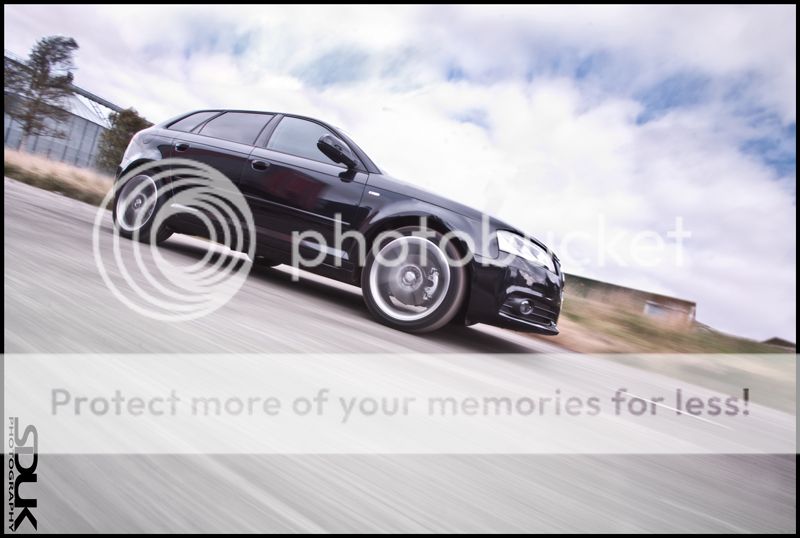
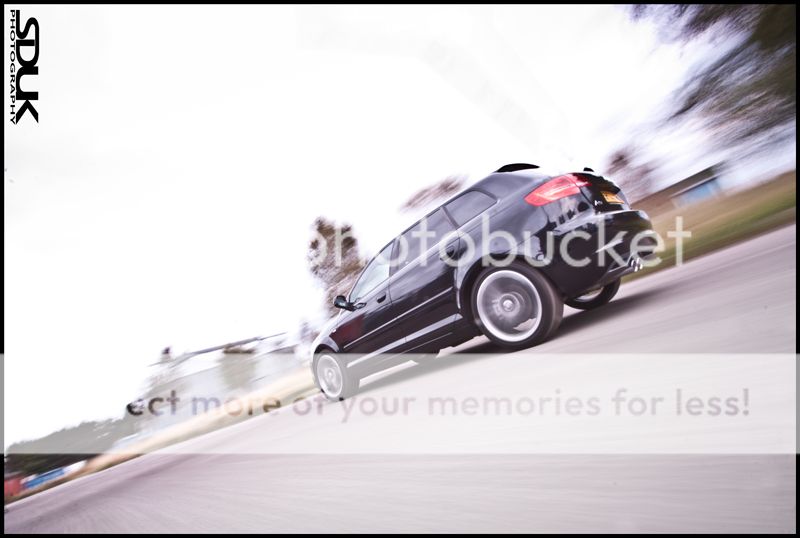
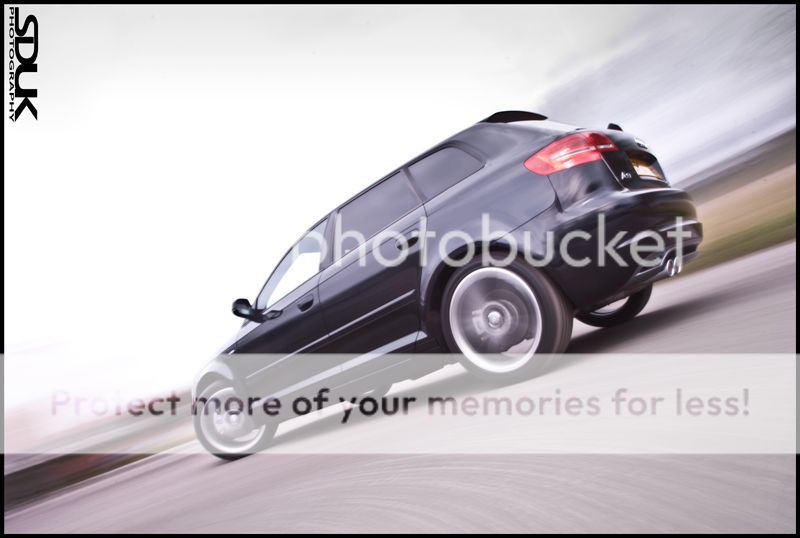
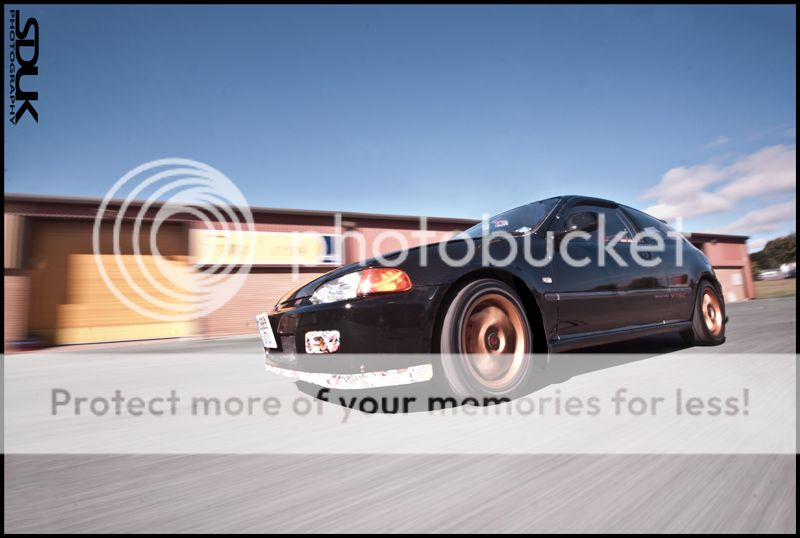
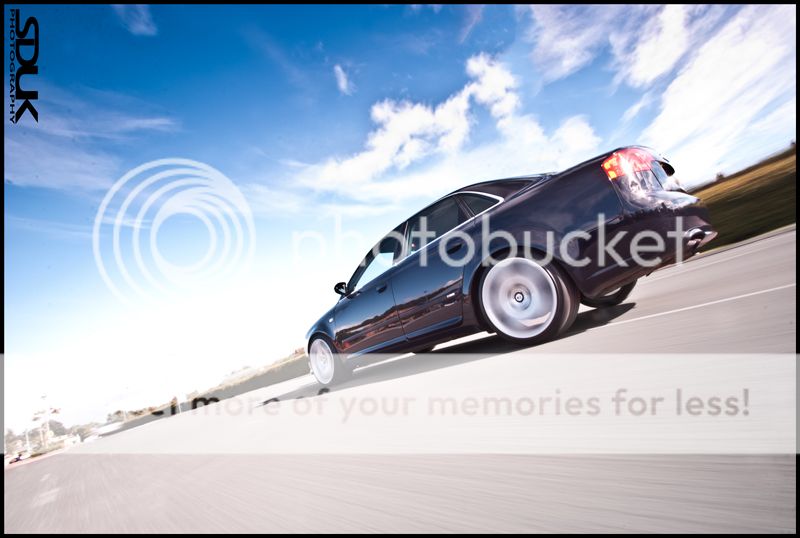
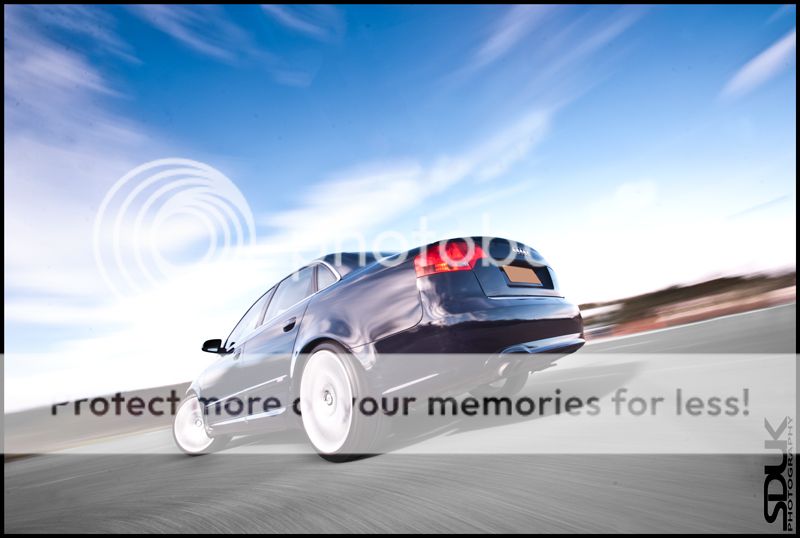
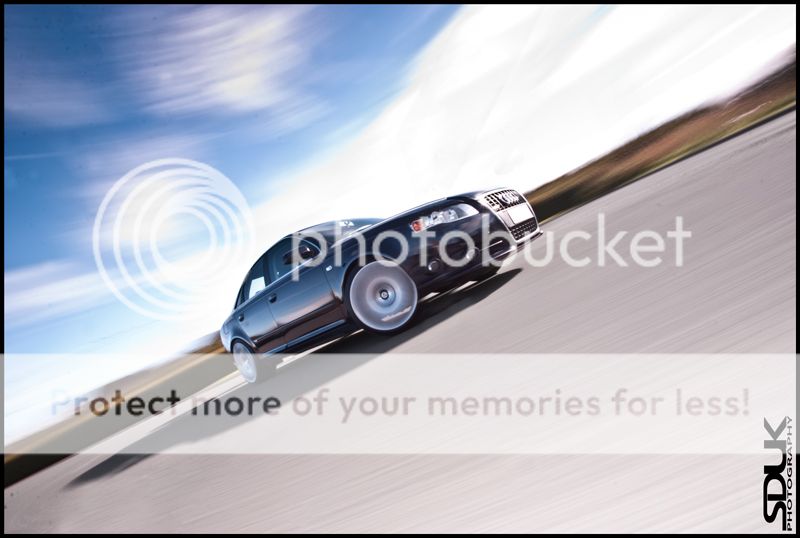
well today I was shooting an Audi on Bentley rims and had a good practice with the rig at the same time 
The sun was really bright again so put on my ND8 filter and went for shorter shutter speeds (mainly 1.3 seconds) and this made a big difference to the exposure and the sharpness of the shots
Really happy with them...
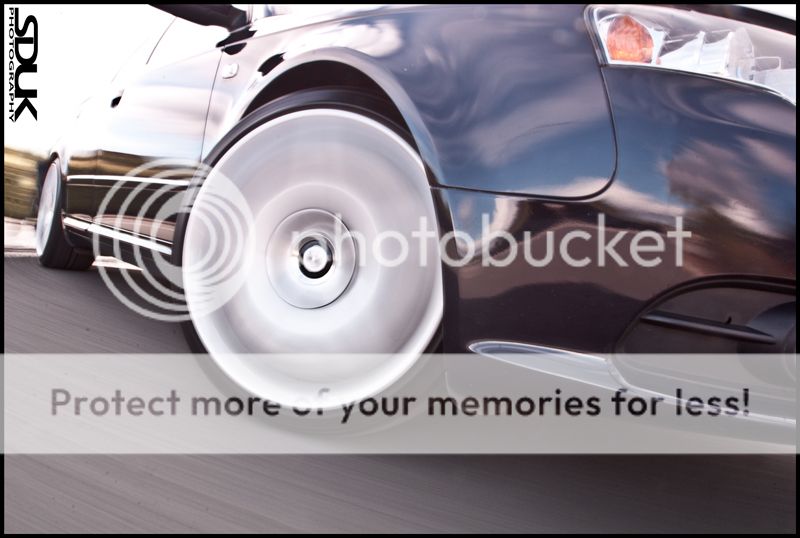
Next purchase will be a better quality ND filter
The sun was really bright again so put on my ND8 filter and went for shorter shutter speeds (mainly 1.3 seconds) and this made a big difference to the exposure and the sharpness of the shots
Really happy with them...


Next purchase will be a better quality ND filter
- Messages
- 327
- Name
- Michael
- Edit My Images
- Yes
Really like the 2nd shot, good angle and not too much distortion. I'm not a fan of the close up but you are showing a unique part of the car and the 3rd is that the shadow of the rig?
How long are people making their uprights for the tension wire. I'm looking to make an easy to remove system using some kind of bracket (BSP pipe bracket looks promising) And a threaded bar with eye on the end. Will 30cm be enough?
How long are people making their uprights for the tension wire. I'm looking to make an easy to remove system using some kind of bracket (BSP pipe bracket looks promising) And a threaded bar with eye on the end. Will 30cm be enough?
- Messages
- 1,005
- Name
- Sammy
- Edit My Images
- Yes
thanks mate. I just tried something different for the close up. I want to try that again on a car with better brakes and maybe another angle to catch it.
In the third picture yeah thats the rig shadow. I tried and tried to remove it but just couldnt get it right. Gave up in the end
For my upright (few pics of it in this thread) I got a friend to weld a small metal bar onto one of my extension pieces. 30cm will be more than enough, don't think mine is that long.
What are you going to use to tension the wire? I looked into changing to wire and using an "eye" piece to run it through but couldnt see any way of tightening it as easily as my strap does.

