
- Messages
- 11,305
- Name
- Nick
- Edit My Images
- Yes
That's a thing of beauty.

That's a thing of beauty.


Can't you put a small solar panel on the top of the WLF?Ok, Mark 2 is in progress! After having to change the batteries yesterday (really should remember to turn off the circuit when I'm not using it...) I've decided that having the batteries inside the wlf is a pain in the ar$e! I really wanted to keep everything self-contained but there just isn't enough room anywhere else. As a result, I'm going to use a small lipo cell with usb charge circuit and mount it onto the outside of the rear door. I'll then shape a new cover that blends in with the original door and cover that in the same VH leather so it hopefully doesn't look out of place.
It was said only partly in jest, the efficiency of solar panels had improved immeasurably over the last few years and I would have thought a 2" square solar panel should provide enough power to keep a battery topped up.Not sure if you're serious but I did actually look at panels last night ;0) The biggest issue with solar is that it's inefficient so 30% performance coupled with UK sunlight means no power.


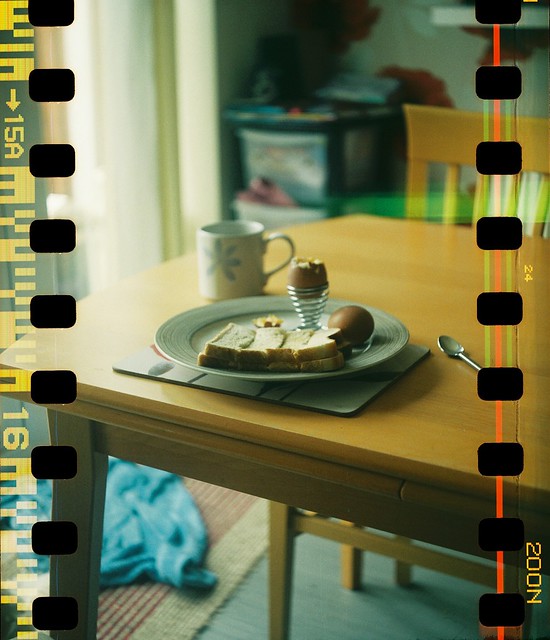
Apart from a bit of paint touch ups here and there and the internal trim piece, the lipo-powered, 35mm converted Yashica 44 Custom is finished and on charge :0)
View attachment 73678
View attachment 73679
I decided to fit the "Use 127 Film Only" plate onto the outside to give a nod to the original setup and also to cover the top of the skin pieces where I didn't like the folds :0)
I'm not 100% happy with the rear door skin because I used a card trim piece under to give a solid base but the skin is very thin so t shows every fold in the card. I'm not redoing it though, this is the 4th piece of trim I've used!
Very cool Steven, look forward to seeing it next week.
Thanks mate. Hopefully it delivers some good results for me. I got the test roll back from FilmDev today and I can see why they struggled to scan the results! I found that the power LED on the Trinket wasn't covered properly and who knew that a bright red led would fog film eh!
The trinket is now covered properly and the rear door is fully light sealed so hopefully it's good to go!
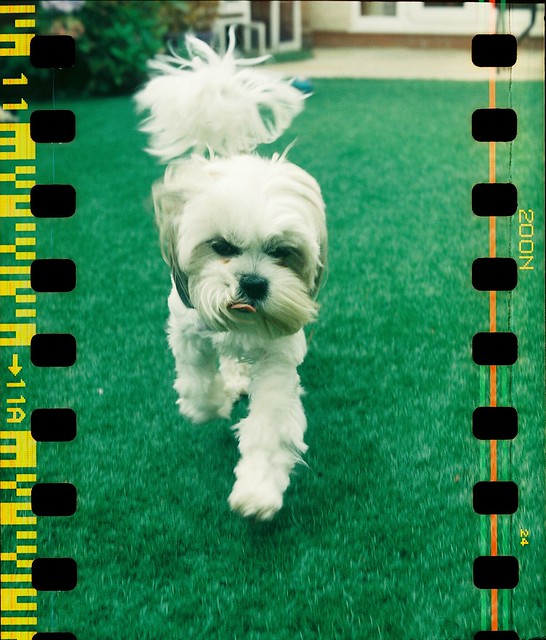


And one with the light leak;