Chroma - Lasercut Acrylic 4x5 Field Camera

I re-designed the lens board frame last night so it's now cut from 3-6-3mm layers. As well as improving the strength with the embedded thread, I've also redesigned the lens board securing latch to use a rotating hinge and magnet to lock it into place which should be solid.

My mate with the laser cutters is in the middle of moving premises at the moment (guess where I'm spending the evening fitting a new network!) so I probably won't be able to cut the new parts out until the end of the week so for now it's on hold.

I won a set of 3 DDS holders last night and am going to borrow moomike's lens to test the camera once it's ready. Just need to order a ground glass and I'll be good to go.
 
Out of interest, for those that have used a Linhof Technika, do you find having the rise/fall, tilt and shift controlled with independent knobs/clips better than a more traditional style where the lens board surround is held in place with two bolts which are loosened then rise/fall and tilt are changed at the same time (like my camera and an Intrepid for example)?

One of the benefits of my camera being modular is that I can build a completely different front standard and attach it to the focus rail. I started drawing up my own version of a Linhof standard and am wondering if there's an improvement in ergonomics/handling?
 
I use a Technika but have never used any other large format camera. I like the fact that the different movements are controlled separately as I will often only use one type of movement. Presumably with the more traditional style when making one type of movement one could inadvertently have an effect on another type.
 
I use a Technika but have never used any other large format camera. I like the fact that the different movements are controlled separately as I will often only use one type of movement. Presumably with the more traditional style when making one type of movement one could inadvertently have an effect on another type.

Thanks Rob, that was my thinking too although I guess the less 'technical' method has been perfectly fine up to now on many cameras so it's can't be that bad :0)

I think I'll cut the 'traditional' lens board surround to use it with a pair of locking bolts and will also work on the design for the 'technical' standard too. I reckon it can be done, just adds a bit more assembly time once the pieces are cut!

Cheers
 
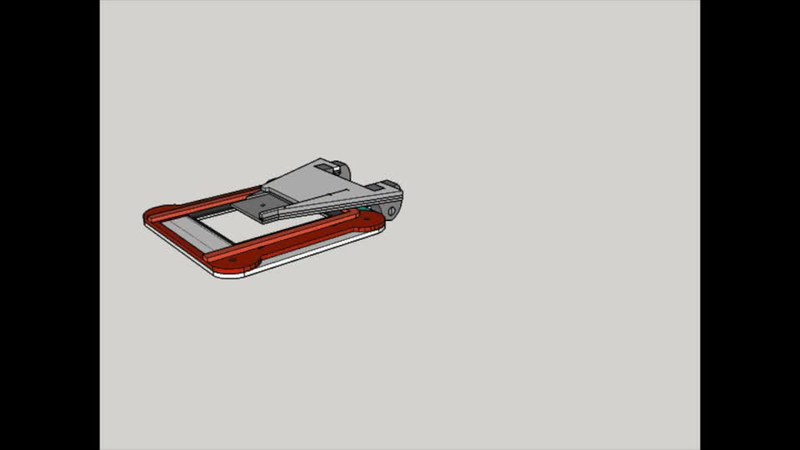
This is my early design idea. The lens board frame is embedded in a channel within the front standard so that it can only move up/down. The rise/fall is controlled by a rack and pinion gear built in with the round knob on the front face.

upload_2017-5-4_14-44-47.png


The tilt is controlled by loosening the threaded knob on the top left of this image which then allows the frame to pivot around a pair of free-fitted hinge pins at the bottom and is locked in place by tightening the knob up again.

upload_2017-5-4_15-30-37.png

I still need to fiddle with the design a bit but it might be something worth the time! I've built it around the same lens board/frame so it's completely interchangeable. I'll have magnets embedded in the same location as well so that the bellows can be fitted.
 
I also covered the bottom of the camera yesterday with some harder wearing black vinyl;

634AF605-0A86-4F7A-8648-B66313285EC3.JPG

I need to swap the thumb screws for some slightly longer so they can be loosened and left in place when disassembling the body.
 
I'm nearly there now. Just need a lens, a ground glass and some film :0)

View attachment 101352

Steve, I've got some manky old Fomapan that Woodsy gave me at the Peaks meet if you want something to use for testing. Its definitely not perfect but it would do for checking everything works.

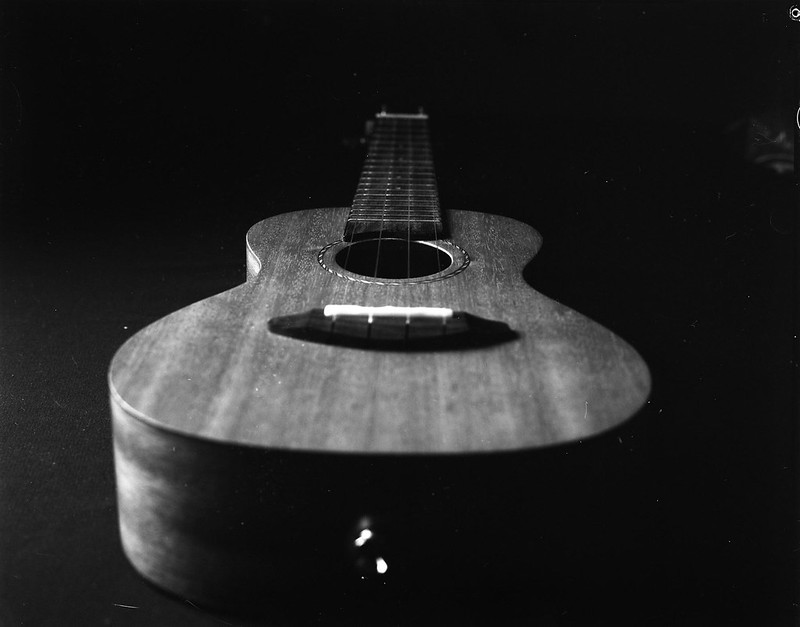
Here's a SOOC shot.
Uke by Andy, on Flickr

If you want it ( I think there are about 10 sheets or so) PM me your address and I'll get them off to ASAP.

Andy

Andy, regardless of what many people say about you, you're a gent ;0) That would be brilliant if you're sure you won't use them?

I'll send you my address. Let me know your details and i'll send over the postage cost.

Cheers
Steve
 
Andy, regardless of what many people say about you, you're a gent ;0) That would be brilliant if you're sure you won't use them?

I'll send you my address. Let me know your details and i'll send over the postage cost.

Cheers
Steve

Don't worry about postage, get me a pint next time we meet up. :D
 
Thanks Andy, you're a star :beer:

I've just been looking at the latest Stenopeika 4x5 and am wondering if he's got the right idea with the back. Instead of the revolving plate like I'm using, he just mounts the entire back section with embedded magnets. If you want to shoot landscape, just remove the rear plate and rotate it 90 degrees.

http://www.stenopeika.com/prodotto/stenopeika-45se2-folding-camera-preorder/

Seeing as his camera is on pre-order for £1100, I guess it's not a bad way to go! The benefit to me is reduced weight (I could remove an entire 6mm thick slice) but a big saving in assembly as there's no need to bond the rotation plate or make sure the holes are all aligned perfectly within it. Cost saving is minimal as I'd save on a small piece of acrylic but would need to embed more magnets to secure the back. I'll draw it up and see how it looks.
 
Last edited:
Quick redesign later....

Reduced Layers.jpg

Current version on the left, new slimline version on the right. The orange piece is the rear film holder which is clipped on to the layer in front using 6mm magnets. To switch between portrait and landscape I just need to unclip it and rotate 90 degrees.
 
All of my LF have been remove and turn jobs, it was such a ball ache on the arca due to the long thumb screws that I rarely bothered unless I was sure it would be better the other way. The shen hao isn't so difficult but still doesn't rotate.
 
Yes, the Shen Hao is easy enough with two sliding latches. I also have an MPP monorail which rotates, and I'd say that is less preferable, although it's mainly because the overall motion is quite stiff.

One thing to watch out for with the magnets is the direction of pull to remove a part - sliding takes less force than pulling directly away.
 
All of my LF have been remove and turn jobs, it was such a ball ache on the arca due to the long thumb screws that I rarely bothered unless I was sure it would be better the other way. The shen hao isn't so difficult but still doesn't rotate.

Cheers Steve. Sounds like magnets are the best method so there are no clips to remove etc.

Yes, the Shen Hao is easy enough with two sliding latches. I also have an MPP monorail which rotates, and I'd say that is less preferable, although it's mainly because the overall motion is quite stiff.

One thing to watch out for with the magnets is the direction of pull to remove a part - sliding takes less force than pulling directly away.

Thanks. Although the rotating method on my current rear standard is ok, it's not completely smooth as the spacer I fitted between the rotating disk and the rear slices isn't thick enough to balance between stability and spacing. I'll cut the new parts to build the magnetic mount and compare the two. The beauty of the camera being modular is that I can swap between the two options by just sliding the back away and fitting the other one.
 
It's getting closer! I borrowed a lens off @moomike last night (thanks mate!) and have just ordered the ground glass. I've also redesigned the camera to use 3/5mm Acrylic rather than 3/6mm. It doesn't sound like much difference but 5mm sheets are much easier (and cheaper) to buy. I need to build one because I'm not 100% sure if it will offer enough stability with the redesigned version but I'll wait and see.

The last thing I want is for it to feel flimsy but if I can save more weight it will be good.
 
Film will be on its way today mate.

Andy
 
In hindsight, I should have added spray adhesive because I don't think the double sided tape is strong enough on its own but it's holding for now.

Hopefully, it should be o.k. It increases its strength over the first 24 hours after application.

I forgot to add the bit where I'm never making another set in my life...

I said that once!


Steve.
 
Last edited:
You're welcome mate, looking forward to seeing the next generation version & actually getting out to take some pics (y)

Me too mate. I was looking at the design again today and am thinking about printing a rotating hinge rather than using the slot-in method to secure the base and rear standard. The benefits I see are that the setup is faster as well as the disassembly being simpler too. I'll secure the standard at 90 degrees with magnets so it will be solid.

The main negative point is that it adds an extra layer of manufacturing to produce the printed hinge but the part itself is pretty simple so should be quick to print.

I'm also looking at printing the mount for the front standard as a much simpler way of separating the three movements. I'll work on the rotating hinge first before looking at the front standard.
 
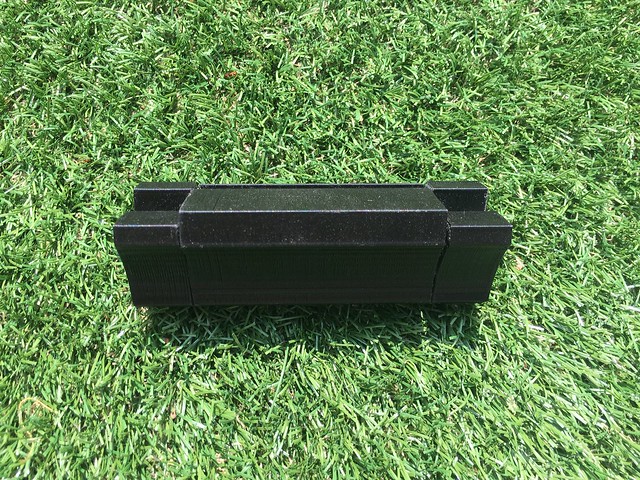
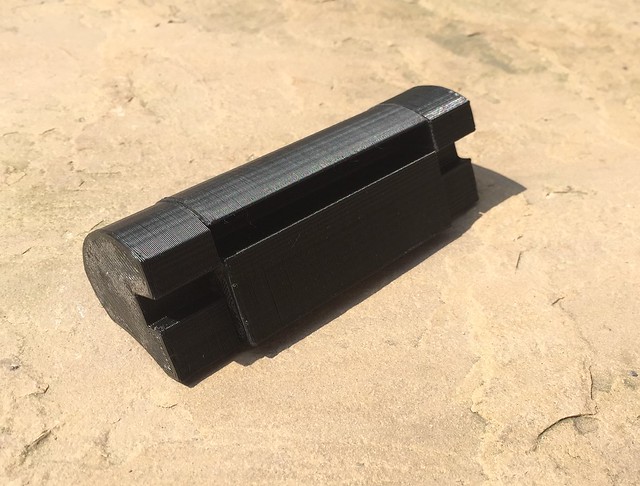
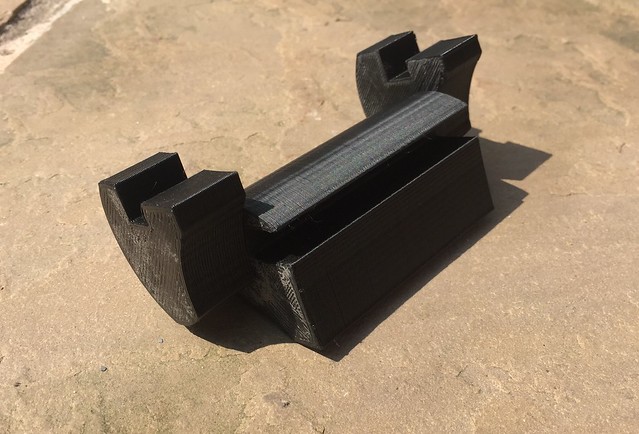
I've started the print for the three hinge parts this morning. They should take around 3 hours to finish then I can test the strength and usability. If I'm happy with it I'll update my models for cutting the camera parts and integrate the hinge into them.
 
Me too mate. I was looking at the design again today and am thinking about printing a rotating hinge rather than using the slot-in method to secure the base and rear standard. The benefits I see are that the setup is faster as well as the disassembly being simpler too. I'll secure the standard at 90 degrees with magnets so it will be solid.

The main negative point is that it adds an extra layer of manufacturing to produce the printed hinge but the part itself is pretty simple so should be quick to print.

I'm also looking at printing the mount for the front standard as a much simpler way of separating the three movements. I'll work on the rotating hinge first before looking at the front standard.

Is this "extra layer of manufacturing" because the main body is laser cut but this hinge (and possibly front standard mount) are 3d printed?
 
Is this "extra layer of manufacturing" because the main body is laser cut but this hinge (and possibly front standard mount) are 3d printed?

Exactly. The main body components will still be cut from acrylic sheet and layered as that's the most efficient way of producing it with the strength I need. The hinge and possibly front standard mount will be 3d printed as there's no way I can build the same parts out of laser cut layers (I've tried various ways but it's not feasible!)
 
Exactly. The main body components will still be cut from acrylic sheet and layered as that's the most efficient way of producing it with the strength I need. The hinge and possibly front standard mount will be 3d printed as there's no way I can build the same parts out of laser cut layers (I've tried various ways but it's not feasible!)
Could you do it with a ready made hinge?


Steve.
 
Could you do it with a ready made hinge?


Steve.

Probably but where's the fun in that? ;0)

To be honest, I could probably find a 270 degree hinge and fit it into my design but I'd still need to build in a support/locking mechanism to allow the rear standard to rotate and fit in line with the base when 'closed'.
 
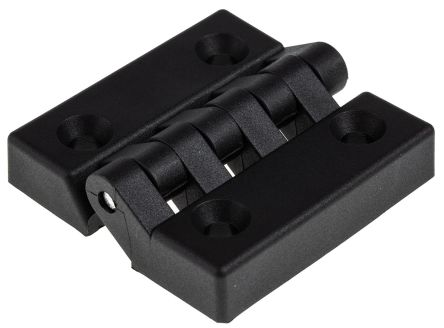
I was thinking about this sort of thing:

F7027831-01.jpg


Steve.
 
I was thinking about this sort of thing:

F7027831-01.jpg


Steve.

I could possibly use a hinge like that. The main consideration is that the actual hinge point needs to be 20mm below the bottom of the base to give enough clearance for the rear standard to fit flush, including the ground glass panel. Can you send me a link to those hinges so I can check their dimensions please?

Cheers
Steve
 
Thanks @Andysnap The film arrived today. I've taken each of the sheets out of the box to check them and they look ok so I'm looking forward to shooting them.


;0)

No need mate, I did it before posting. Didn't want you to receive dodgy fillum. :D
 
I like all the different materials you've made the camera out of but I'm not sure the grass one is particularly practical. :D
 
Ok, my laser cutting plans are all good now so I'm ready to cut. I'm going to order some Acrylic today, thinking about a dark blue for the first build.

I've also been working on the updated front standard with three independent movements. I'm not completely happy with it yet, mainly because it's 20mm higher which means I also need to raise the rear standard by the same to account for it.
 
Back
Top