New (conversion) Darkroom/Dimroom for alternative printing.

Messages
7,179
Name
Edward Bray
Edit My Images
Yes
I have almost finished my Darkroom(film)/Dimroom, all that is now left to do is to reinstate my 950nm IR lighting, this will need a little moving around as the shelving for chemicals and equipment have encroached on to their previous mounting areas.

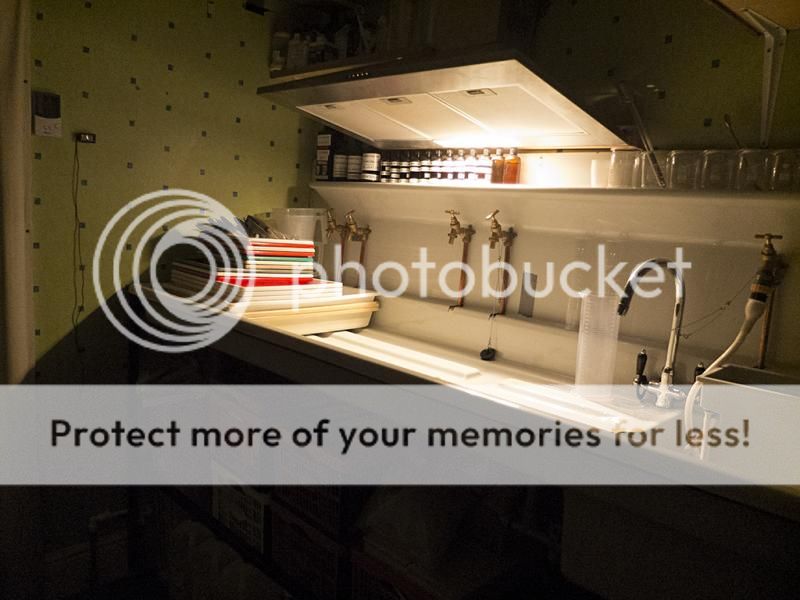
Lots of pictures, but basically it is a 8ft x 8ft x 9ft high room with a 7ft Sink with 3 pairs of taps and an additional washpoint. There is a film/tissue drying cabinet at one end with a portable (not any more) air conditioner mounted above it. The Actinic UV Light Bank has 12x 2ft tubes and give a useable exposure in 6-10 minutes depending on the density of the negative used.

I have tried to use my limited Carbon Printing experience to adapt the room to be most suitable for me, but it is inevitable that I will make changes as my Carbon Printing journey continues.

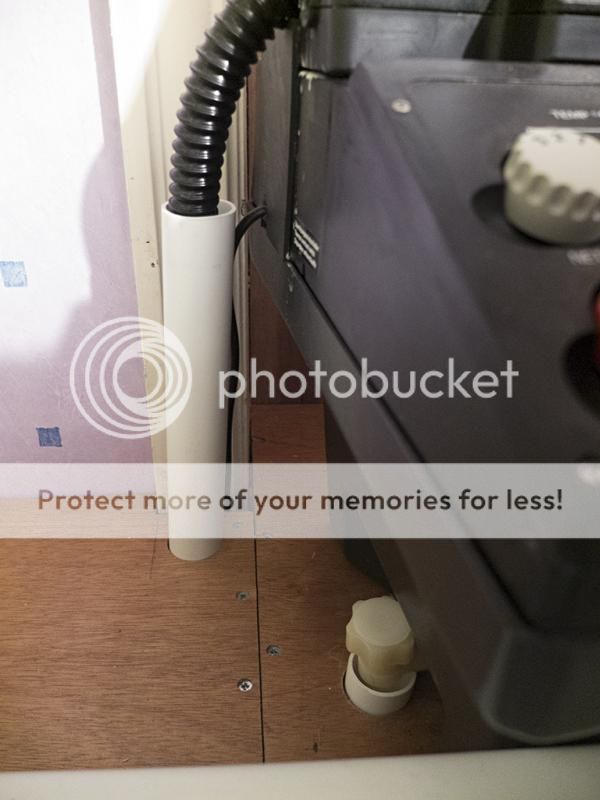
I have mounted the CPP2 into what was the window recess and plumbed it in although I have made it possible to lift out the CPP2s waste pipe to be able to place it in a bottle if I am planning on reusing a chemical.

View left from door showing end of sink and CPP2 in window recess:
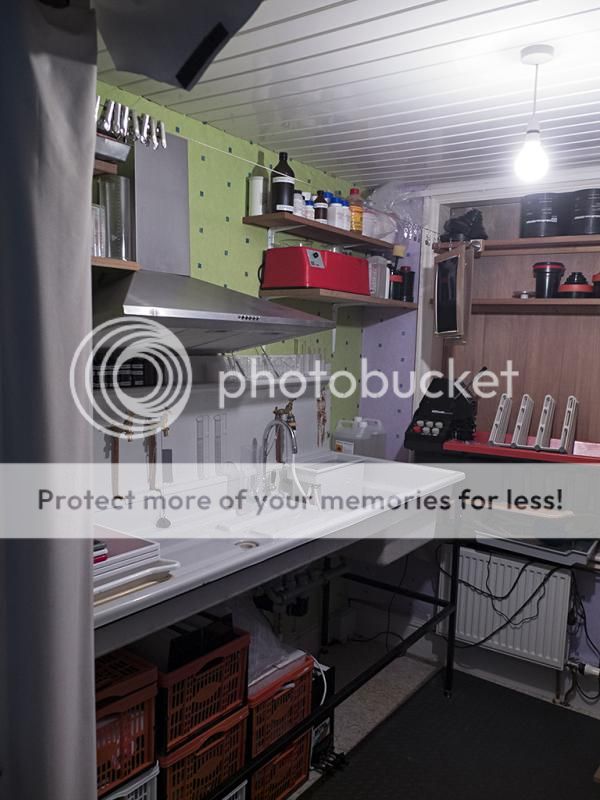


View right from door showing dry side bench:


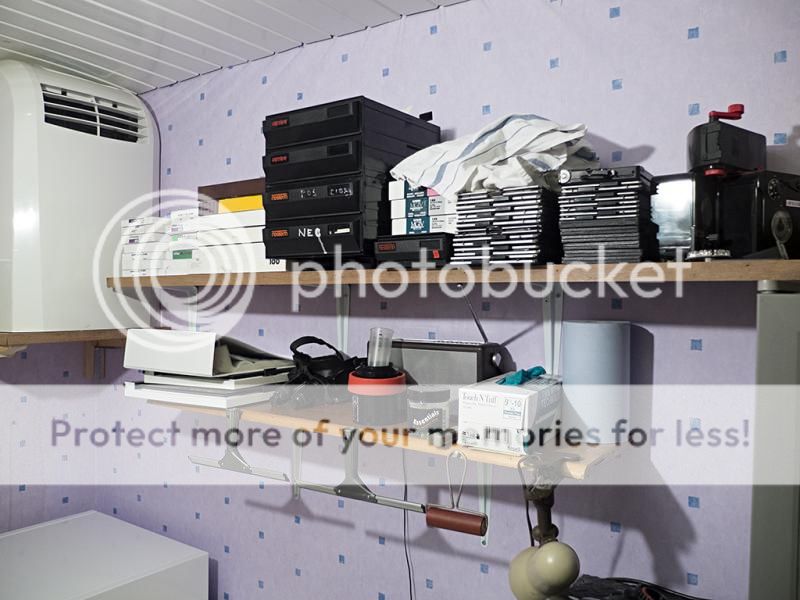
Above dry side showing materials and Aircon:


Extraction hood above sink to remove acetone fumes when sensitising tissues:

[/URL[/U]]

End of sink inside door with storage above and trays stacked for use. Just inside the door is a humidity meter and thermometer:


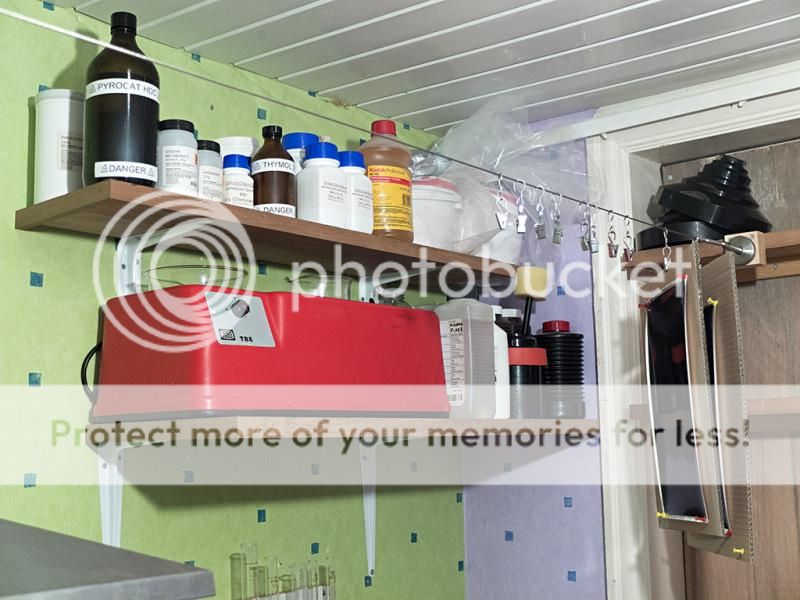
Chemical and TPE (for Glop making) storage:


CPP2 Plumbing:
 
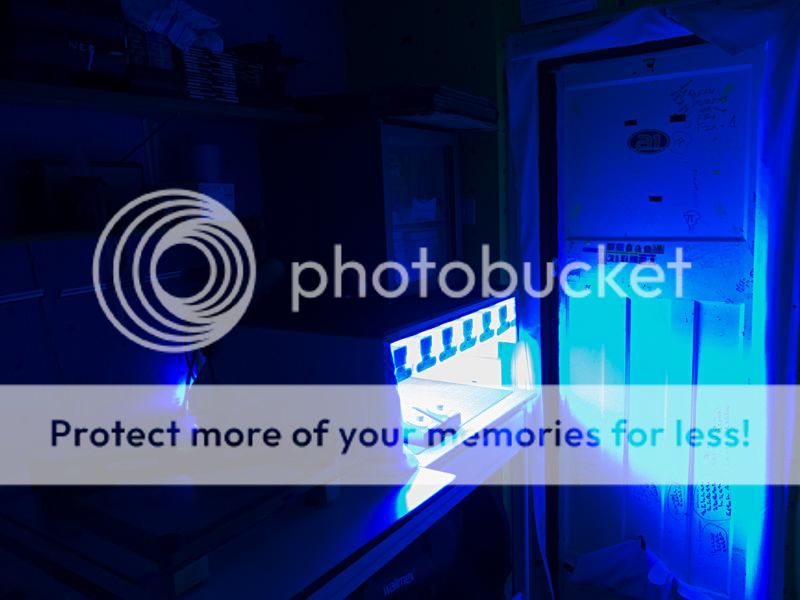
Tissue making and Transfer Bench also showing Actinic Lightbank and Film Fridge:


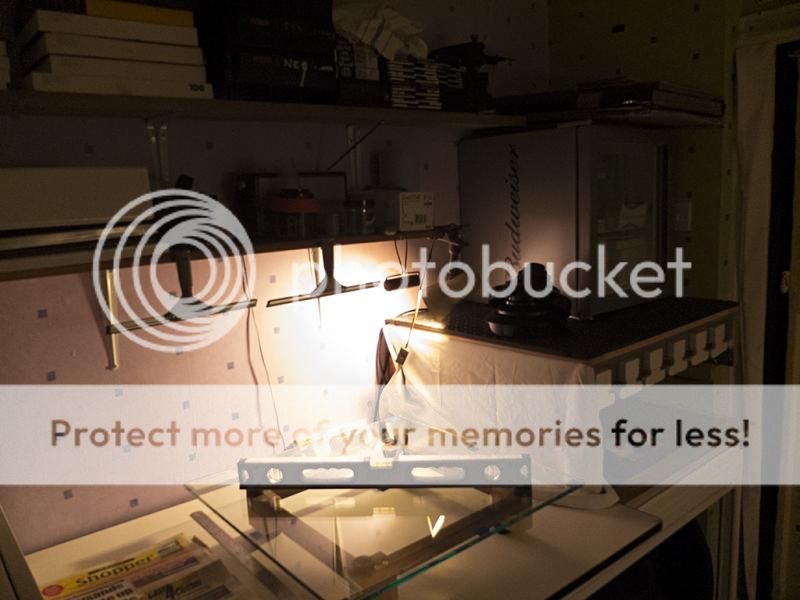
Tissue Making and Transfer station, this is perfectly flat and I use 1.5mm strips of wetted Acrylic sheet to make the frames for my tissues. There is also another sheet of 12mm Float Glass which sandwiches the exposed tissue and final support medium, this then has 4x 5 litre bottles (20kgs in total) place on it to compress the sandwich:


Dim light as it will look during use, this extractor hood has 2x 25w Tungsten lamps in it which provide the light:


Additional light for use in an emergency or if I need to find something I have dropped. This is a clip on lamp with a 25W Tungsten lamp installed:


The UV light source for my Carbon exposures, I am planning on attaching another piece of lightproof material (removed from the window area during the conversion) across the front of the UV light source which will then be sealed with Velcro:


So all in all, I will be able to start using the room soon (have another couple of jobs to do for the wife first though) but do have to make special mention of the anti-fatigue flooring laid in the middle of the room and also the stainless steel wire (curtain wire from Ikea) and clips that do a fine job.
 
Coming on nicely Ed, look forward to seeing the results.
 
Coming on nicely Ed, look forward to seeing the results.
Problem is Nick, you can never see what a Carbon print looks like on a computer screen. Just impossible to capture the relief on a screen.
 
Problem is Nick, you can never see what a Carbon print looks like on a computer screen. Just impossible to capture the relief on a screen.
There's only one thing for it Ed, you'll have to have an exhibition (y)
 
Envious is not a strong enough word! :D

What a super smart set up Ed.

What i would give.......
 
Edward,

Many thanks for sharing this. I love looking at such things and this is a great example. Even if I don't know or understand many of the items, I love the results you have shared in the past from alternative techniques so really looking forward to seeing more.
 
Ed, you always have something new to tell us about and it normally means that you have just done it. Yes I said done it.:)
 
This looks mighty fine - I've just had to Google carbon printing - You learn something new every day!!

Sara, Off topic, but your flickr mini signature thingy looked interesting so I went to have a look and wow....beautiful work and photos there. Really stunning. You have a new follower.
 
Ed,

Two questions:

1. You describe it as a film darkroom and dimroom and there is no enlarger there. Does this mean you have a separate print darkroom or have you moved totally away from traditional prints to alternative techniques?

2. Was interested to see the air con unit. My darkroom gets crazy hot after a short session in summer and I would love an air con unit. But I assumed they were all too large and would cause havoc with dust. Is yours vented outside? Hard to tell the scale from the photos, but it looks like a nice size....where did you get it from and is dust an issue?
 
Thanks all for your kind comments, I hope to put it to good use.

Lovely. What did you use for the uv light source? I'm looking to make something for cyanotypes

I bought a dozen 24" UV Actinic Tubes, these http://www.tlc-direct.co.uk/Products/FKT18UV.html and 6x double batten holders, if I was doing it again I would get 8 single holders and 8 tubes, this would give ample UV light for alternative processes.

This looks mighty fine - I've just had to Google carbon printing - You learn something new every day!!

Or even something 'old' ;)

Ed,

Two questions:

1. You describe it as a film darkroom and dimroom and there is no enlarger there. Does this mean you have a separate print darkroom or have you moved totally away from traditional prints to alternative techniques?

2. Was interested to see the air con unit. My darkroom gets crazy hot after a short session in summer and I would love an air con unit. But I assumed they were all too large and would cause havoc with dust. Is yours vented outside? Hard to tell the scale from the photos, but it looks like a nice size....where did you get it from and is dust an issue?

1) Darkroom for film loading and unloading, dimroom for alternative process (specifically carbon) printing. Yes, I have totally moved away from silver printing. I am looking to Carbon Print from my smaller negatives by the use of a digital inter negative after scanning the 35mm or 120 negatives on my drum scanner.

2) The Aircon unit is/was a Homebase 9000BTU portable unit (took the wheels off so no longer portable) which I got from ebay in early March for £30, it, as is the extraction hood are both vented outside. Dust is not a problem, I have cut a hole through the plasterboard above the door each side for a couple of inlet vents, inside the vents I placed some UPS filter foam material. When both the extraction hood and the Aircon are running there is a slight vacuum inside the room which then pulls air in from the vents. The best place for an aircon extractor is as high as possible as warm air rises and the cool air expelled from the aircon will be blown across the room before falling and this then creates a circular movement of the air which continues until the room has cooled to the set temperature.

If I was buying again, I would buy a model with a remote control, as I have to use the step stool to go up to switch the aircon on, I just turn it off at the switch. I will probably do this anyway in the winter when aircons don't sell for much.

The Aircon unit is 30" x 18" x 15" without wheels so not exactly small.

Thanks again all.
 
Thanks Ed....I think I will try the same for the aircon unit...and yes best wait to winter to buy one :)
 
Thanks all for your kind comments, I hope to put it to good use.


I bought a dozen 24" UV Actinic Tubes, these http://www.tlc-direct.co.uk/Products/FKT18UV.html and 6x double batten holders, if I was doing it again I would get 8 single holders and 8 tubes, this would give ample UV light for alternative processes.

Those look pretty good value. I have a couple of 20w rave-style blacklight tubes waiting to be hooked up but at £10 a piece without fixtures I didn't fancy buying a dozen.
What size of paper would you say you could cover with your setup? How are they wired in? I have so far found sunlight to be too variable to get consistent results and a couple of compact flourescent blb tubes not powerful enough to get exposures under about an hour.

As I stated the tubes are 24" long and there are 6x double holders. I built them into a 4 sided box with an open front and lower, I lined the box with the shiny side of aluminium foil using display mount and then mounted the batten holders. The total surface area under the lamps is 26" x 32" (832 sq inches) and with a normal density negative, contact prints well with an exposure of 7 minutes under the tubes at a distance of 7 inches. Negatives with less or greater densities will require less/more time or more/less distance from the tubes.

The battens are wired with a cut down kettle lead to the first batten (I just cut off the kettle plug to give the maximum cord available) which enters the box through an 8mm hole and is then tied in a knot to act as a cable pull protector, and short lengths of twin and earth cable between all other battens, there are also 2 connections from the earth cable to the Aluminium Foil inside the box. The fuse in the plug is 3 amp.

I believe that 8x equally spaced single holders would give similar exposure times but in a smaller cabinet, if they were set at 3" centres (with 1.5" at each side) they would give an area of 24" x 26" and that would be suitable for most sizes of print, be physically smaller, weigh less, use less power and most importantly, cost less too.

The big problem and my next project is to make a vacuum contact frame as it has been suggested that contact prints larger than 8" x 10" will require the use of a vacuum frame to ensure sufficient contact is made between the negative and the tissue.

Hope this helps.
 
So they're all connected to the same plug with no problems? I am guessing parallel not series? Wiring is not my strong point.

I have been printing a4 contact prints using cheap clip frames with few problems. My only issues have been from paper curling when coated with emulsion and not flattening fully when presed under glass. When exposing in daylight I've found that holding the clip frame across my knee and pressing either end of the glass down does the trick. I'd bet a couple of springs or weights, correctly applied could easily do the same.

Yes all connected in parallel, they don't draw much current so not an issue really.

Carbon Tissues tend to dry in a less than flat manner. Whilst you could get away with clip pressure or weights alone for smallish prints anything over 8x10 would be too great a surface area to just rely on springs or clips. Vacuum is definitely the way to go.
 
Back
Top