Hello!
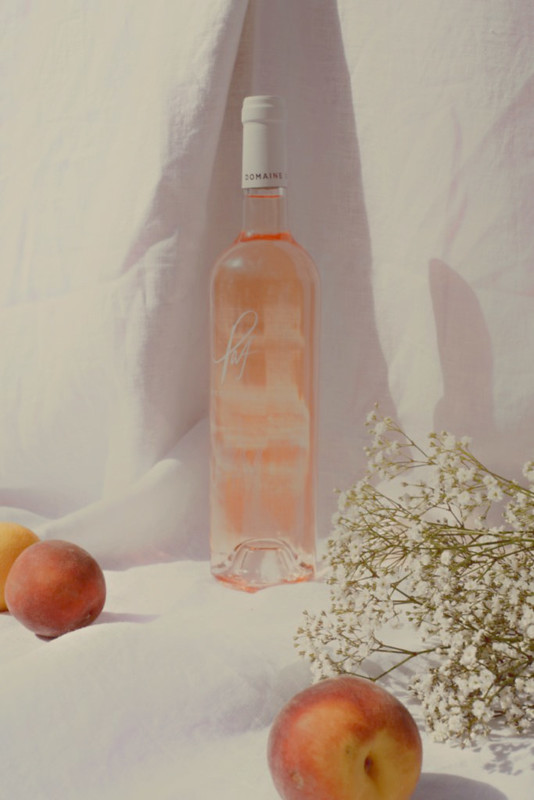
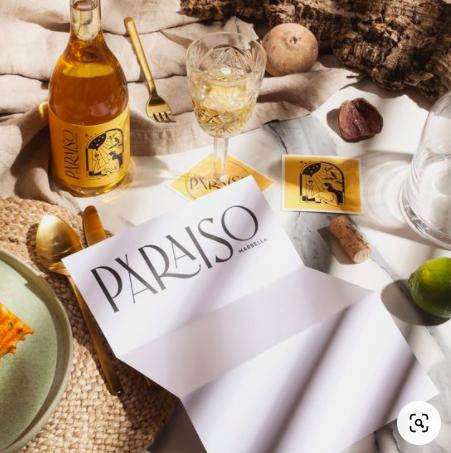
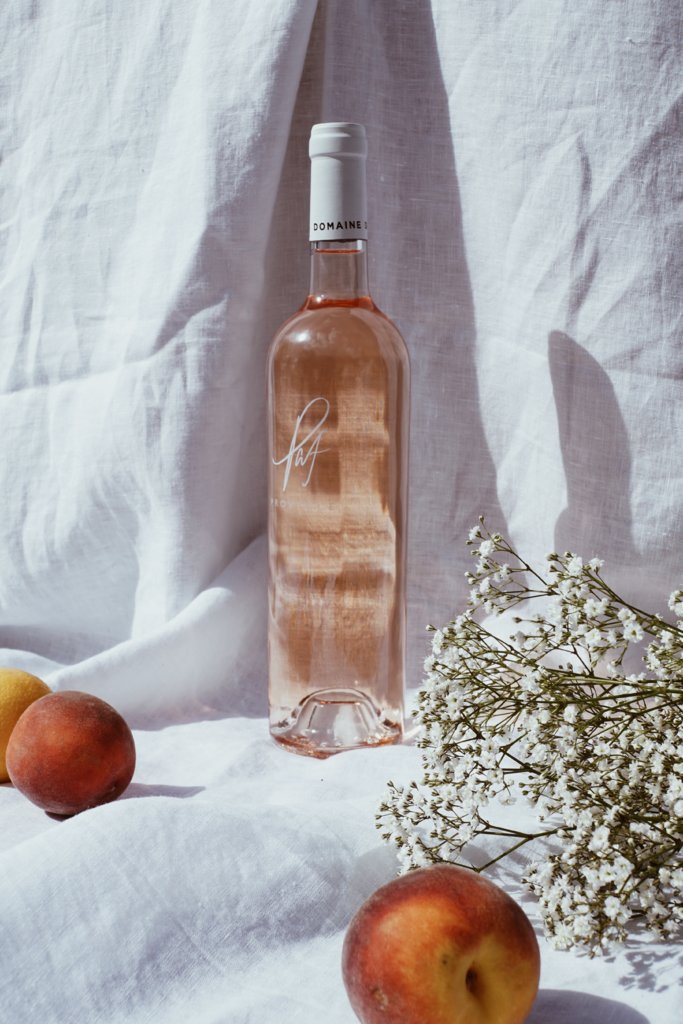
Amateur photographer here. I'd like to take some still life shots and I am OBSESSED with trying to find out how you get a beautiful clean smooooth shot like the Paraiso image compared to the one of the rosé bottle?
I have a SONY a600 with a 18-200 lens and have no idea if it's the camera or if I'm editing incorrectly?
Any help would be so appreciated - thank you!
")