As early as post #2 in this thread the term "middle grey" was introduced by Ken. I used the term in post #12. It really is an essential term to understand when it comes to metering and exposure. It might therefore be helpful to illustrate what "middle grey" looks like, and to set it beside other tones both darker and lighter so that you can see the relative differences at 1 stop intervals.
To create that illustration I took a single sheet of white paper and using the spot meter in my 7D I metered the paper at 0, which is the camera's idea of what middle grey should be. Instead of getting a "white" image of the paper the result was a grey sheet, as expected. Here's what that image looks like....
That's middle grey. Look at the histogram. The peak is close to the middle. This is your classic "mid tone" that people so often refer to.
Seen on its own it can be hard to judge just how bright that photo really is. Different monitors, brightness settings and room lighting don't help. What we need is some context, to see how "middle grey" sits in relation to other tones stretching from black through to white.
Here is a series of shots of the same piece of white paper, shot with exposures increasing in 1 stop intervals from -4 stops to +4 stops. Including the "0" example, which sits in the middle, there are nine examples in all....
Now you can see, relatively speaking, what a -1 stop exposure looks like compared to middle grey, what a +1 stop exposure looks like and so on. The -4 stop exposure is not completely black. It is close, but still has the ability to record detail. You may not be able to see much though. Here is the -4 stop image in more detail, with its histogram. I've deliberately chosen a pure black background in Lightroom so you can see that the -4 exposure is a little brighter than pure black. The histogram peak is a little way away from the left hand edge, safe from clipping....
At the other end of the scale I can tell you now that the exposure at +4 is a complete white out. There is no detail to be teased out. Everything is blown. However, at +3 we have a bright white image. It actually looks a lot like the image at +4, but is just a fraction darker and contains full detail. Here's what the +3 stop image and histogram looks like....
Nothing in the image is clipped. The histogram is close to the right hand side, but not quite touching. This is pretty much the maximum exposure we can safely aim for if we don't want to start losing highlight data, which for the white sheet of paper would be the whole picture.
What we've learned here is that you can take a single sheet of white paper and simply through adjustments to exposure you can make it appear grey, almost black (you could actually make it appear completely black by increasing the underexposure further), or dazzling white. The choice is in your hands. If you want to keep the paper looking like a white sheet of paper then, referring back to the nine examples, you would probably want to meter the paper at +2 stops or maybe a bit more, but probably not quite +3. You can do this for anything. You can turn brown dogs beige, or grey horses black, or white. The rest of the scene might look a bit odd if you try, but you get the idea - you can adjust the exposure to suit your creative vision or technical requirements. Is there a right exposure? Arguably not. There is the exposure you want. If the camera doesn't give it to you on its own then make adjustments so that it does.
Now, back in the real world of birds in bushes when I want to set an exposure I assess the subject, the scene and the lighting, determine what's important and what's not, and decide how brightly I want the interesting bits to be represented in my photograph. I select a part of the scene, possibly my subject, possibly not, and spot meter that area and set an exposure to make that part match, in my mind's eye, with one of the tones in the nine patch example, or maybe something between two of them. As an example I find that metering rich green grass at -2/3 to be perfect if I have important highlight details to be preserved in the scene. If my interest lies more in the darker tones, such as when shooting my dark brown dog, then I'll increase the exposure by a stop, or maybe a little more, in order to record much more shadow detail in my subject.
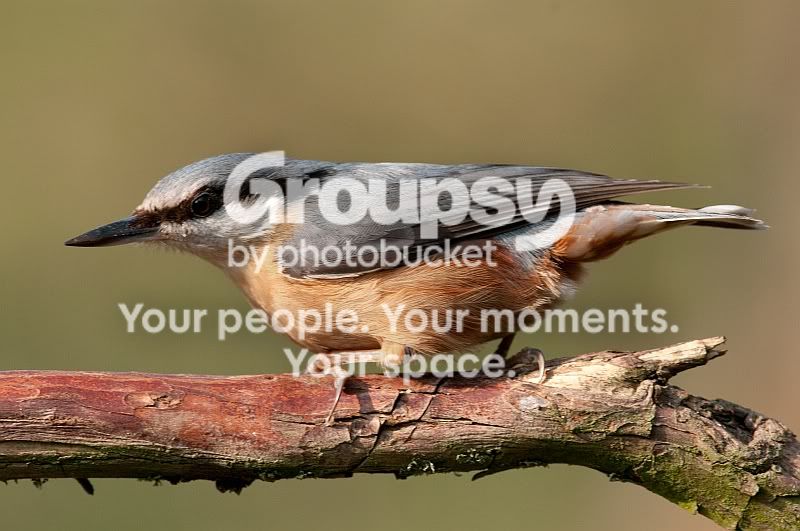
If I choose to meter a swan I want the feathers to look bright white, not grey. I spot meter the brightest part of the swan at +3 or very close to it. On a grey day I might not go that far. On a sunny day I would. If I meter a black bird I want the feathers to look dark, but not so black that there is barely any visible detail. I might meter the "black" at -2 to capture lots of detail. If my subject is a nuthatch then I would make a judgement about how bright its plumage is and how bright I would want it to look relative to the rest of the scene. I reckon a mid tone is a good starting point, so I would meter it at 0, to begin with at least. I might even go a little higher, because as a raw shooter I am more interested in capturing lots of image data and reducing noise, rather than capturing a perfectly exposed image ready to use straight from the camera. The thing to really avoid is underexposing and needing to brighten the image later in software.
Now, as I said, I use spot metering to give me that degree of selective control. If it suits your preference to pick a different metering pattern then that's fine. You just need to imagine what the camera's meter will make of the area you aim it at so that you can adjust the exposure to suit. With the meter or exposure compensation at zero the camera will try to average out your metered area to middle grey, just like it did for my sheet of white paper in the beginning. If that's not the result you want then you have to adjust the camera for a different outcome.
So, back to nuthatches in the woods, decide how bright you want your nuthatch to appear, relative to the nine stop crib sheet above, and dial in an exposure to make it so. You could make a pretty fair stab at it first go, I think, and fine tune with further adjustments if you feel the need. Just try to avoid underexposing whenever possible.



[/QUOTE


 I have read all this and "yes" it has gone over my head (hence the joke re about the snorkel and sat nav, but obviously you have not got a sense of humour)

 Thank you

 I feel that I have done nothing other than try to help others with what limited knowledge I have. I have never gone out to attack or insult anybody as far as memory serves, and see no reason why I should have done this to Nicky.