New lighting project 2

Messages
12,302
Name
Garry Edwards
Edit My Images
No
Many of us are stuck indoors for the foreseeable future, so here’s another simple project that we can all tackle because it only involves a minimum of both equipment and space.

And, in this project I’m only going to describe the general approach to you, leaving it up to you to find a suitable subject and light it, without my usual didactic, detailed and annoying instructions:)

We’re going to light glass, using a technique known as Brightfield Lighting. There’s another way of doing it too, using Darkfield Lighting, but we’ll get to that another day.

A lot of people find it difficult to light glass but in reality the only actual challenge is that it’s transparent, so the only bits of it that can be photographed are the bits that interfere with the passage of light in some way – any mouldings, engraving etc on the glass are visible, and so are the edges, which refract the light due to the differing densities of the air and the glass. Of course, if the glass item is a container of some sort, then any contents will also interfere with the passage of the light and so will show on the photo.

But there are other things that can be photographed too – scratches, dust and fingerprints – so cleanliness is absolutely essential.

Basically, all that we do is to light the background, put the glass item in front of it and take a shot of the background, focussed of course on the glass. If you have a softbox then that will make a good background and if you don’t then you can aim one or more flashes at a white wall, piece of white card or similar, and stick the glass item in front of it.

The light can be almost anything, including flash, studio flash or continuous lighting, it really doesn’t matter for this.

And, for Brightfield lighting, it’s a good idea to stand the subject on a white background too – a sheet of white paper usually works very well. Get your camera square on to the subject because if you don’t and it’s looking down onto the subject then you’ll be shooting through the glass on to the background, which doesn’t look great.

If the glass is completely plain and clear you’ll end up with a shot that doesn’t show the glass at all (because it’s transparent) and all that will show in the shot is the various points where the light has been refracted, this will mainly be the bottom, sides and top.

If there are any engravings, logos, scratches or anything else that interfere with the passage of the light then they will show up too.

If you want a bit more drama, just add something black on each side, just out of shot. A piece of black card will be fine, the pro tool for this is Cinefoil or Blackwrap, but black card will produce almost the same results.

Getting the exposure right.
Just use trial and error, so that the background is pure white but only just.

Please post your results below, we’ll deal with any challenges as they arise. Enjoy.
 
OK, as nobody else has added to this thread, perhaps I'd better post an example to get you going, on the basis that everyone else will be able to do better:)

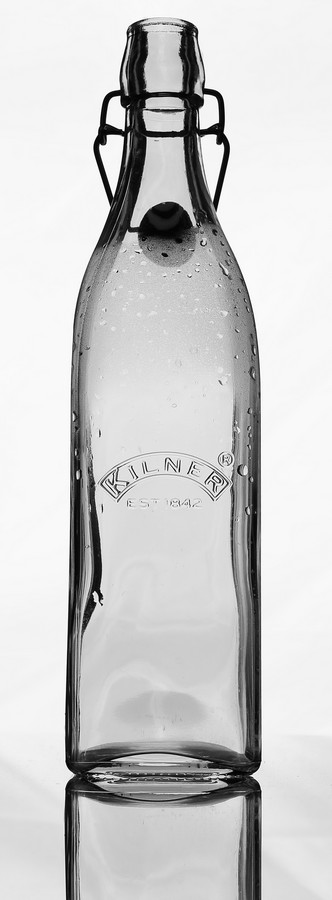
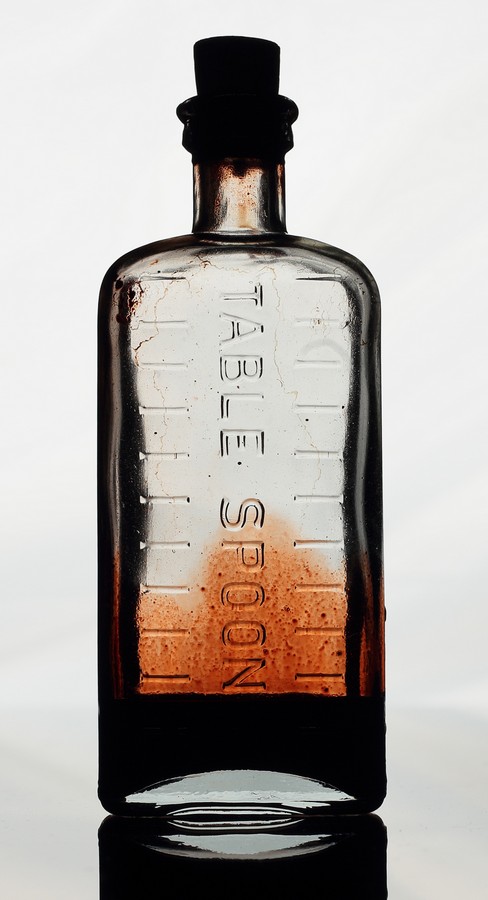
This is a simple shot, lit exactly as described above and with a piece of Cinefoil (but black card will do too) each side, just out of shot to darken the edges..

A full bottle would have been better but I don't use aftershave and happened to find this bottle lying around somewhere, and I'm far too tight to actually buy anything.
It could also be improved in PP, but this is as shot.
whitefield.jpg
 
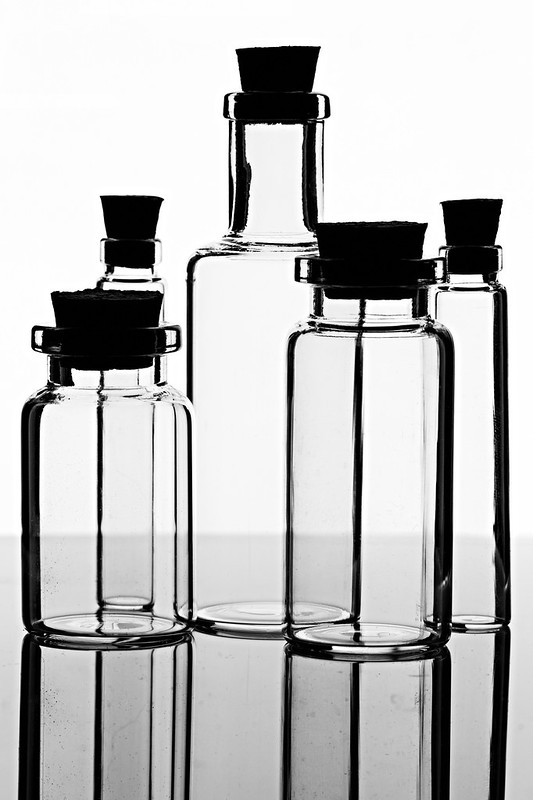
So I had a go, using tiny little bottles. Shot against a Vario light thing, with black mountboard either side (propped up in a very Heath Robinson style), on a glass desk. I pushed it a fair bit in PP, because I liked the graphic nature of it.

Fuji X-H1 80mm f16 iso200

Little Bottles by Paulie-W, on Flickr
 
That's a good effort, thanks for posting..
Possibly not the best subject, simply because the glass is completely plain, they usually look better if there's some kind of relief or engraving to stop the light..

You may want to try lowering your camera to the point where it isn't looking either up or down, this will put the product base right at the bottom of the glasses, which would be better. It would though also stop the inside of the bottoms showing, and change the reflection, but still something that you might want to try. It's all about trying different things.

Thanks for the feedback, Gary :)
The tallest bottle is only about 3", and my camera was on the deck ;) I will have another go on a the kitchen table (as opposed to my desk. I do like the way it reflects though), and maybe fill with some diluted food colouring or something.
 
A reply from me to say Thanks Garry for your projects, and of course wisdom.
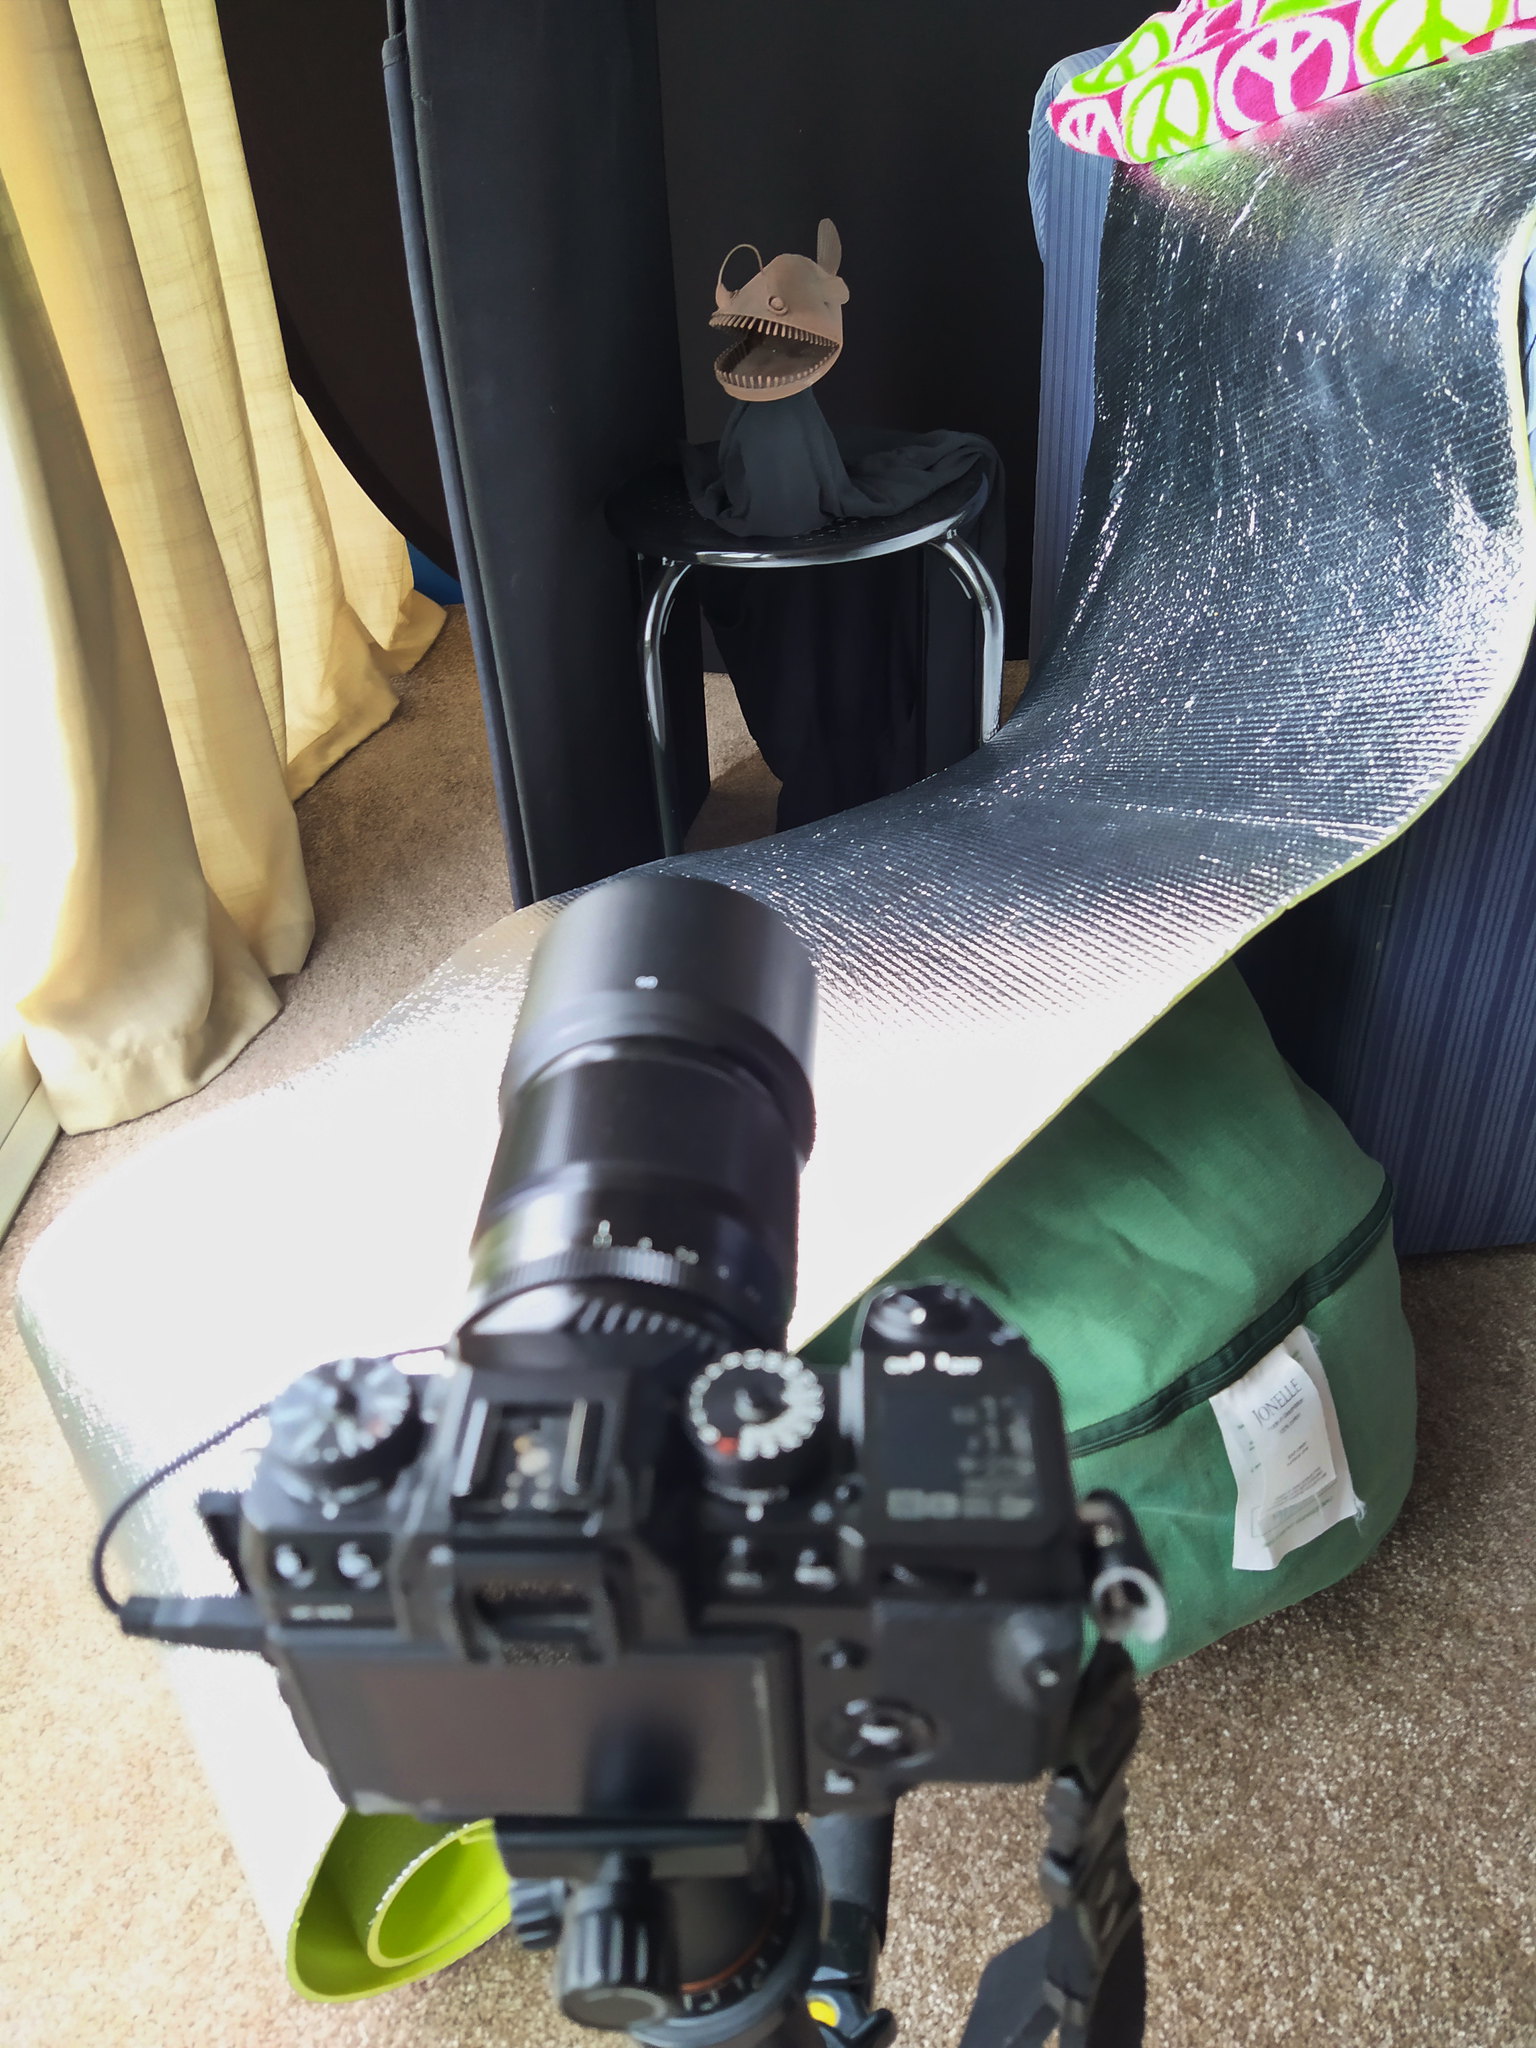
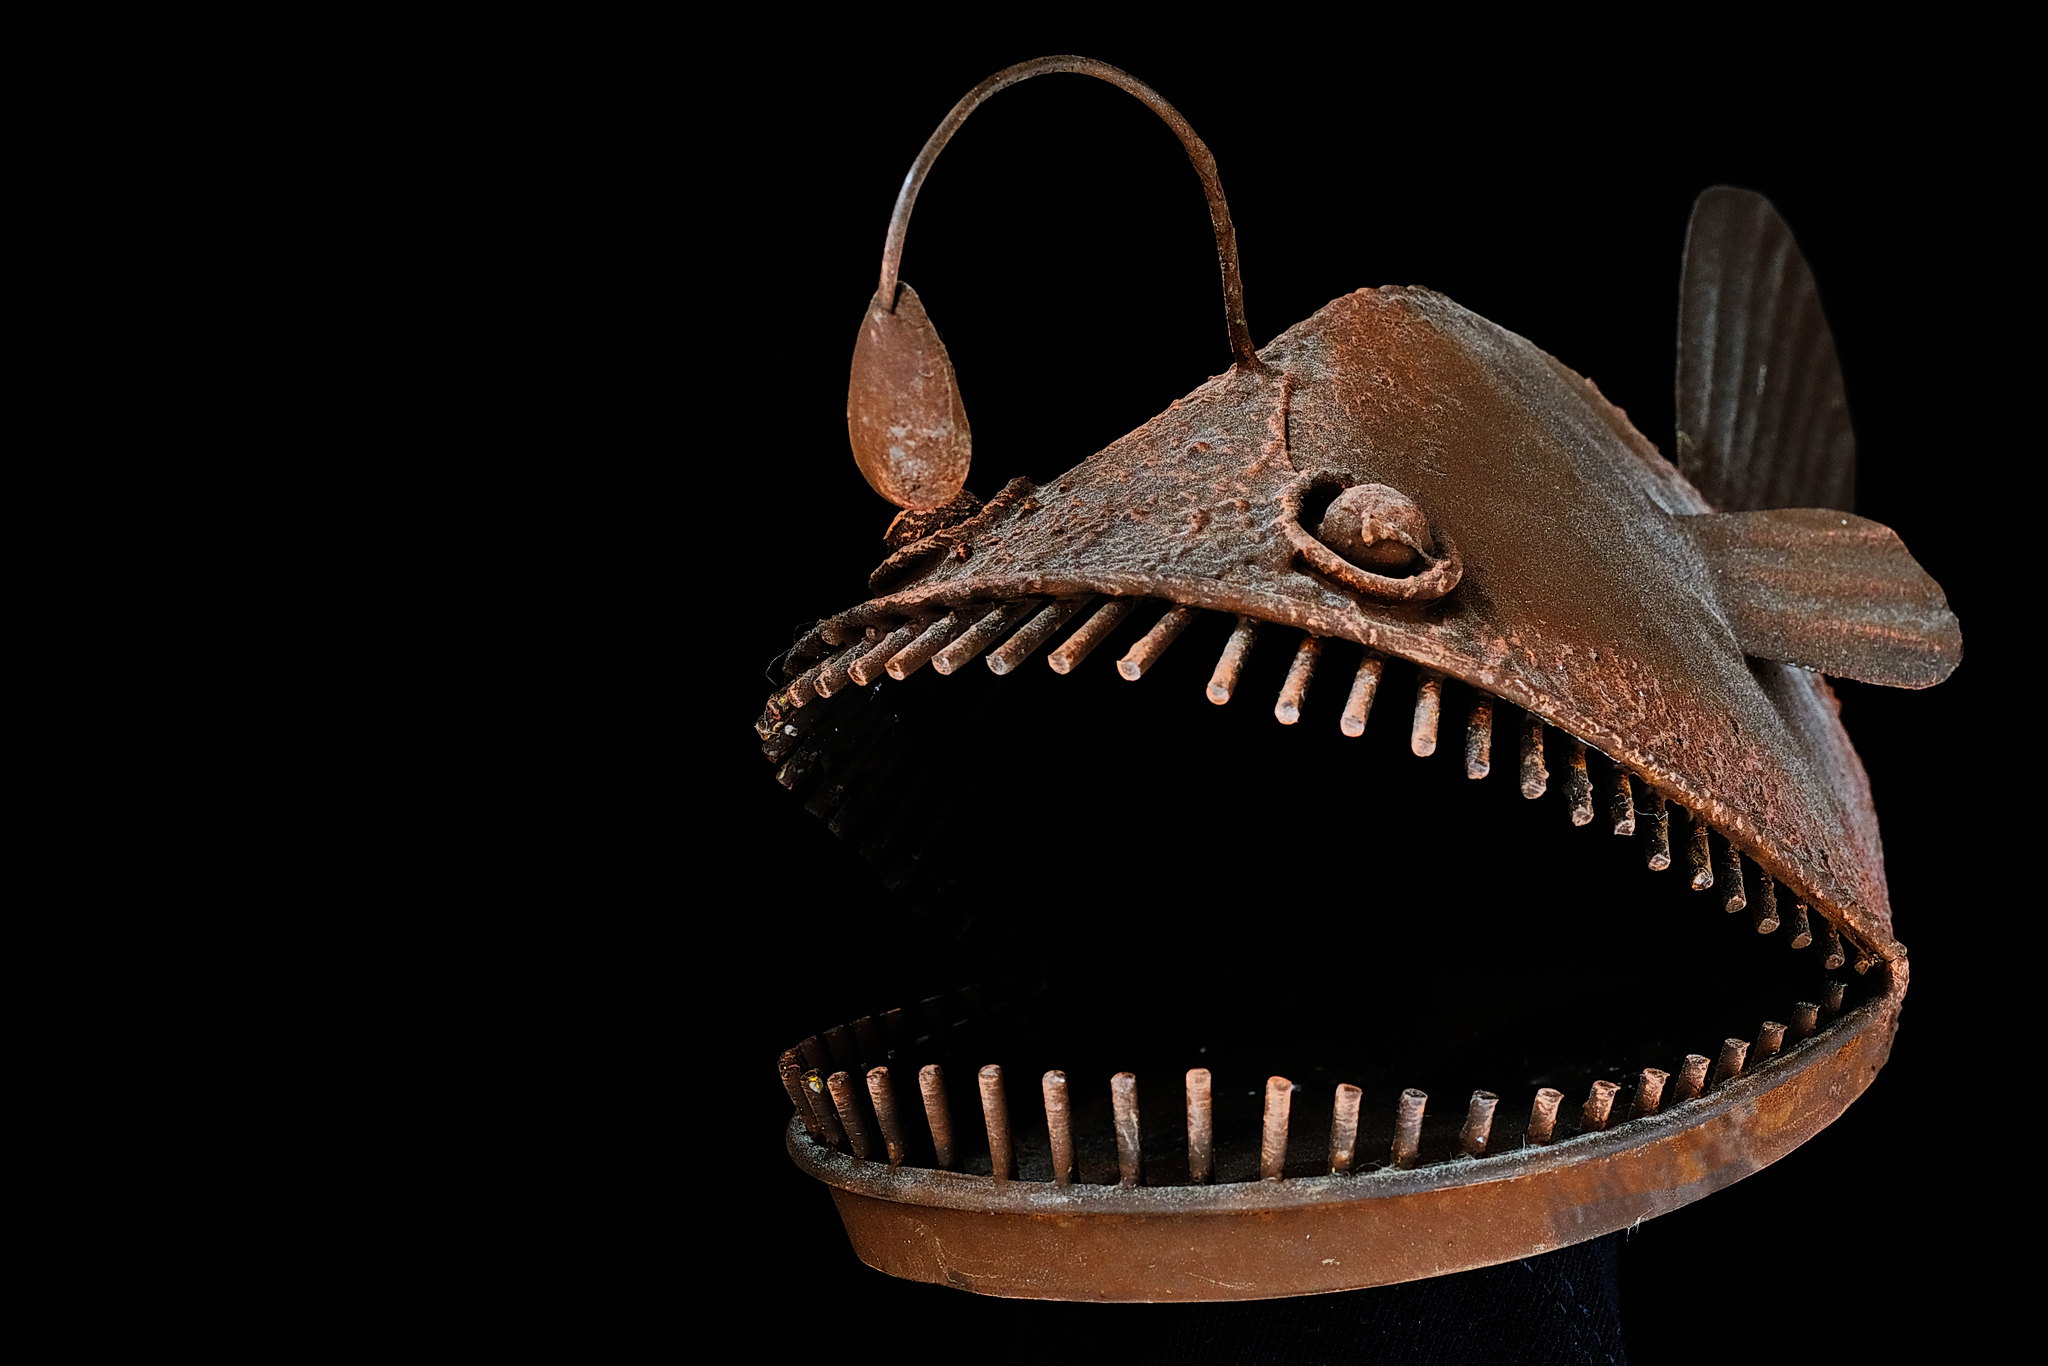
I've not tried yet but will - I'm still marvelling at what I can achieve with little more than a curtain and a few bits of black stuff to cut light onto an otherwise visible background thus making it appear black. Who ever thought what gets used as an exercise mat could be so useful too..

IMG_20200417_130838 by Steve Powell, on Flickr

DSCF2893 e by Steve Powell, on Flickr


A good few years ago I bought some lights from you and you gave me so much help and advice. Due to space limitations I have hardly ever used them, but you made me realise a few of the very basic 'secrets' of lighting, for which I remain very grateful.
 
Last edited:
Thanks for the feedback, Gary :)
The tallest bottle is only about 3", and my camera was on the deck ;) I will have another go on a the kitchen table (as opposed to my desk. I do like the way it reflects though), and maybe fill with some diluted food colouring or something.
Well, that explains it. Your camera base was on the deck, but the lens wasn't and so looked down on the subject. I'm pretty passionate about lighting, but almost as bad when it comes to camera height, which also makes a massive difference. Although photographing bugs and things doesn't interest me at all (too difficult for me) I have a lot of respect for the people who do it, because getting the camera height and angle perfect with tiny subjects, where even being very slightly out makes a huge difference, is difficult.

So yes, please do it again, with the lens lower, and I think that adding (perhaps differently coloured) liquids will help too. It's all about trying things out.
A reply from me to say Thanks Garry for your projects, and of course wisdom.
I've not tried yet but will - I'm still marvelling at what I can achieve with little more than a curtain and a few bits of black stuff to cut light onto an otherwise visible background thus making it appear black. Who ever thought what gets used as an exercise mat could be so useful too..

IMG_20200417_130838 by Steve Powell, on Flickr

DSCF2893 e by Steve Powell, on Flickr


A good few years ago I bought some lights from you and you gave me so much help and advice. Due to space limitations I have hardly ever used them, but you made me realise a few of the very basic 'secrets' of lighting, for which I remain very grateful.
Thanks for that. I don't remember the advice or help that I gave you, and was in a slightly difficult position because Lencarta sells equipment. That never stopped me from advising people to buy whatever was best for them (rather than what was best for the seller) and that attitude, based on integrity and knowledge, carried on when I retired. One of the things that I've always banged on about is the need to think outside the box, experiment and make use of all those odds and sods that get the job done, which you've done here. Other than in portrait studios, where everything needs to be clean and shiny, studio photographers absolutely rely on gaffer tape, blu-tack, string and just about anything else that isn't available from equipment sellers.
 
Once I have a go at this I will share my shots, as I have a tall pint glass with Stella on it.
Is the Stella on the glass or in it? It shouldn't take you long to empty it :)
 
This is not Bright nor dark field photography from what I can gather.

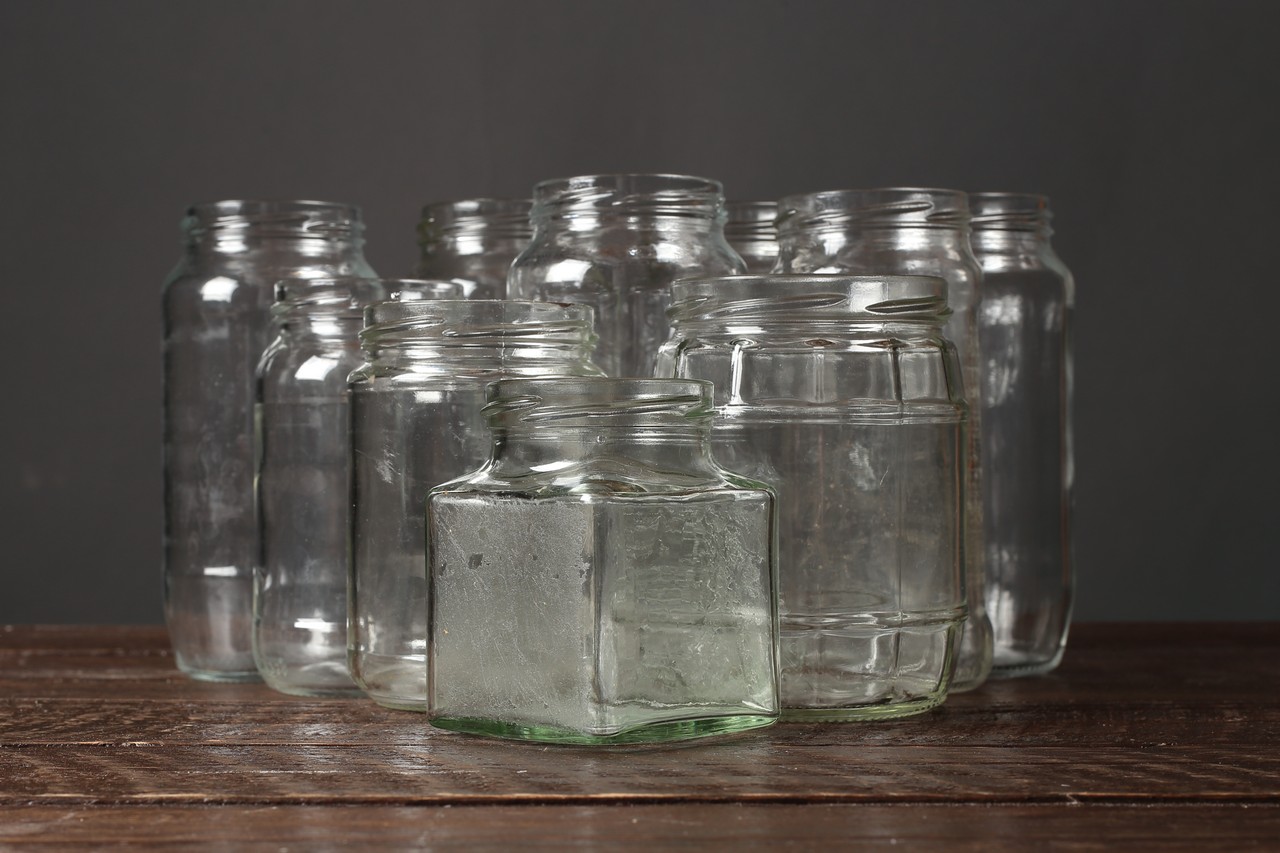
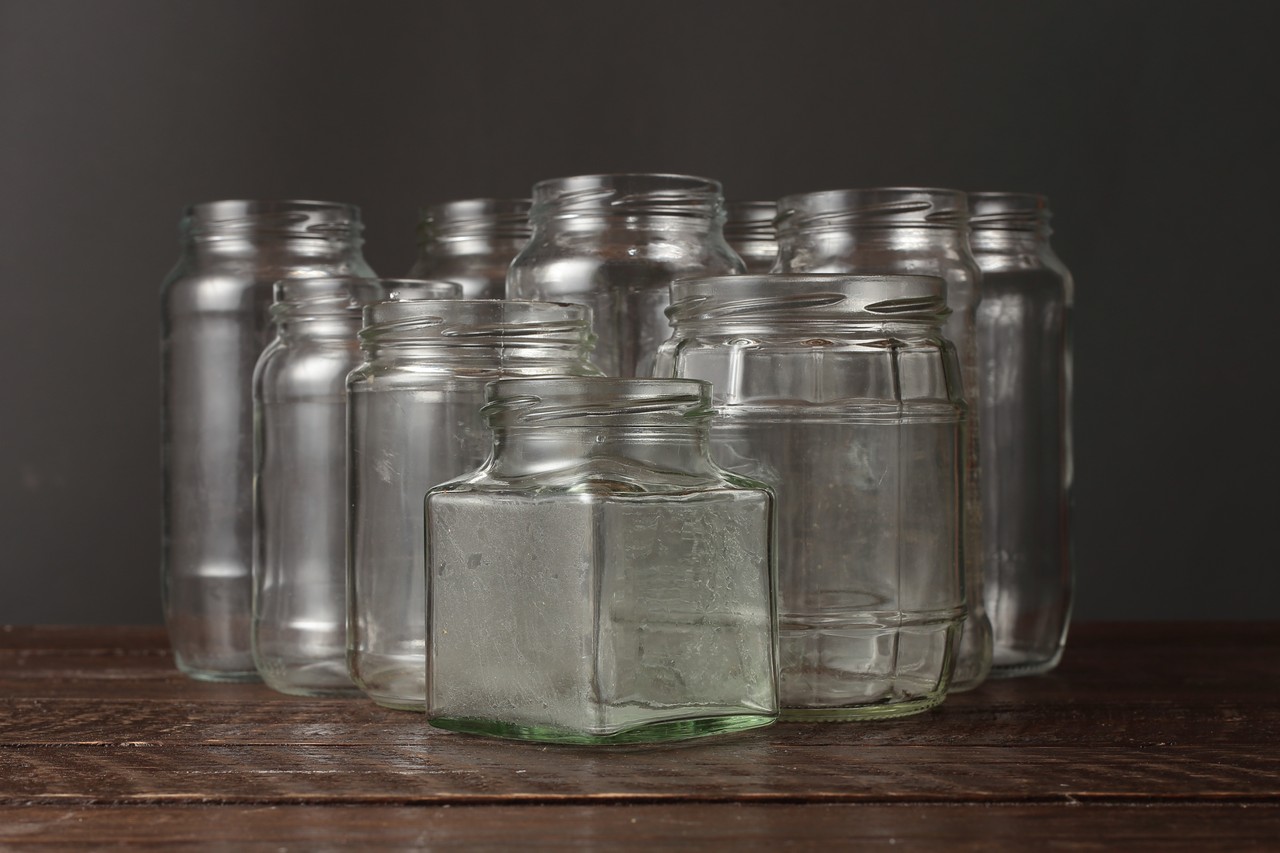
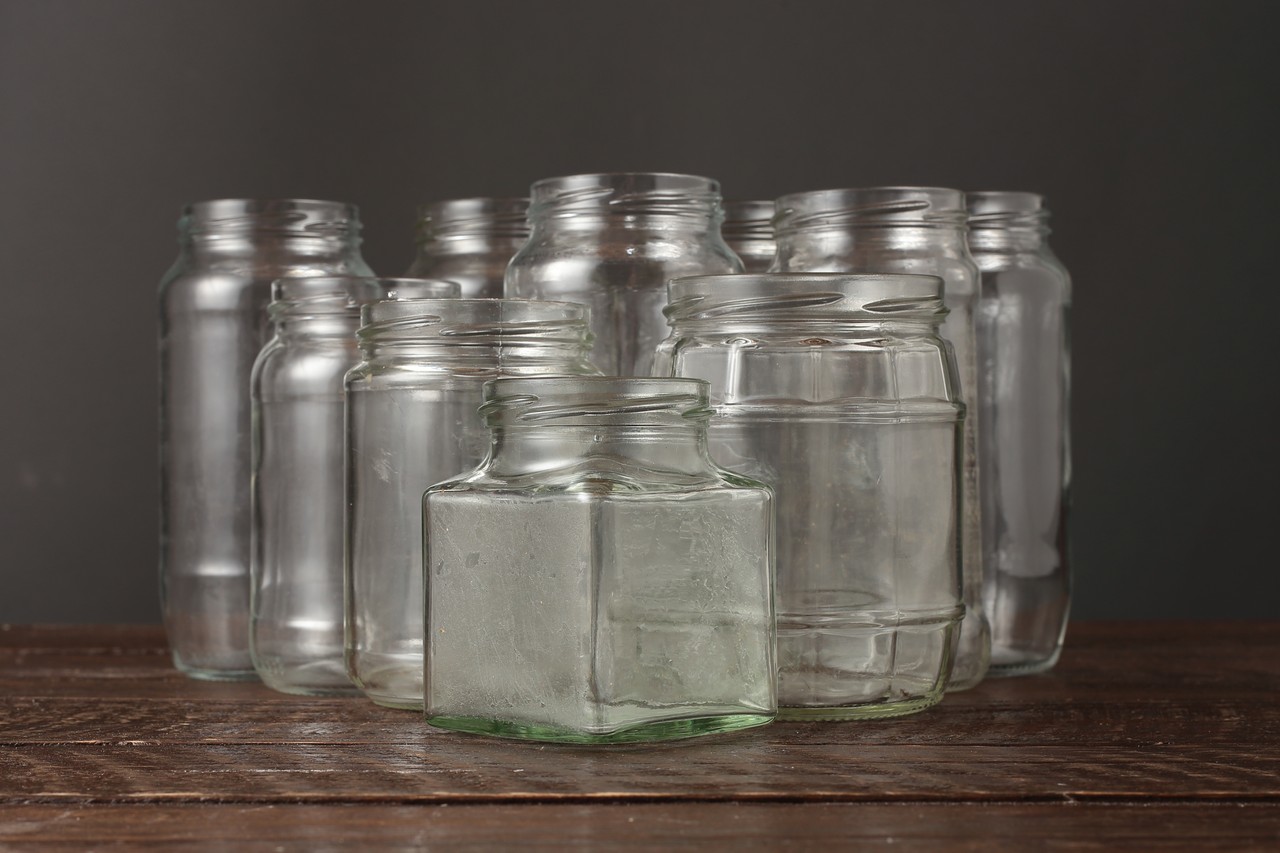
I had collocted these jars a while back with an idea to use them in some type of photo but never did so I was ordered to rid them from the house :)

Anyways before throwing them I thought I would at least try and teach myself something as regards lighting them. The trouble is I still struggle to see what is better when moving light around.

I tend to use one light with or with out a reflector for everything.

So I am posting these in this thread as it was intended to be about glass.

Maybe some one could say which is the better lighting wise, if any and why, as at times I just can't see it or I see a differance but not sure why it is better.


Gaz

1 Softbox on own.
47HCBJd.jpg

2 Softbox through a shower curtain.
nH6mJDn.jpg

3 Softbox through shower curtain reflector opposite
UMcIEnC.jpg
 
@Bebop
Didn’t get to say last night, but the above was lit with a 120 Octa, with the sides flagged with black cloth.

but as @Garry Edwards said cinefoil is the best bet.

also as he says I’ve got too much stuff I don’t use, and after hunting down dark cloth for this shot, I discovered my unused roll of cinefoil :(
 
This is not Bright nor dark field photography from what I can gather.

I had collocted these jars a while back with an idea to use them in some type of photo but never did so I was ordered to rid them from the house :)

Anyways before throwing them I thought I would at least try and teach myself something as regards lighting them. The trouble is I still struggle to see what is better when moving light around.

I tend to use one light with or with out a reflector for everything.

So I am posting these in this thread as it was intended to be about glass.

Maybe some one could say which is the better lighting wise, if any and why, as at times I just can't see it or I see a differance but not sure why it is better.


Gaz

1 Softbox on own.
47HCBJd.jpg

2 Softbox through a shower curtain.
nH6mJDn.jpg

3 Softbox through shower curtain reflector opposite
UMcIEnC.jpg
Well, it's always a good idea to try different ideas, that's how we learn.
Your second and third shots are better in the sense that they don't have the clearly defined specular highlights that are so obvious in the first shot, but glass is a challenging subject whenever light is reflected from it, which is why either brightfield or darkfield lighting is usually better, and certainly easier and more dramatic.
 
@Bebop
Didn’t get to say last night, but the above was lit with a 120 Octa, with the sides flagged with black cloth.

but as @Garry Edwards said cinefoil is the best bet.

also as he says I’ve got too much stuff I don’t use, and after hunting down dark cloth for this shot, I discovered my unused roll of cinefoil :(
Agh! I hate it when that happens. On the plus side you can now do lots of flagging :)

I really like this shot.

I looked at this thread earlier today and I am going to have a go with my softbox whilst it's all still out. Didn't realise I might need to flag it. I have bin bags and a reflector.. so will have a play..
 
Okay here is an edited shot... in Lightroom I've added gradients around the edges to whiten it up. I'll put the unedited version below it and another attempt.

I tried different power settings. I tried moving the softbox up and down so the vase was more central and then at the edge. I couldn't get a good even light which may be the limitation of using a flash and a cheap (but very big :) ) softbox. It does have a diffuser panel inside.

Anyway I'm very happy to receive advice on how to improve it SOOC if possible.


20200523-BCR_7388.jpg
unedited version
20200523-BCR_7388-2.jpg

another attempt... I just lose the rim on this one.

20200523-BCR_7385.jpg
 
I've just realised I've done this incorrectly. I put the softbox directly behind, whereas I should have been lighting the background. Let me have another attempt - if I can find a background.
 
I've just realised I've done this incorrectly. I put the softbox directly behind, whereas I should have been lighting the background. Let me have another attempt - if I can find a background.
It's OK to use the softbox as a background - or at least it would be if it was lit evenly.

But there are two other things that you should do too.
1. Lower the camera, you're currently looking down at the subject.
2. Mask off the part of the background that isn't needed for the shot, to reduce flare / increase contrast.
 
I've just realised I've done this incorrectly. I put the softbox directly behind, whereas I should have been lighting the background. Let me have another attempt - if I can find a background.
I also used the softbox as the background, but I brought the black edges so much closer to create the black edges - I should also have added flags at both sides and above to make the pattern more defined.
 
Second attempt shooting against softbox. Camera lowered and two butchered bin bags later. They were horribly thin so won't have stopped an awful lot of light. This is SOOC other than a crop.

If I were to try and light a backdrop, I assume that is fraught with difficulty to get even lighting?

20200523-BCR_7400.jpg
 
Second attempt shooting against softbox. Camera lowered and two butchered bin bags later. They were horribly thin so won't have stopped an awful lot of light. This is SOOC other than a crop.

If I were to try and light a backdrop, I assume that is fraught with difficulty to get even lighting?

View attachment 280119

I think lighting it evenly will be difficult it you only have speedlights due to their small head size, I have found it ok with a couple of studio lights with either reflectors or softboxes.
 
I think lighting it evenly will be difficult it you only have speedlights due to their small head size, I have found it ok with a couple of studio lights with either reflectors or softboxes.
Yes I might be a bit handicapped. I think this is a slight improvement and I've already learnt something - flagging to help define the edges - and that my vase is handmade :ROFLMAO: I hadn't spotted that label before today. I should have triple layered the bin bags.

Tomorrow I might have another try using the softbox as a background but light it from the front with one or two flashes - see how that works.
 
Second attempt shooting against softbox. Camera lowered and two butchered bin bags later. They were horribly thin so won't have stopped an awful lot of light. This is SOOC other than a crop.

If I were to try and light a backdrop, I assume that is fraught with difficulty to get even lighting?

View attachment 280119
You can get bin bags from Sainsbury's, you don't need to use the Aldi ones:) But come to that, any piece of card would be fine at stopping the light.
Yes, as @rick448 says, it requires two lights, and studio flash is easier than flashguns, mainly because the modelling lights speed the job up.

The camera is still much too high, it should be lowered to the point where you're not looking down at all and nothing of the product base (the bit the glass is sitting on) can be seen behind the subject.

And get something black each side of the glass, just out of shot. This will add negative light to the edges, which will help to define them.

So, still some room for improvement but you're getting there.
 
Yes I might be a bit handicapped. I think this is a slight improvement and I've already learnt something - flagging to help define the edges - and that my vase is handmade :ROFLMAO: I hadn't spotted that label before today. I should have triple layered the bin bags.

Tomorrow I might have another try using the softbox as a background but light it from the front with one or two flashes - see how that works.
Are you using a tripod? It may be easier to get the composition right if you use one and have a couple of test shots to get it right. It's surprising what you notice in the finished image that you miss when composing through the veiwfinder! :)
 
You can get bin bags from Sainsbury's, you don't need to use the Aldi ones:) But come to that, any piece of card would be fine at stopping the light.
Yes, as @rick448 says, it requires two lights, and studio flash is easier than flashguns, mainly because the modelling lights speed the job up.

The camera is still much too high, it should be lowered to the point where you're not looking down at all and nothing of the product base (the bit the glass is sitting on) can be seen behind the subject.

And get something black each side of the glass, just out of shot. This will add negative light to the edges, which will help to define them.

So, still some room for improvement but you're getting there.
Okay great thanks. It's a low table which isn't helping me. I thought I'd gone as low as I can without getting the side of the table... but I will have another go. I will also add more bin bags to the sides - layer them up.

@rick448 yes I'm on a tripod and using the articulated screen to compose as it's all a bit low, plus remote cable. It's not completely level which is me being a bit lazy.

Here's the SOOC shot
20200523-BCR_7400-2.jpg
 
Okay great thanks. It's a low table which isn't helping me. I thought I'd gone as low as I can without getting the side of the table... but I will have another go. I will also add more bin bags to the sides - layer them up.

@rick448 yes I'm on a tripod and using the articulated screen to compose as it's all a bit low, plus remote cable. It's not completely level which is me being a bit lazy.

Here's the SOOC shot
View attachment 280134
Getting better, but black card, and only just out of shot, would give a different (better) result.
If the table's too low then you could raise it up with a few books under each leg.
And if you push the glass as far back as you can and get the camera at the right height, you'll also get a better reflection. Come to that, you could turn the table the other way round and get a full length reflection . . .
 
This is something I need way more practice in. I had a go today with this tankard. I didn't have enough room to set up a softbox as the background so its a white board curved and a piece of glass to set the tankard on. My biggest struggle would be trying to keep the engraving visible, haven't figured that out yet.

_U0A5733 1024.jpg
 
Josh,
I haven't seen the tankard but it seems to me from the photo that you've done it correctly but that the shot is overexposed.
Edit: If I'm right about that, then I'm wondering how this happened - possibly you used a flashgun on an auto setting, if so then it needs to be on manual. It's easy enough, with an underexposed image, to bring the exposure level up to suit in post processing, but when it's overexposed then highlight detail just isn't there, so you'll need to try again.
 
Last edited:
Garry, its all manual with a studio head. Given my tight quarters I fired down onto my curved BG and flagged the top of the tankard. The engraving is very dull, I'm thinking it doesn't suit brightfield. My image out of camera isnt clipped, the background is anywhere from high 230's to low 250's so the data is there. I'll revisit when you do the darkfield, which I've never tried before, but have a good idea how to do, I think it'll work better for this.
 
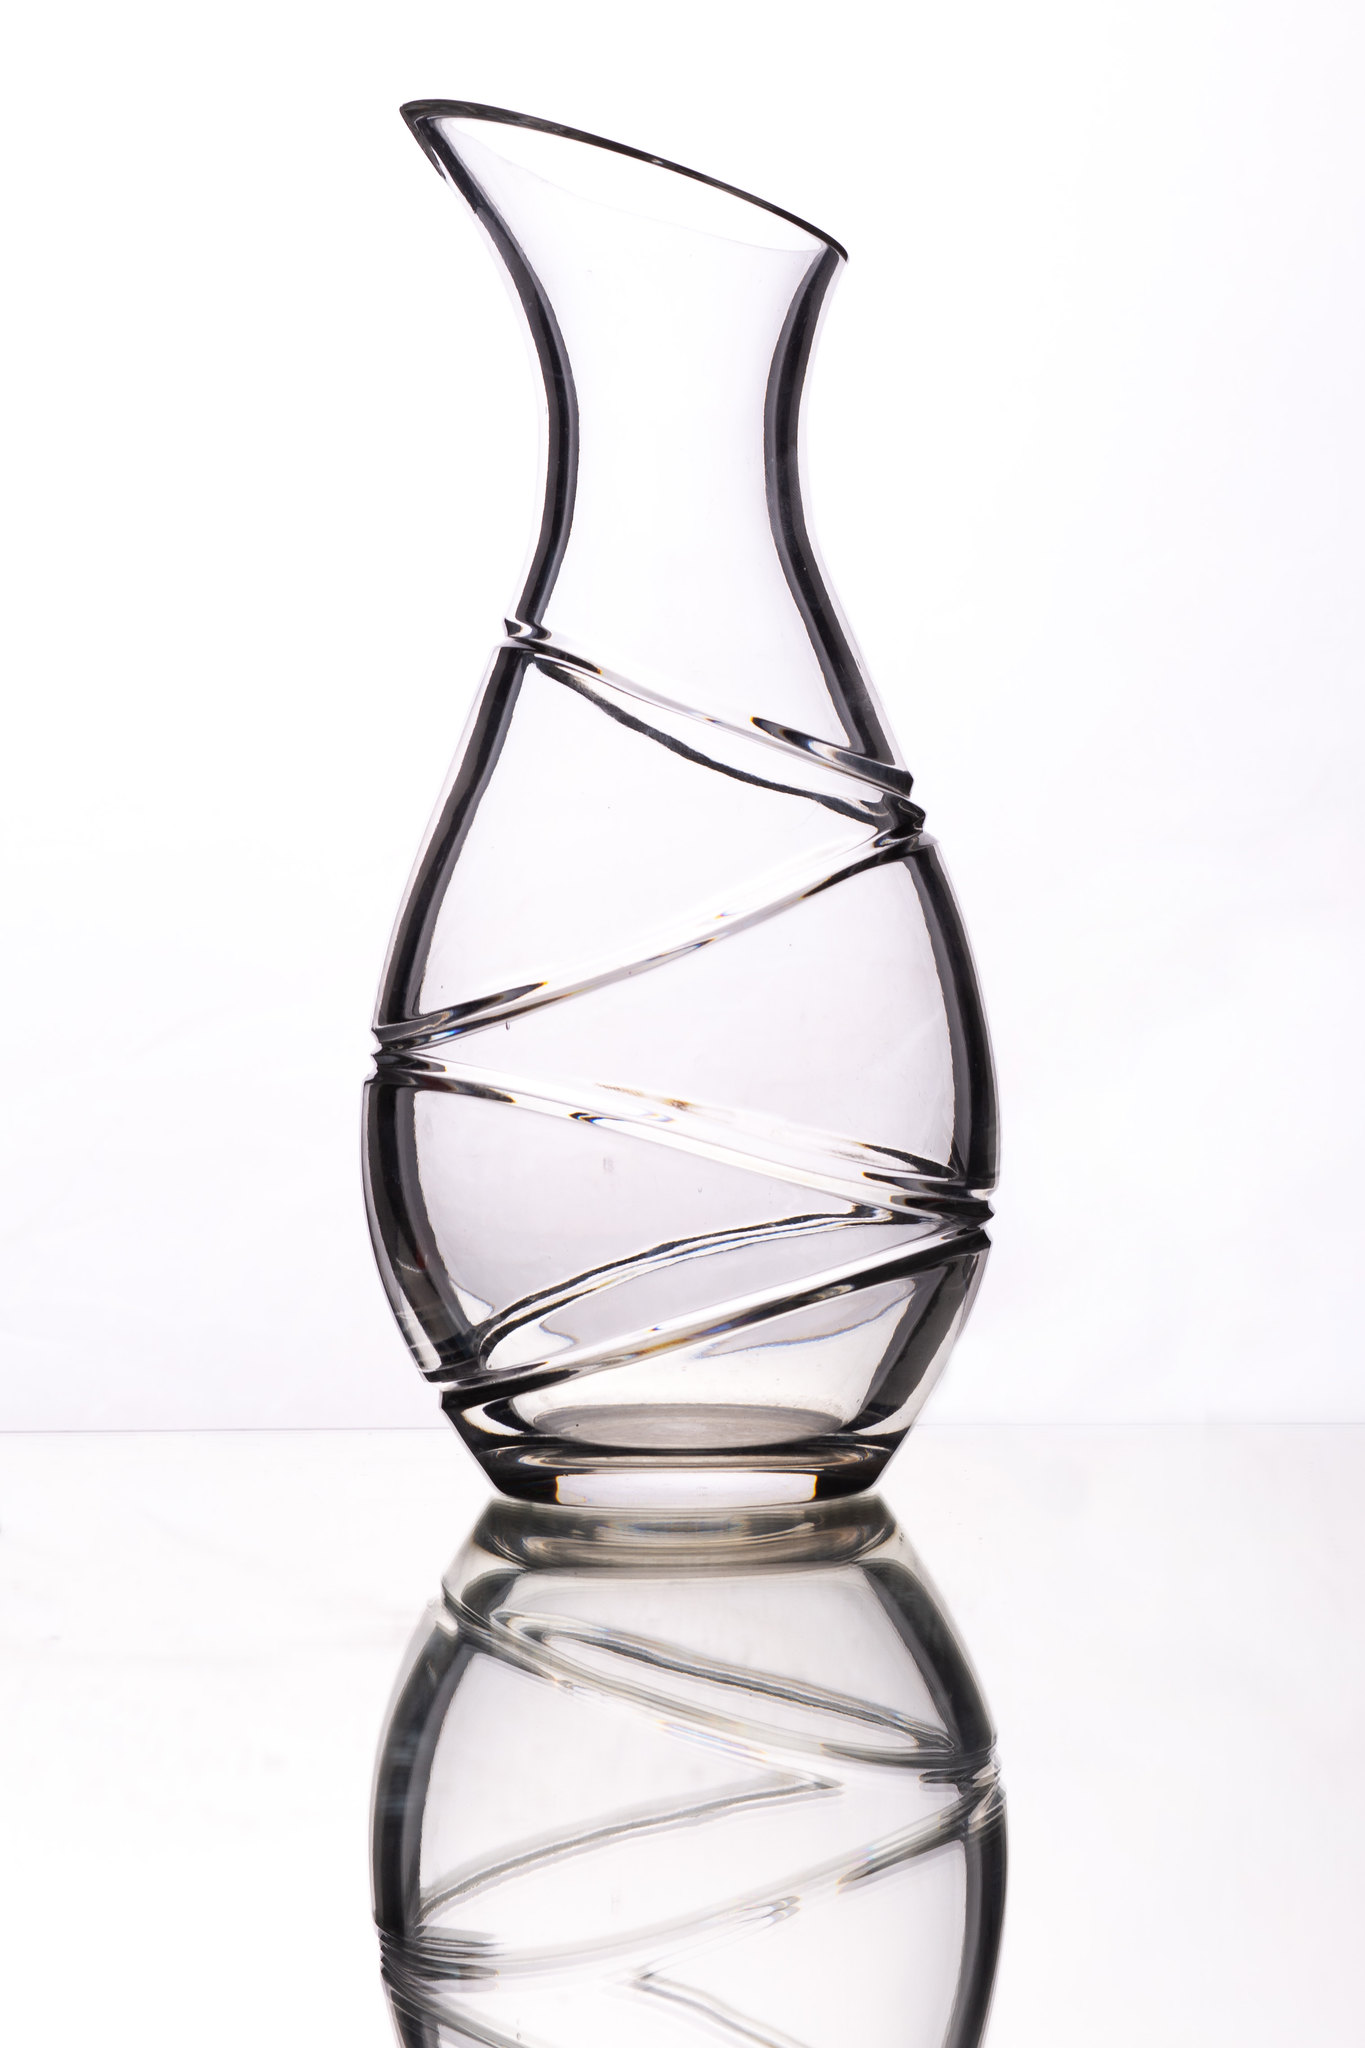
I had another go - about 10 bin bags left as double thickness and draped over my softbox. Matt black 'things' either side of my vase. Camera lowered and vase moved right back. I think there is a slight improvement.

First pic is processed to try and remove the creases in the background and lighten the edges, second is SOOC.

It's been an interesting task, not perfect, but I've definitely learnt a thing or two. Will probably leave it at this for now, but still interested to know where it could be improved further with my limited gear for another time.

20200524-BCR_7405-3.jpg
and SOOC..
.20200524-BCR_7405-2.jpg

Edit... is this edit of it better?

20200524-BCR_7405-4.jpg
 
Last edited:
Had to have another go with a couple of other subjects just to see the effects. Both processed, mainly to increase exposure and clone out a few spots on the background and base. The empty glass looks odd at the top - as it does on the original. Still not white, but I've had fun.

20200524-BCR_7419.jpg20200524-BCR_7423.jpg
 
Back
Top