- Messages
- 726
- Name
- Paul
- Edit My Images
- Yes
I finally got time to upload these ...... taken out in my back garden so not much in the way of content but I'm pleased how the D300 can correct the colour cast in camera.
Here's the images taken a few days ago in full daylight using a Grade 10 welding glass filter taped to a Cokin 72mm adapter ring. I am getting a bit of light leak so will fix better for any further shots.
#1 Straight from D300
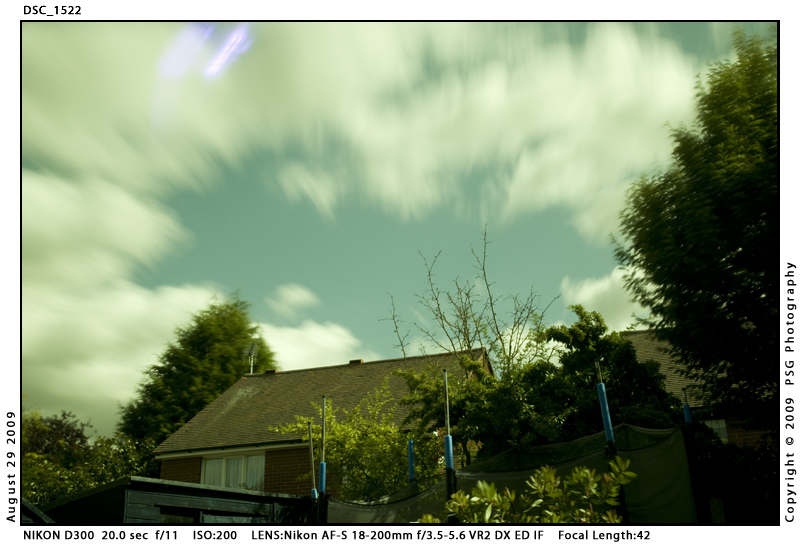
#2 Straight from D300 but using in-camera colour correction.

Not tried yet but with a bit of PP and a decent scene should get good results from £1 bit of glass.") to Alby & Darkmutton.
to Alby & Darkmutton.
Paul
Here's the images taken a few days ago in full daylight using a Grade 10 welding glass filter taped to a Cokin 72mm adapter ring. I am getting a bit of light leak so will fix better for any further shots.
#1 Straight from D300
#2 Straight from D300 but using in-camera colour correction.
Not tried yet but with a bit of PP and a decent scene should get good results from £1 bit of glass.
to Alby & Darkmutton. Paul