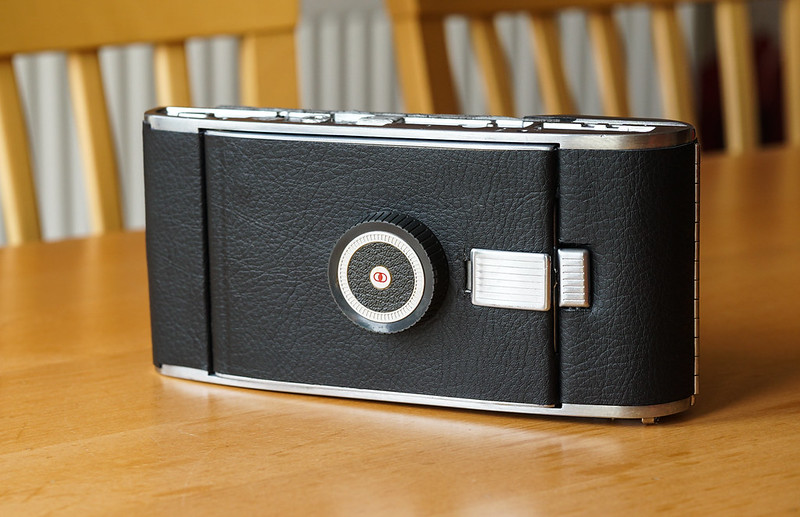
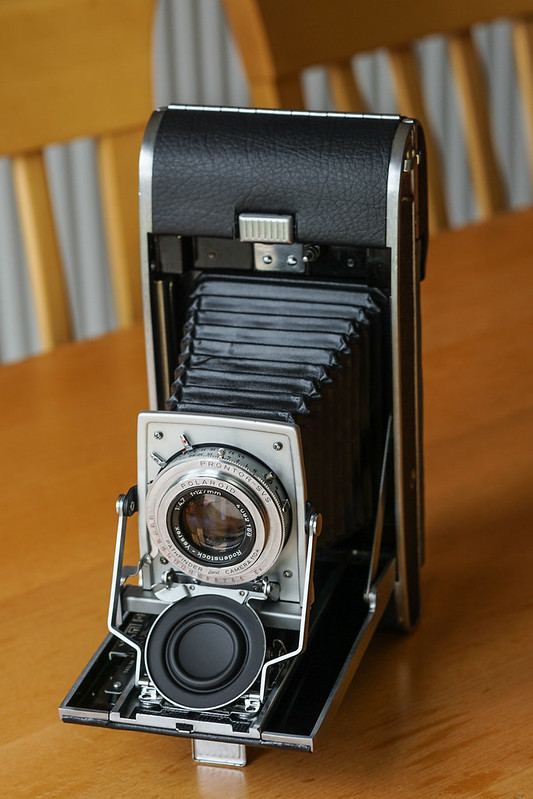
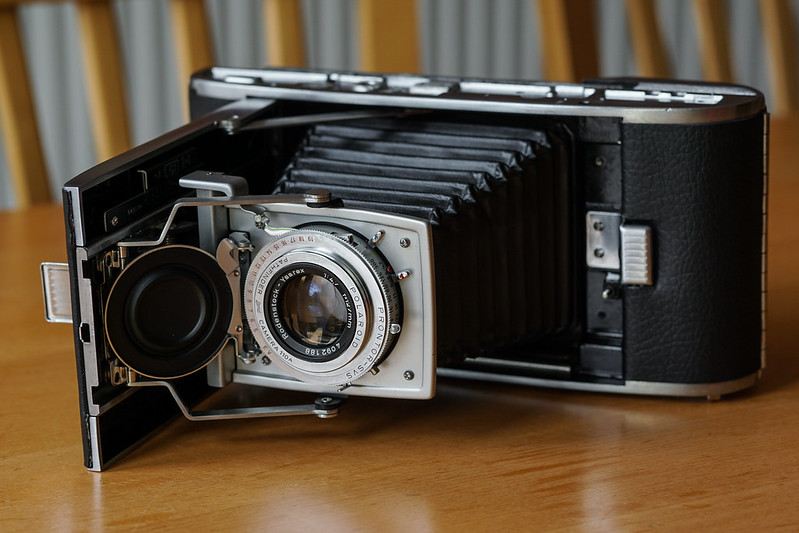
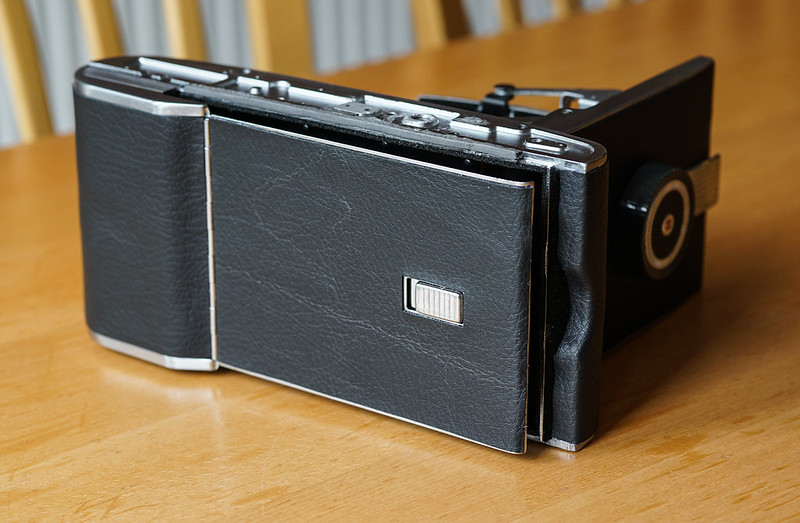
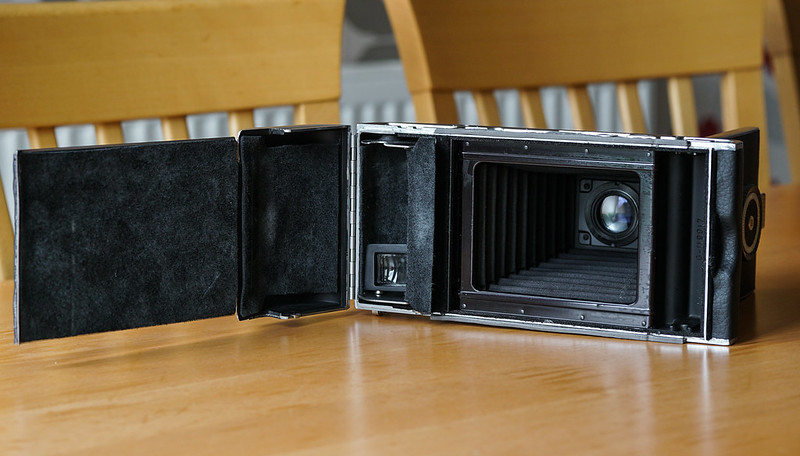
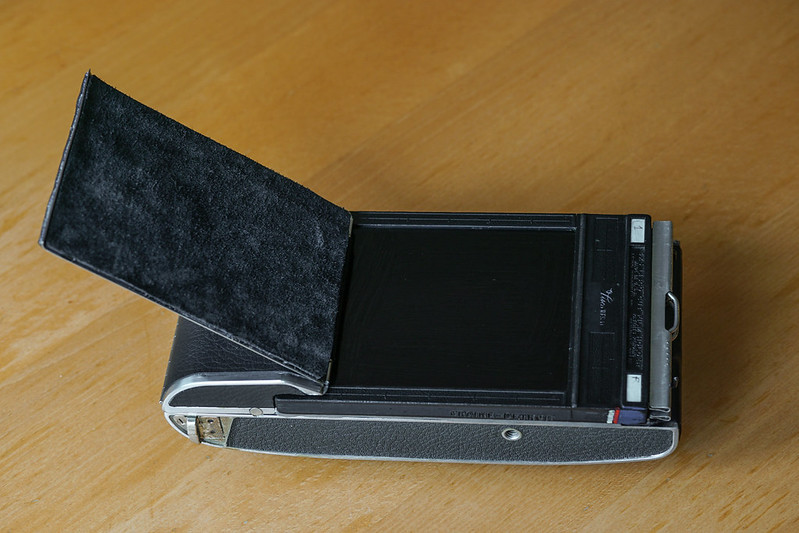
Polaroid 110A 4x5 Conversion

I've just done some rough measurements. When folded, the Polaroid body is 25cm wide by 12cm high by 5cm deep. When the bellows are extended it's 20cm deep.

I'm going to be adding top and bottom plates but they will be cut from 5mm acrylic so won't add a lot to the size.
 
Give me 10 minutes and I'll grab a couple of shots. The movement required is just to the front lens standard back by 7mm towards the film plane to account for it being moved backwards from its original position.

Is this also giving you a full 5x4 frame?

Another option I have thought about but never tried is to put a 135mm lens on it and not move the front standard.


Steve.
 
Last edited:
Looking at the ground glass it looked to be filling the full 5 x 4 frame so should be ok. The only problem is after drilling out the rivets for the front standard I'm still a few mm short of the 7mm adjustment. I've started drilling into the chromed plate to lengthen the existing holes but have gone through 3 bits so far because it's surprisingly tough!

I'm going to leave it for now and work on trimming the front panel.
 
I've started drilling into the chromed plate to lengthen the existing holes but have gone through 3 bits so far because it's surprisingly tough!

I don't know if it's practical to do this but I picked up a tip for drilling through hardened or spring steel a few years ago:

Put the drill in the drill press upside down (blunt end out) and apply to the point you want to drill. The friction will heat it red hot. Leave it to cool slowly (don't dip it in cold water). This will anneal the steel. Put the drill bit in the correct way round and drill out the hole.


Steve.
 
Last edited:
Thanks Steve, that's a useful tip. In the end I used a narrow grinding disk in the Dremel to lengthen the adjustment channel. As well as getting through the steel more easily it also gives me some room for adjustment. I need to set the camera up on a tripod and test for infinity when it's daylight but doing some minimum focus tests it looks like I should have enough movement now to compensate.

Cheers
Steve
 
TA-DAAAAA!

21323913259_898a3a5016_c.jpg


I've just fitted the last trim panel on the front section. Bit of fiddling to trim it around the chrome kickstand and had to remove the focus knob from inside the door which meant removing the lens bed but got there in the end!

21510831815_9be4ca3c36_c.jpg


21510830825_c3e849c077_c.jpg


21519479451_c70a6b1968_c.jpg


This shows both rear doors open and the magnetic viewfinder held in its' storage area. I've ordered a short black shutter release cable too which will share the same space.

21322768900_a02d048c5e_c.jpg


Lastly, this is the DDS fitted in place ready to shoot although the last pieces needed before the camera is completely finished aesthetically are the top and bottom plates. Even without the plates, the DDS is locked in so I can actually shoot now :0)

21510825415_81fc6e18b2_c.jpg


I've left the original trim on the bottom because it's going to be covered with the new bottom plate once it's cut and I've removed the original strap lug.

Cheers
Steve
 
Last edited:
Me too although I'm getting a bit nervous seeing as I've never actually tested that it works ;0) Then again, the shutter/aperture work fine and the DDS is flat to the film plane so there isn't really much else involved!

Cheers
 
Ok, should have my acrylic ground glass holder by the end of the week. It's going to be made out of 2 X 6mm acrylic pieces with 1mm rebates on both so I can sandwich my ground glass in between. Hopefully I'll also have the top and bottom plates by early next week too but even without them I can still get some test shots taken before the lakes meet :0)
 
I really need to get back on to my work instead of looking at 5x4 cameras! I saw the Wanderlust Travelwide a few weeks ago which is a very basic large format camera with a 90mm lens, simple helicoid and a clip to hold the DDS. It's a good price for simplicity but I then realised I've got this in the garage..

ImageUploadedByTalk Photography Forums1443178043.761700.jpg

ImageUploadedByTalk Photography Forums1443178052.213326.jpg

ImageUploadedByTalk Photography Forums1443178062.683213.jpg

I'm not starting a new project yet but the main body is the same length as the Travelwide so I reckon a 90mm lens would project a full 5x4 image. There's already a flat film plane so it would just need to have a clip system built to hold the DDS and ground glass in place and a new lens fitted :0)
 
Ok, I've just picked up my new to me Polaroid 355. Apart from needing a good clean and removing a bit of tarnishing on the roller brackets it appears to be in good condition.

I'm also going to be playing with a laser cutter tonight to get the ground glass holder spot on. That means that by tomorrow I'll either have a working 4x5 110 or no fingers ;0)
 
I love the smell of frickin' lasers in the evening :0)

ImageUploadedByTalk Photography Forums1444068181.756524.jpg

ImageUploadedByTalk Photography Forums1444068226.141879.jpg

ImageUploadedByTalk Photography Forums1444068235.328840.jpg

Starting with a 1mm rebate so I can sandwich the 2mm ground glass between 2 pieces of 6mm acrylic.

ImageUploadedByTalk Photography Forums1444068244.134144.jpg

Once that's finished it be will cutting a 120mm x 100mm hole right through each sheet as well as the outside size.
 
I'm looking forward to seeing how clear your ground glass is. Mine seems ok but I'm sure that a newer one would be easier to look through.
 
From the very quick testing I did when I got it it seems to be pretty clear. Obviously I won't know exactly how clear until I'm standing next to a lake in the rain trying to focus on a blade of grass in the distance ;0)
 
Looks good. (y)
 
I'll just tighten this up just to make sure it's .....oh b****x!
 
And it's ready to shoot :0)

ImageUploadedByTalk Photography Forums1444153429.672890.jpg

ImageUploadedByTalk Photography Forums1444153440.324989.jpg

ImageUploadedByTalk Photography Forums1444153448.464529.jpg

Now the ground glass holder is finished I've finalised the infinity focus and I'm really impressed with the brightness considering it's an £18 glass. The true appearance never comes across in an iPhone shot so you'll have to take my word for it!

ImageUploadedByTalk Photography Forums1444153517.381568.jpg

The cracked GGS works fine but it's really bugging me that I cracked it so hopefully my replacement will arrive before Friday. The two halves of the holder screw together so I can swap the glass over before I leave for the train.

I'm going to shoot without the top/bottom plates because I couldn't get them designed/cut in time but they're purely aesthetic so not the end of the world. Can't wait to try it out 'in anger' now :0)
 
Last edited:
Fan-bloody-tastic. (y)
 
Hey, hey, fame at last.
 
I'm looking at dark cloths to use instead of the lightweight baffles I tried out. Looking at the other LF kit at the Lakes meet, they're generally deeper bodies so the cloth can be clipped/draped over to focus. As the 110 is quite shallow this might not work so well so I've been looking at mounting a rectangular 'tube' to the rear of the glass which would be shaped to fit around my face like a divers' goggles. I've seen similar periscope type viewers before but they have a mirror built in to invert the image. As good as they look I don't want to have to carry one around so I'm thinking about making a collapsible hood instead.

I've just drawn this up quickly to show the idea (side on and looking down the hood)

ImageUploadedByTalk Photography Forums1444730527.691054.jpg

The small circles are slim magnets to keep the sections locked out. My main concern is keeping the whole thing light so it doesn't droop or pull the ground glass holder out of place. The best part is that it can be collapsed and won't add a massive amount of depth to the GGS.

I did start making up a test bellows last night as an alternative but I think at the depth it needs to be to be for me to actually be able to focus my eyes on the ground glass screen (around 14-15cm) it will definitely droop without some internal support struts.

Any thoughts appreciated as ever :0)
 
Last edited:
Rather than magnets, could you maybe use something like the extending part of a scissor lift (scaled down)? Putting that at the top would give you the stiffness to hold the hood in place when extended, another at the bottom for security. Not sure if you could laser cut the pieces from acrylic with small rivets to hold each piece in place while allowing them to move.
 
I'll send you an autograph when I get chance Dean ;0)

I've just been looking at compendium lens hoods by coincidence and can see their scissor mechanism. I've also drawn up plans to use a bellows with a top and bottom bracket hinged from opposite corners.

ImageUploadedByTalk Photography Forums1444734108.158198.jpg

This might work out to be a simpler method than the telescopic finder...apart from having to learn how to make bellows!

Actually, saying that I wonder how well a small bag bellows would work? If I could find material that's thin enough to fold down but still light tight it would be much easier.
 
Back
Top