THE PP GAME!

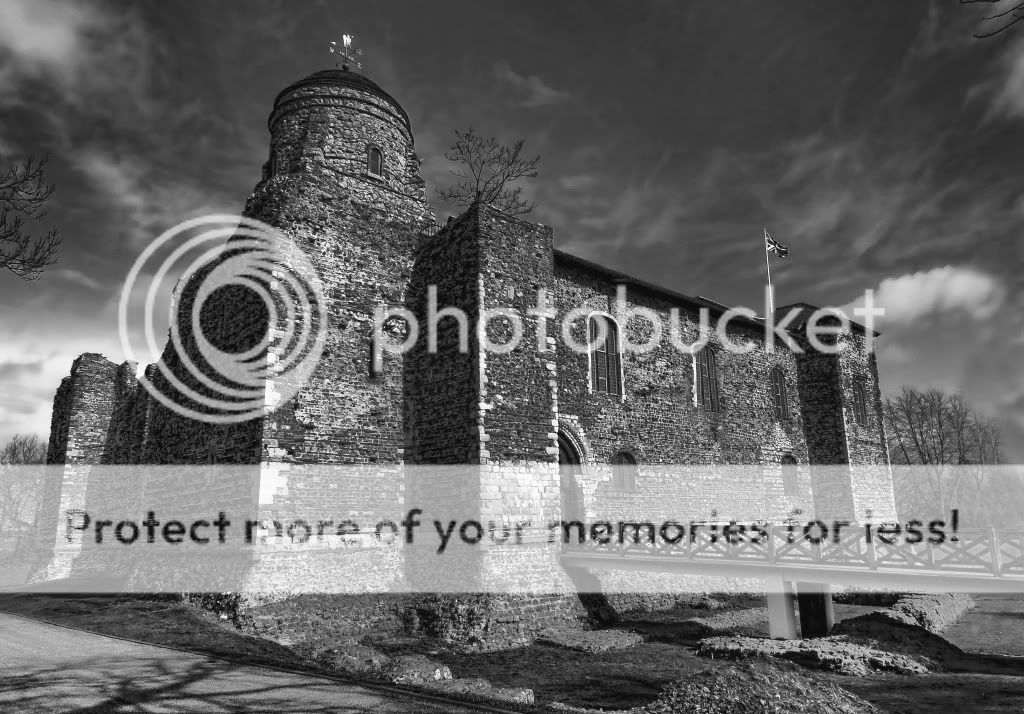
ok, heres one of Colchester castle, shall we say friday 5pm, as im off after that for a few days
pic
IMG_6295-1.jpg


raw here
http://min.us/mbahlUbHVX
 
My first post on this thread but I am subscribed to it and thoroughly enjoy so keep it going. Who knows one day I may put a shot up but don't have any RAW.

have a go at it an join in, also you dont have to use raw files if you win, its up to you
 
its a great way to learn, go on have a go

I have been having a go BUT...................

My way of PP is extremely erratic - a bit of this, a bit of that covering levels, brightness & contrast, saturation, sharpness, increasing dynamic range, shadows & highlights. AND often having a second or even third tweak.

So no way of remembering what I did.

Is this normal or do I need to bring more discipline into it :cautious:
 
DayDreamer said:
I have been having a go BUT...................

My way of PP is extremely erratic - a bit of this, a bit of that covering levels, brightness & contrast, saturation, sharpness, increasing dynamic range, shadows & highlights. AND often having a second or even third tweak.

So no way of remembering what I did.

Is this normal or do I need to bring more discipline into it :cautious:

Personally i find that learning one step at a time really helps. For example i spent a few evenings playing with layer masks and adjustment layers. If you work with those two features, you make an adjustment, then add a layer and work on
that and/or only apply it to part of the image that isnt masked. So each layer has its own adjustment that you can then tweak, see what you have done, and enable or disable it at will. I am still learning too as i suppose we all are and i found this really helps.

Thanks for the insight and I will try what you say unless I fly off on a tangent :wacky:
 
First attempt at this...

IMG_6295c.jpg


cropped and straightened
Removed trees and railing on building
adjusted levels.
saved image

reopened image
adjusted exposure and saved

then merged in CS5 using HDR merge
added layer mask and removed HDR from around building.
 
Last edited:
My first attempt on this thread and first pic on this site :clap:

How did I get to the end result - do I really have to explain because it was a bit of this, a bit of that and pure randomness of which I just could never ever remember. For the next one I will try and get the 'how' in.

Will this disqualify me?
 
Ooooops good start forgot to include my picture :bonk:


TPCastleEntry.jpg
 
Here we go....

img6295e.jpg

img6295layers.jpg


Increased exposure, clarity and blacks in ACR.
Removed walker and pile of dirt.
Removed flagpoles and branch to top right.
Removed banner on the bridge.
Converted to Black and White and added a tint then darkened the blue areas.
 
Last edited:
thanks all for the entries, its good to see some new faces here too, and some great edits, its been hard to pick, but im going to go for ruggie uk, great edit, here`s mine, i went down the b/w isle as i wasn't happy with any of my colour efforts, thanks again everyone.
IMG_6295ac.jpg
 
Well done Richard (y)

So you're the one to beat;)
 
Well done Richard:clap:

Looking forward to having some time this week to put an edit in.
 
Fd4cG.jpg


DjDZO.jpg


Removed slight curve on horizon with Edit/Transform/Warp
Removed noise then sharpened a little with a custom action.
Cropped the image and then added border with Select All Edit/Stroke/Inside​
 
Last edited:
That's nice Dale- like the colours and contrast(y)

Note to self to use dodge and burn tool next time around
 
No dodge/ burn tool in sight here:LOL:


Edit49 by Dr_Ozone, on Flickr

In liquify I amplified waves a bit
Created adjustment layer for B&W- tweaked to get higher contrast
Added rain- empty layer>fill with black> add noise >blur with motion> adjustment layer for levels and tweak all of these to suit. Change opacity of layer until happy with effect
Crop to get rid of extremes of rain creation- edges are always a bit odd
 
b110.jpg


open in ACR and cropped
opened in CS5
cloned out water markers
new layer, copied in new sky and masked sea,sand
colour selected orange in sky and add new layer with orange fill
blending mode - overlay and 50% opacity
added curves layer and darkened
masked centre area to give vignette
 
here is my go...
made 3 adjustments in raw, sharpening etc for each
1 for the sand, 1 for the sky and one for the sea
burned these in cs
removed some noise
cloned out dust bunny in the sky
finished!
beachjpg.jpg
 
Hi guys.
The winner is Brian, very close call on this one as there weren't any I didn't think were great but I loved the warm atmosphere on his edit.

Here was my effort.
rug6682.jpg

Increased exposure in ACR then selectively altered the colour balance on the sea to make it more blue. Sharpened and done.
 
sharpened
straightened
made 2 copies
over layed and erased through the label and cap
ppbottle.jpg
 
Last edited:
Good edits by all but I have to go with Walter, turning one beer in to five is always a winner in my eyes :)

Here is my effort

ig.jpg


Tweaked in ACR
Added new layer background
Masked out bottle
Cloned out line at top of bottle neck
 
Back
Top