- Messages
- 9,720
- Name
- Stan
- Edit My Images
- Yes
This is my 2013 12 (x6) Effect, Technique & Creative (e.t.c.) challenge project. I have not set myself any additional rules or targets apart from a minimum of 6 photos per month for the whole year whether one photo per theme or 2 from 3 or 3 from 2 or a mixture of them.
All comments and critique are greatly welcome and appreciated.
Direct links to individual image below
*
January
1.1 Physiogram
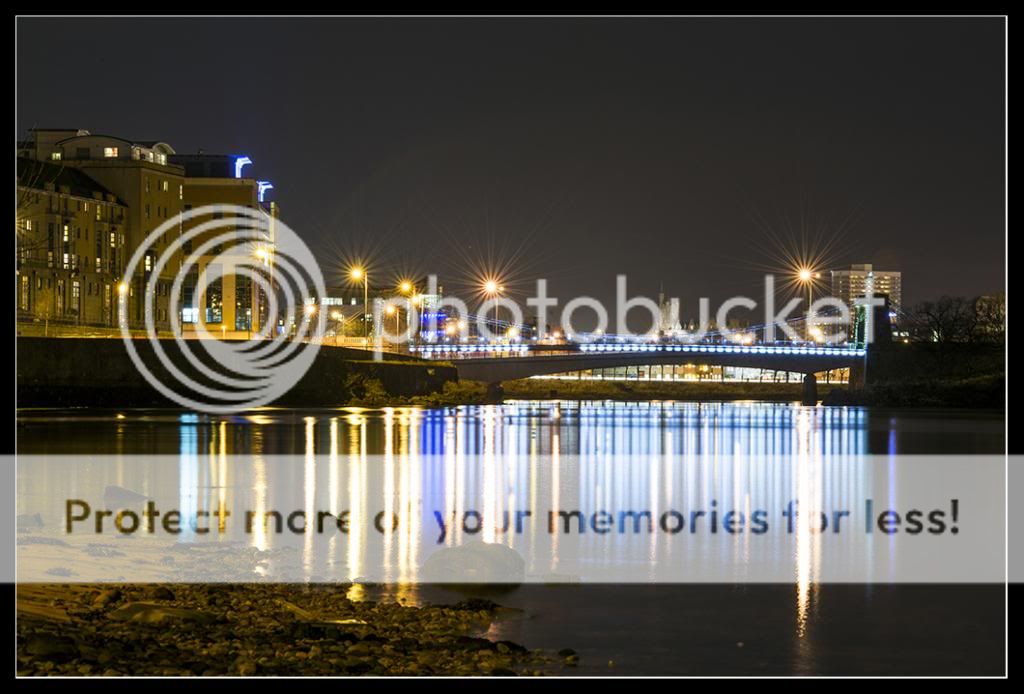
1.2 City Lights
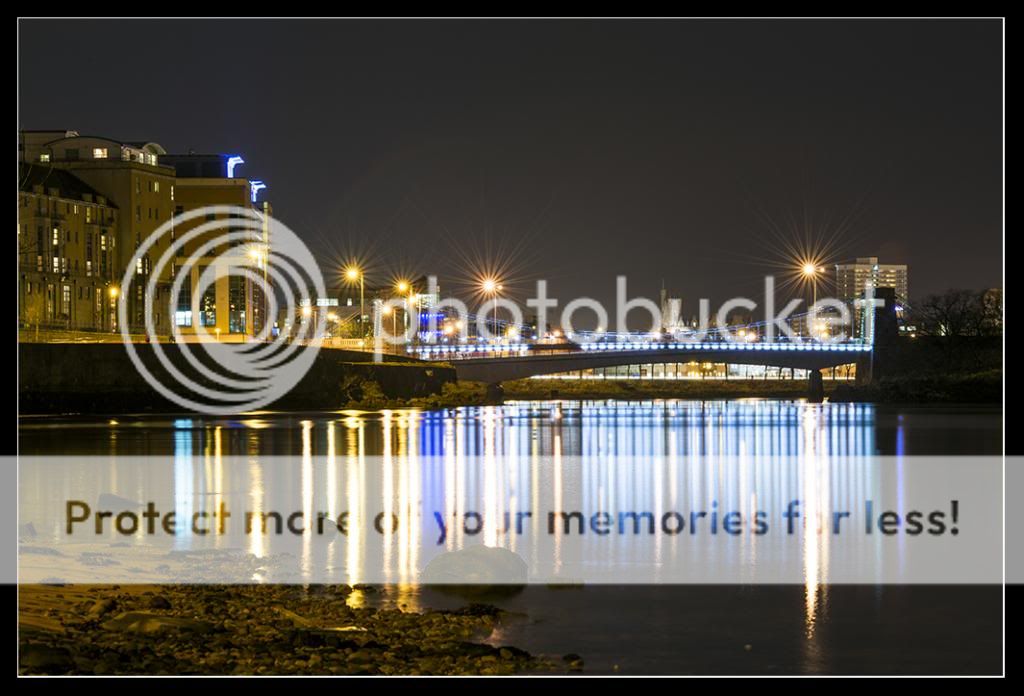
1.2b City Lights (Modified)
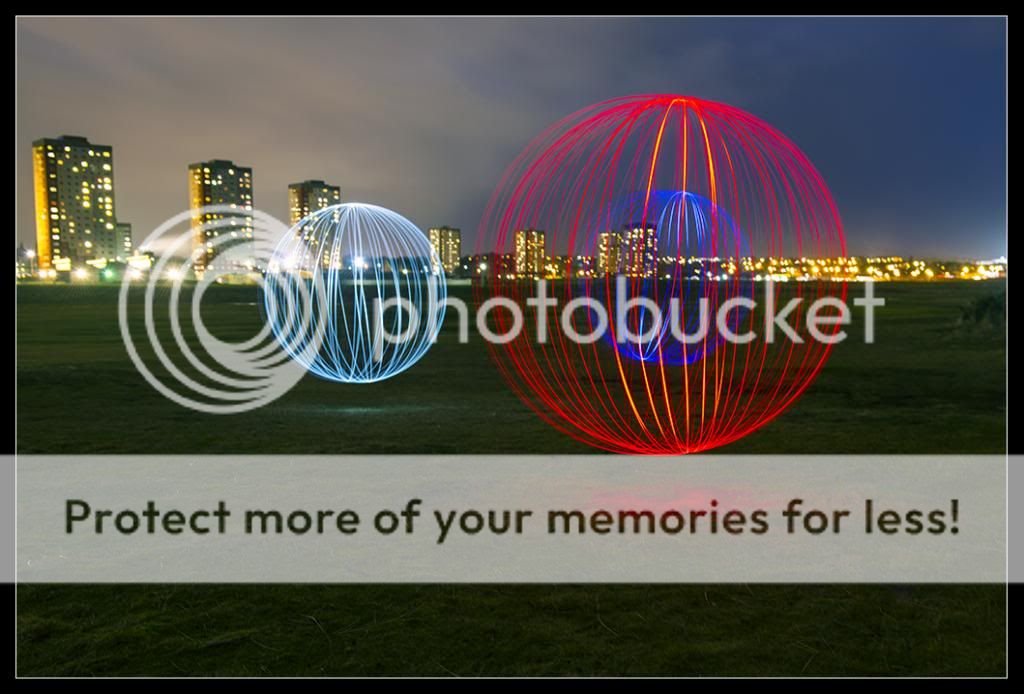
1.3 Orbs
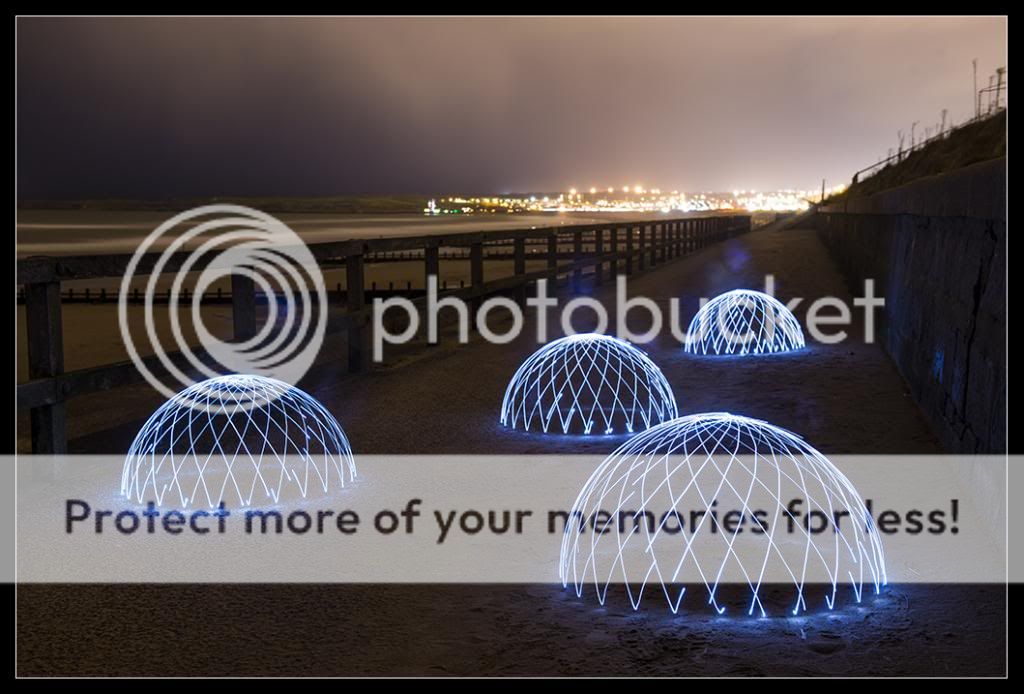
1.4 Domes
1.5 Night Lights
1.6 Orbs 2
*
February
2.1 Water Drops 1
2.2 Multiplicity 1
2.3 Contre Jour
2.4 Natural Light
2.5 Triptych
2.6 Bubbles
*
March
3.1 Smoke Art
3.2 Planet Panorama
3.3 Panoramic
3.4 Tilt and Shift
3.5 Harris Shutter Effect
3.6 Tilt and Shift 2
*
April
4.1 Daylight Long Exposure
4.1a Daylight Long Exposure II
4.2 Zoom Burst
4.2a & 4.2b Zoom Burst
4.3 Black Card
4.4 Timelapse
4.5 Shallow DOF
4.6 Duotone
*
May
5.1 Black & White
5.2 Selective Colouring
5.3 Leading Lines
5.2b Selective Colouring
5.4 Motion Blur
5.5 High Speed
5.6 Leading Lines 2
*
June
June Lomography Storyboard
*
July
7.1 Joiner Effect
7.2 Reflection
7.3 360 Panorama
7.4 Sequence
7.5 From the Hip
7.6 Creative Self-Portrait
*
August
8.1 Dear Photography
8.2 PS Fisheye Effect
8.3 Ordinary Object
8.4 Scale
8.5 Idiot Challenge - Steel Truss
8.6 Idiot Challenge - Trees
*
September
9.1 Texture Overlay
9.2 Jigsaw
9.3 Shadows
*
*
October
10.1 Film Poster
10.2 CD Cover I
10.3 CD Cover II
10.4 Flyer
10.5 Film Poster
10.6 Magazine Cover
*
November
11.1 Sunset
11.2 Sunset II
11.3 Mobile Photography - Autumn Leaves
11.4 Mobile Photography - Gold Tree
11.5 Mobile Photography - Light Rays
11.6 Autumn Sunrise/Dawn
11.7 Creative Still Life
*
December
12.1 Create Own Bokeh
12.2 Star Trails
12.3 Fairly Lights
12.4 Writings on Photo
*
Last edited:


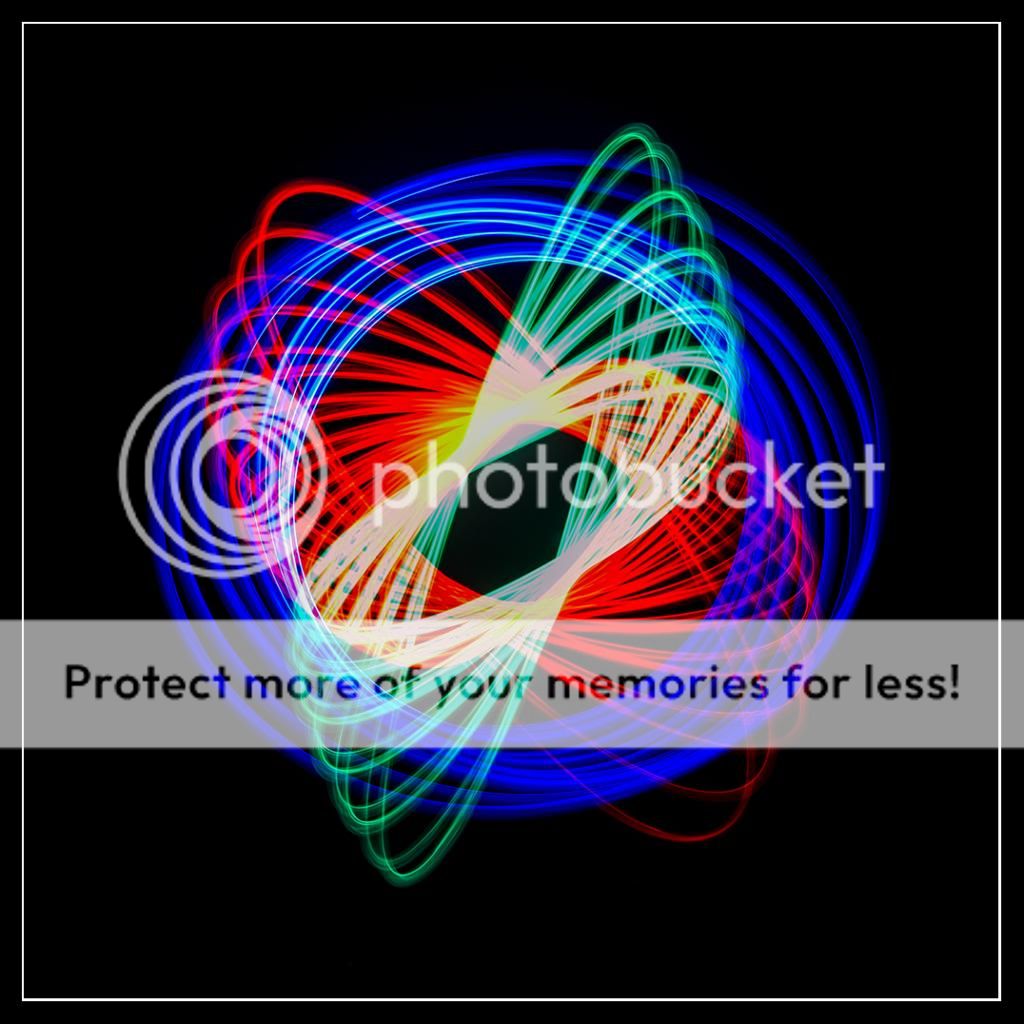
 The pp was done in-camera; I used the 'Image Overlay' option. Three photos with different colour filters taped to the LED light and overlaid them together.